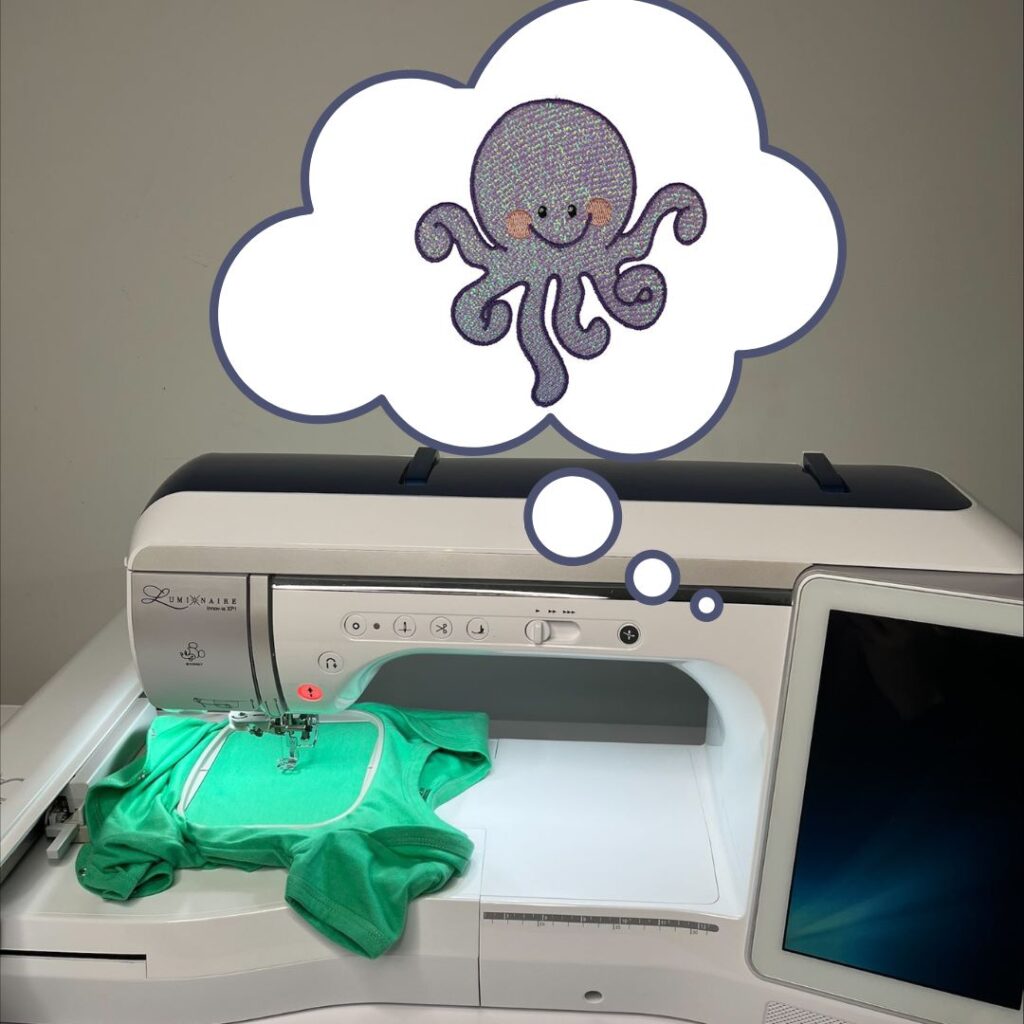
Want to create adorable, personalized baby onesies with machine embroidery?
In this blog, we’ll guide you through the process step-by-step, sharing essential tips like choosing the right stabilizer, perfecting placement, and gauging your hoop. Whether you’re new to embroidery or looking for a fun project, this tutorial is perfect for beginners!
Enthusiasts or VIP Embroidery Legacy Design Club members receive a special embroidery cheat sheet PDF. You can save the PDF on your computer or print it as a reference beside your machine.
Login to your digitizingmadeeasy.com account and check your “Classroom” tab!)
Want a hands-on guide? Watch the video tutorial below while following along with the blog!
Embroidering Baby Onesie Materials
- Baby onesie Hoop
- Embroidery thread
- Pins
- Scissors
- No-show mesh stabilizer
- Soft fusible stabilizer (this is optional, as it just helps to prevent irritation to the child wearing the garment).
- Painters tape
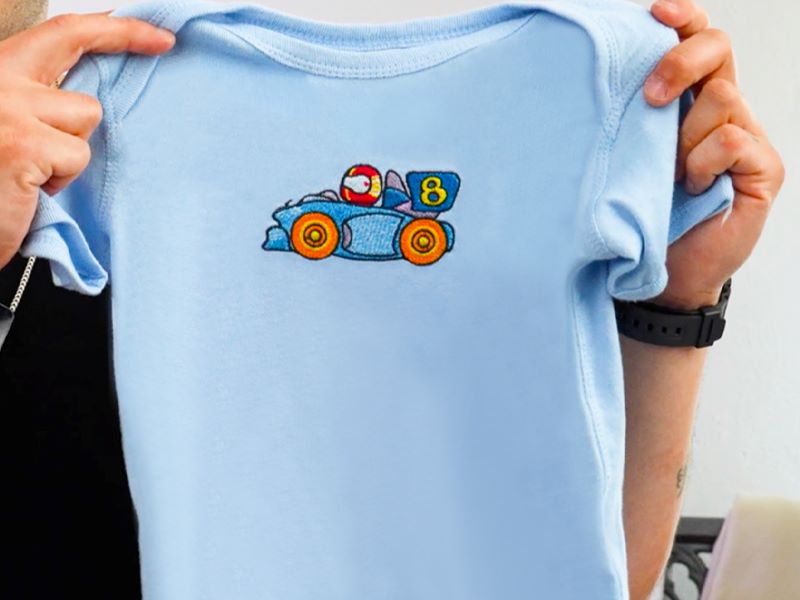
- Embroidery design – we use our Racing Car design. Print a design template.
- Save 90% on high-quality embroidery designs when you join our Embroidery Legacy Design Club!
Baby Onesie Embroidery Tutorial
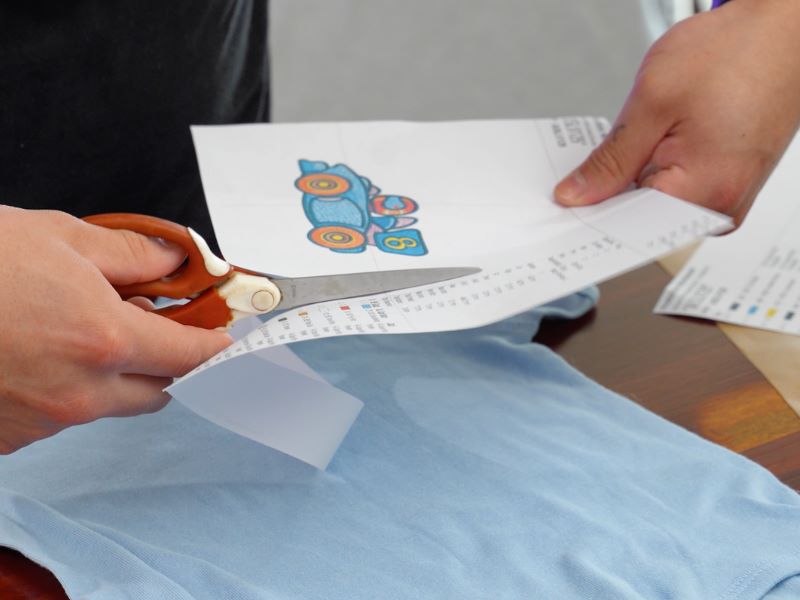
Step 1: Cut your design template as squarely as possible. This will give you the most accurate guide when positioning your design.
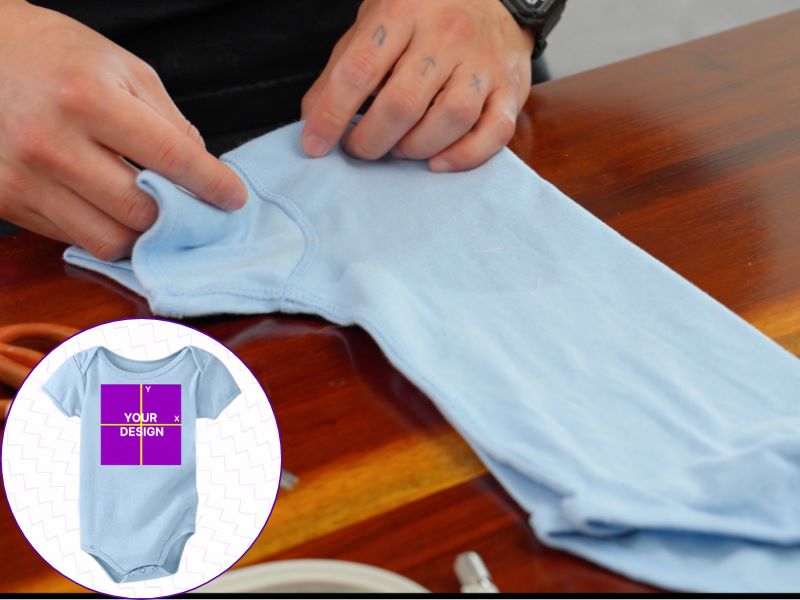
Step 2: Find the center of the baby onesie. Fold the onesie in half lengthwise and firmly press down at the seam to create a guideline for lining up your design template.
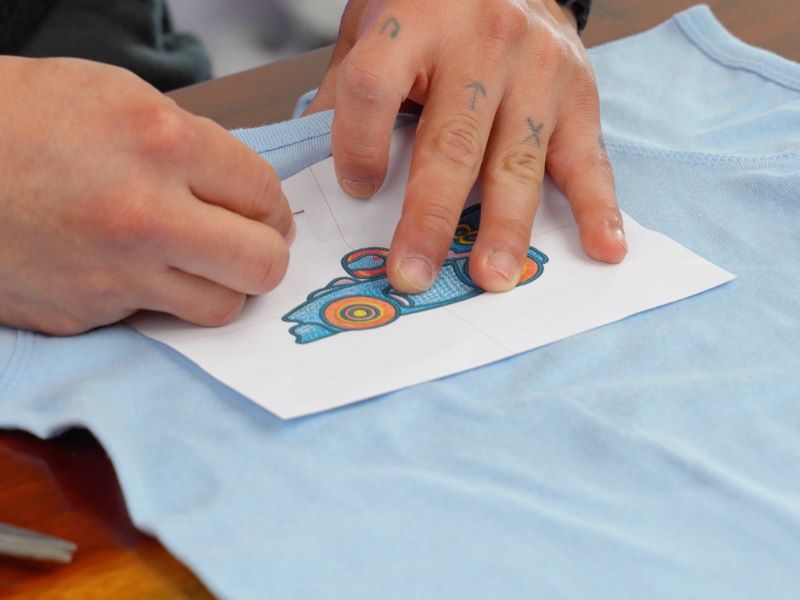
Step 3: Pin the design template in place.
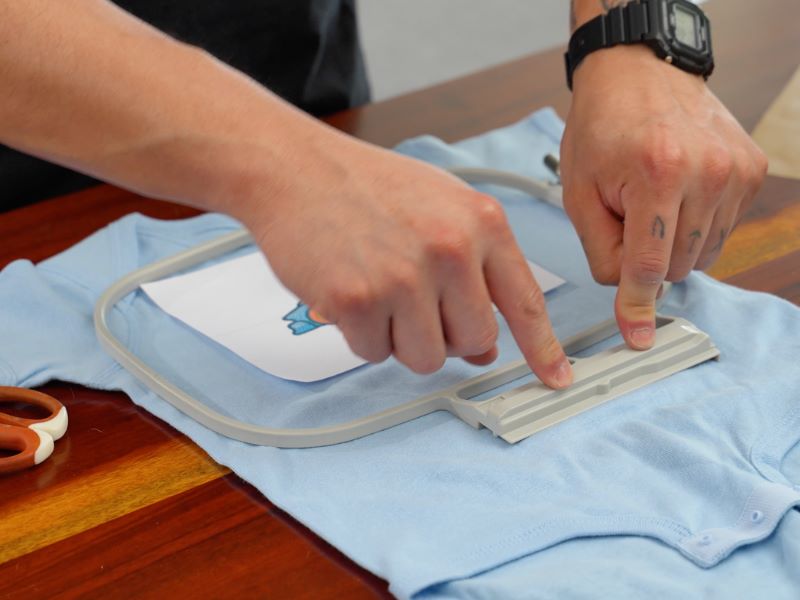
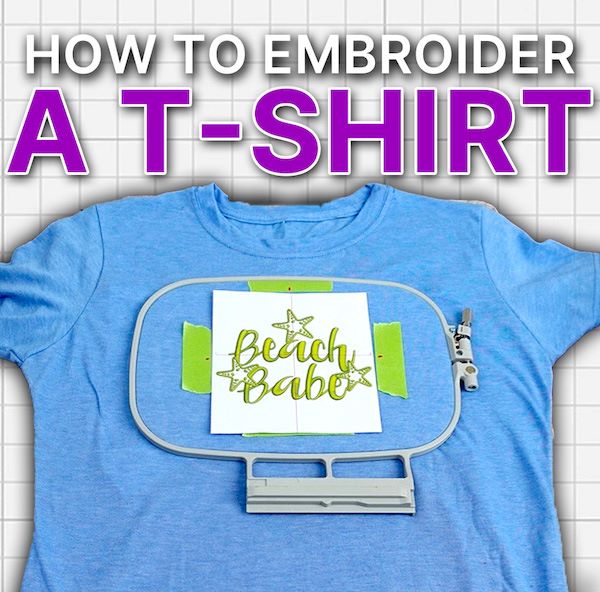
Step 4: Pre-determine your hoop positioning. When using a flatbed machine, it is essential to pre-plan the hoop’s orientation to avoid any struggle when hooping the fabric.
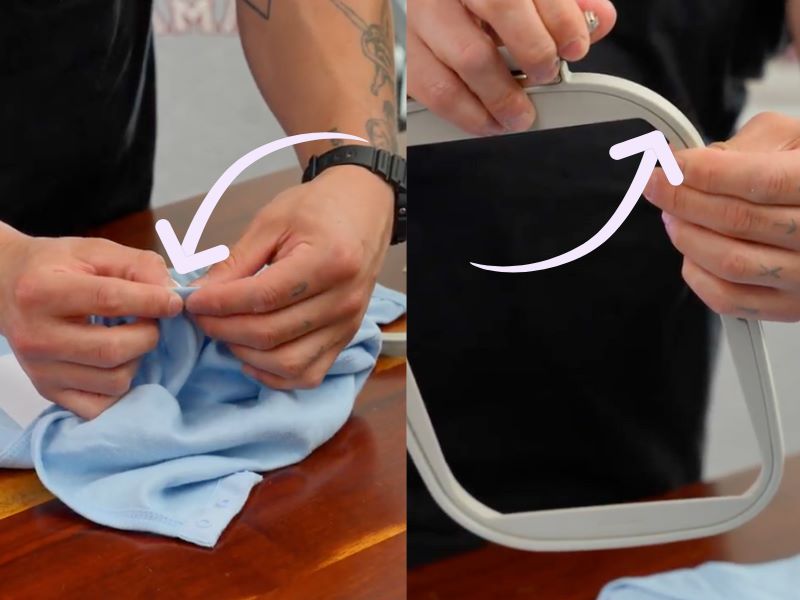
Tip:
- Pre-gauge your hoop.
- Fold the fabric in half and measure its thickness using your fingers.
- Loosen your hoop until the gap is roughly the same as the thickness of your folded fabric.
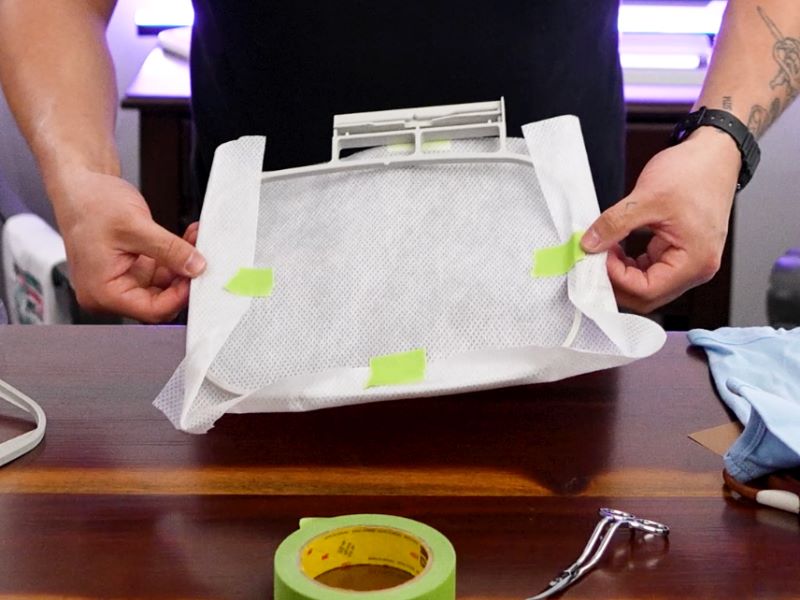
Step 5: Secure the stabilizer to the bottom of the hoop using painter’s tape.
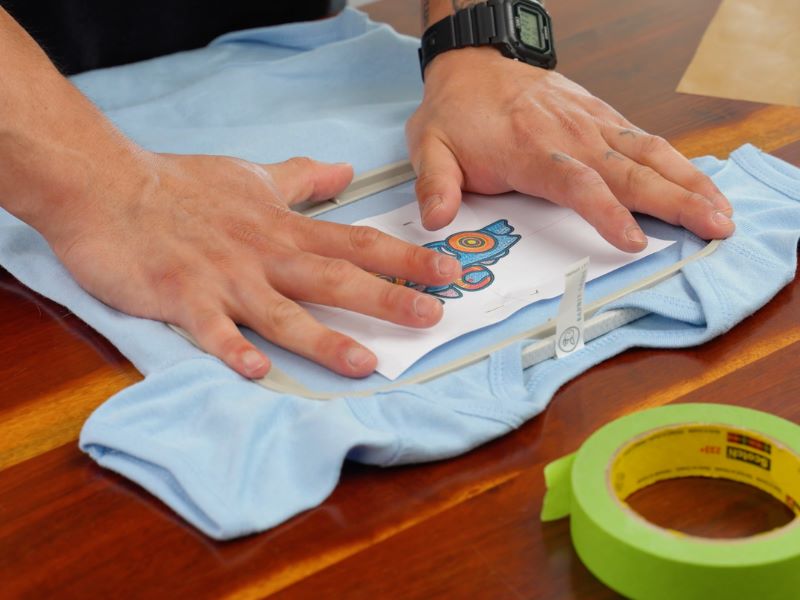
Step 6: Line up the hoop center with the center of the design template and secure the hoop in place.
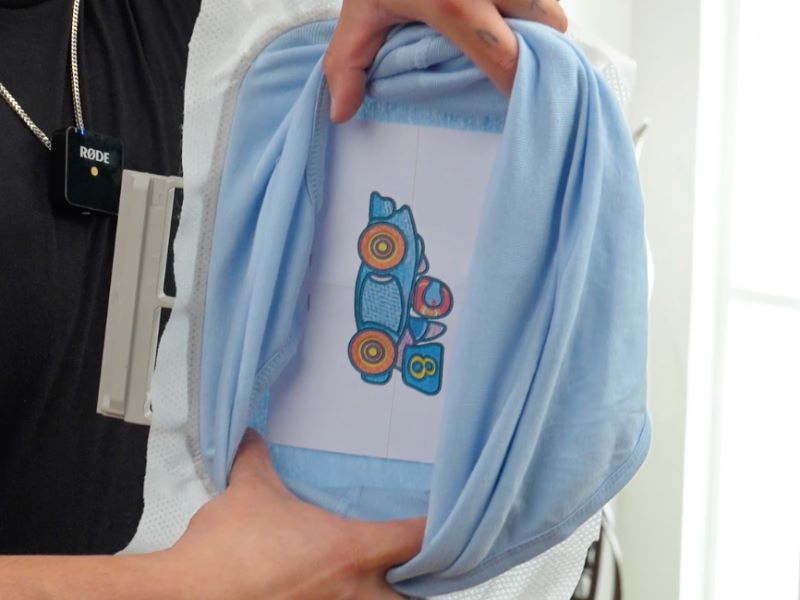
Step 7: Turn the onesie into a bowl to be easily hooped in the machine. Use masking tape to hold the fabric out of the center of the embroidery surface.
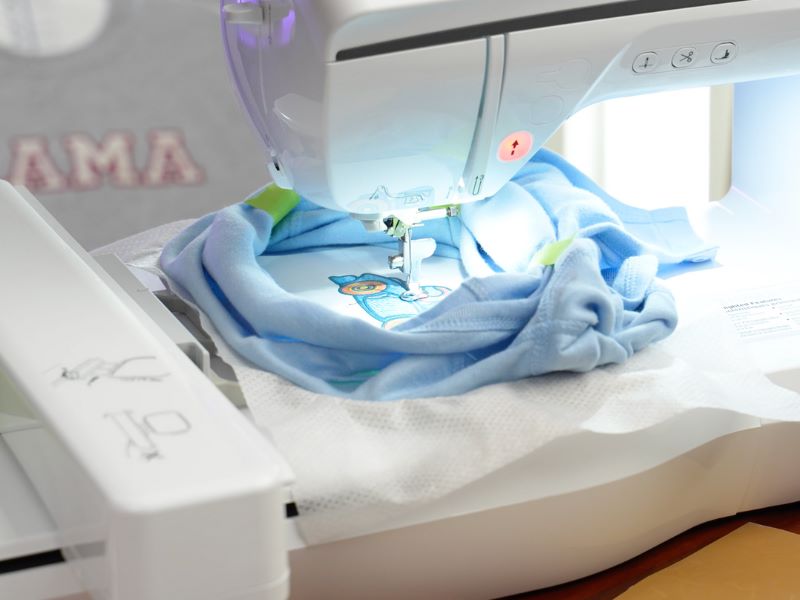
Step 8: Line the needle up with the center of the design template. Once you have lined it up, you can remove the design template and begin embroidering.
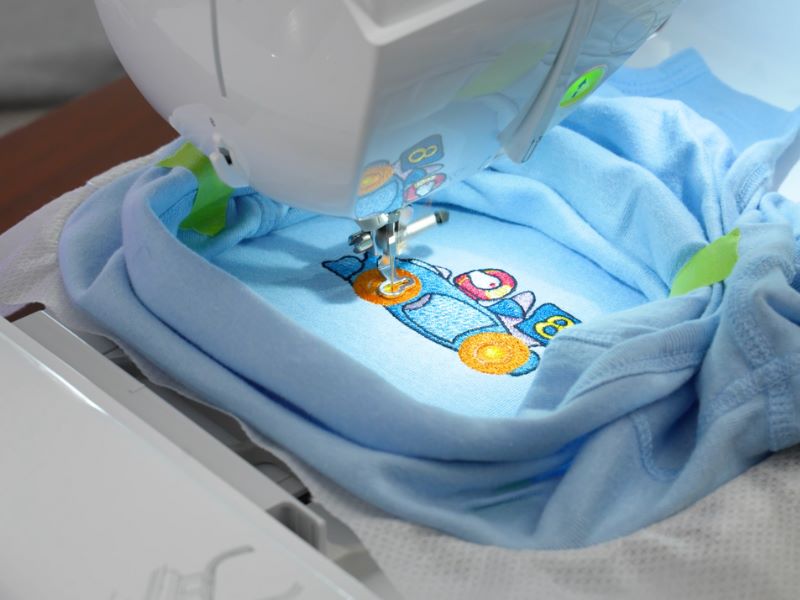
Step 9: Embroider your design onto the onesie.
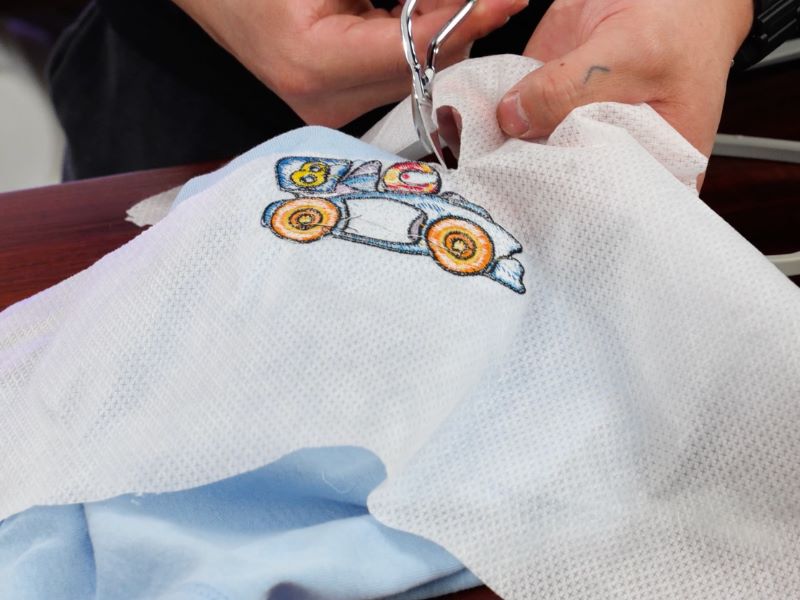
Step 10: Remove the hoop from the machine and trim the long threads from the back of the design. Remove the onesie from the embroidery hoop and carefully trim the excess stabilizer from the back.
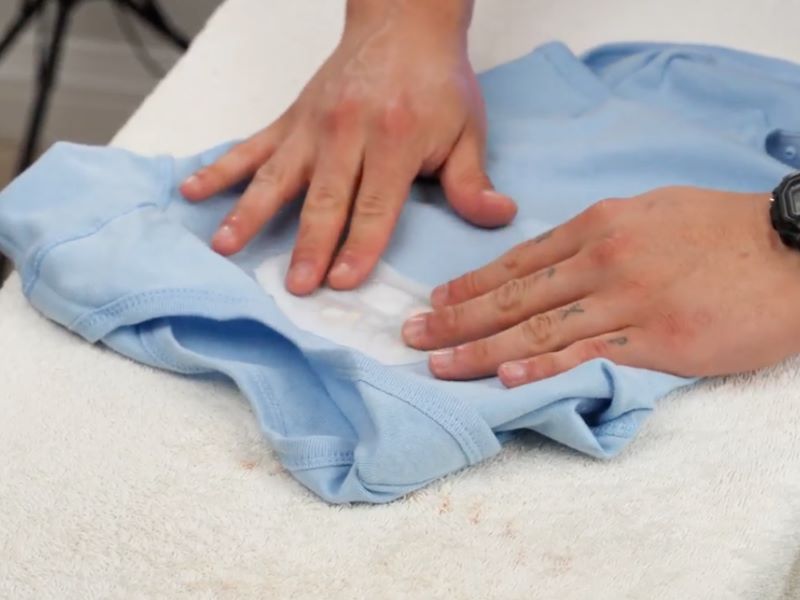
Step 11 (optional): If you want to use a fusible stabilizer, cut a piece to cover the back side of the design.
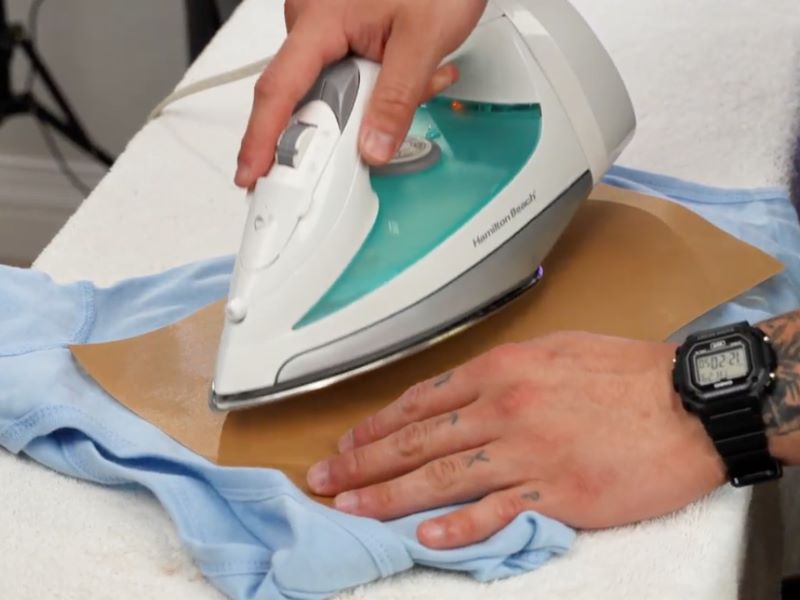
Use an iron on high heat to fuse the stabilizer to the onesie. To avoid burning the fabric, use parchment paper over the onesie.
Note: The fusible stabilizer has a front and backside. The rough side faces down onto the fabric when fusing it onto the onesie.
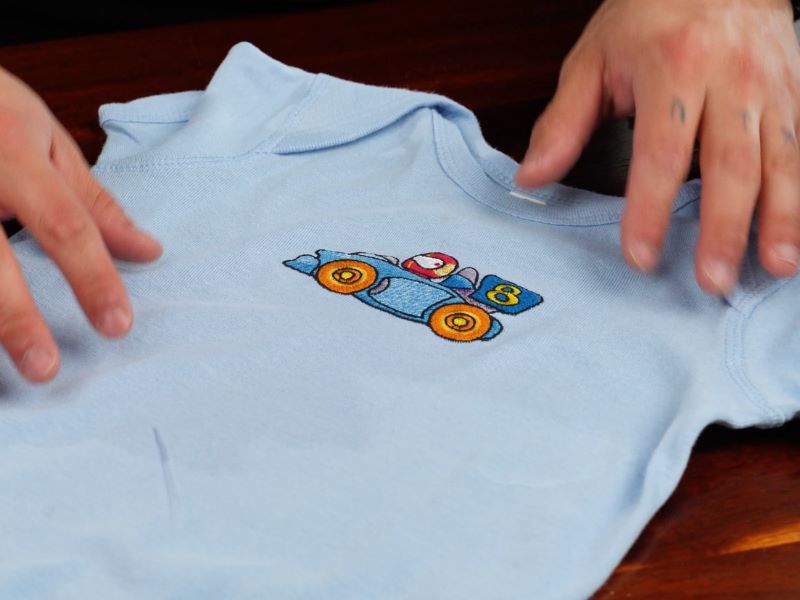
Now that you know the basics of embroidering baby onesies, you can add a personal and adorable touch to any little one’s wardrobe! By following the steps discussed above, you can create keepsakes as unique as they are precious. Start stitching and bring your creative ideas to life—happy embroidering!
Remember to check out all our other high-quality embroidery designs! Want to save up to 90% on designs? Join our special Embroidery Legacy Design Club for great savings. Members get free pocket page PDFs of various embroidery techniques!
