Sweaters are a wardrobe staple, but what if you could take them from basic to boutique with just a touch of embroidery magic?
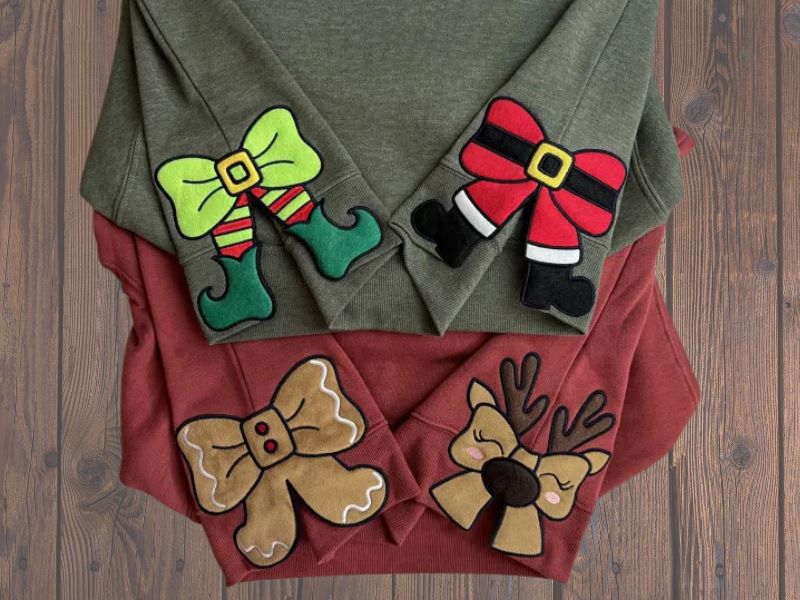
Side seam appliqué bows are the latest craze in the embroidery world, and they’re perfect for adding a festive, fun, and personalized flair to your garments. In this blog, we’ll guide you through creating these adorable bows step by step so you can join the trend and make your sweaters stand out this season.
Want a hands-on guide? Watch the video tutorial below!
Materials for Side Seam Bow Embroidery Design:
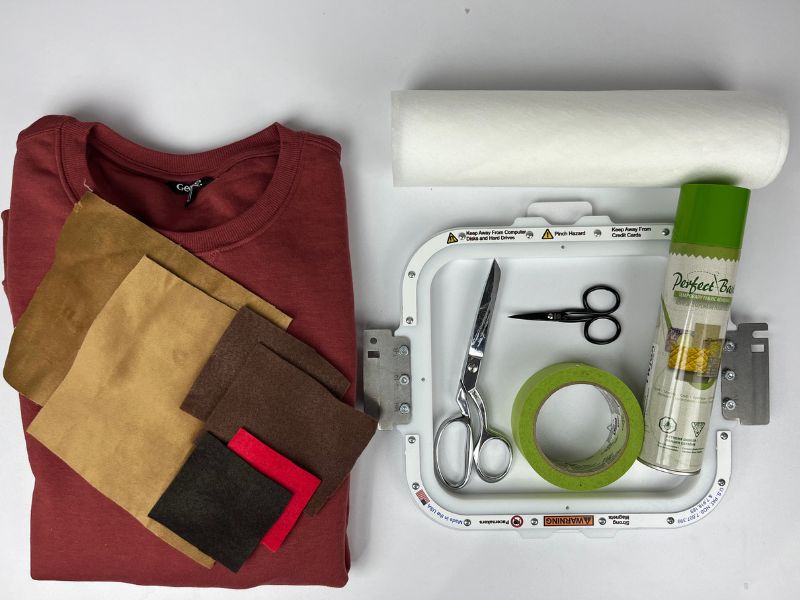
- 8” x 8” hoop
- Wash-away stabilizer
- Two pieces of fabric 6” x 6”
- Four pieces of fabric 3” x 3”
- Two pieces of fabric 2.5” x 2.5”
- Temporary adhesive spray
- Masking tape
- Fabric scissors
- Double curve scissors
- Sweater
- Embroidery design – we use our reindeer bow side seam embroidery design (which is actually a free embroidery design download!)
- Do you love these designs? Check out our other fun Cutaway Side Seam Bow Applique designs!
Save 90% on high-quality embroidery designs when you join our Embroidery Legacy Design Club!
Side Seam Bow Embroidery Design Tutorial:
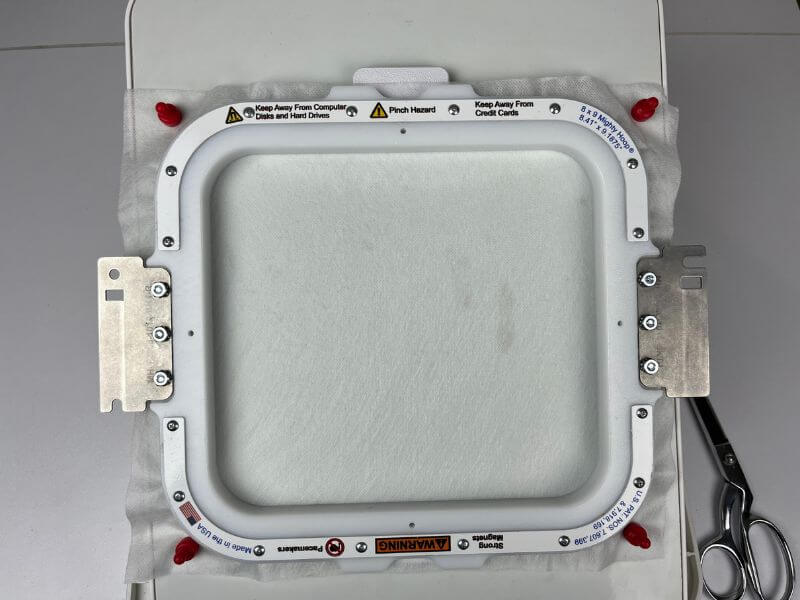
Step 1: Hoop the wash-away stabilizer.
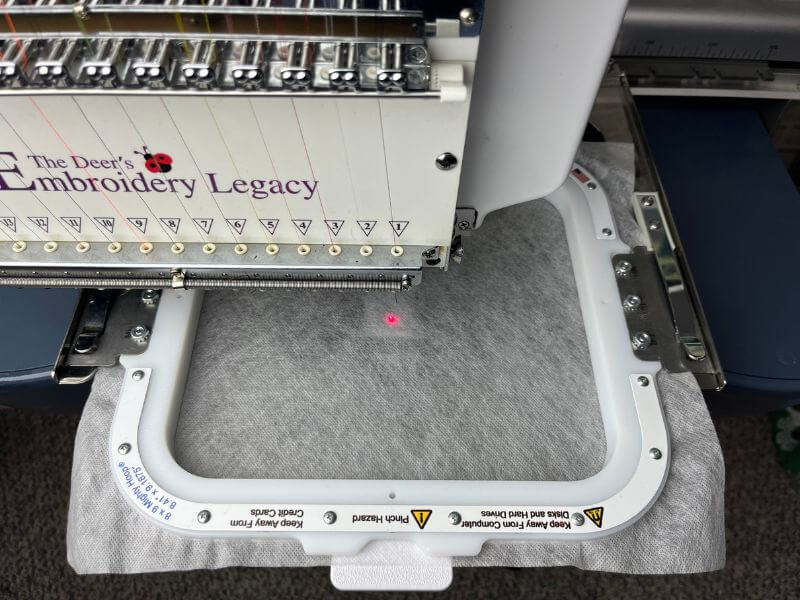
Step 2: Place your hoop in the machine and run the cut line for the design.
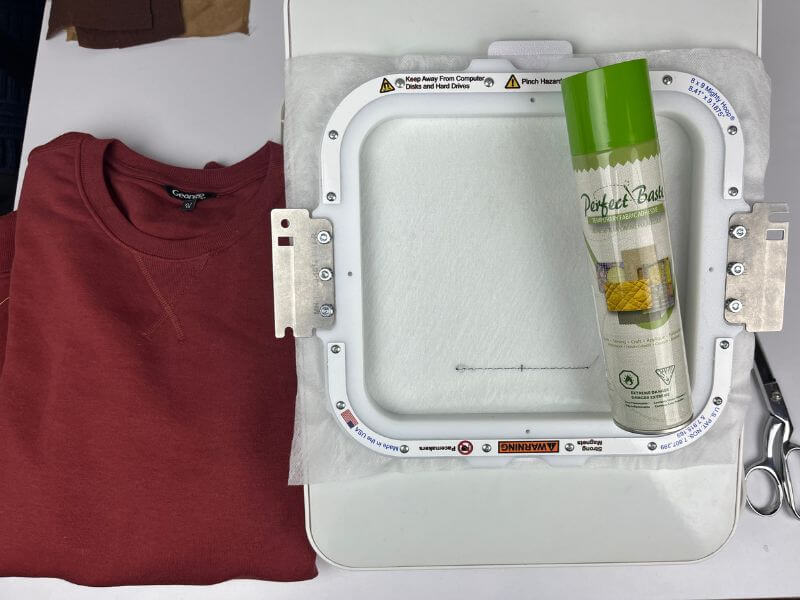
Step 3: Use temporary adhesive spray to secure your sweater to the hoop. Line up the seam line with the cut line’s center line and the sweater’s bottom to the cut line.
Use masking tape to secure the shirt further.
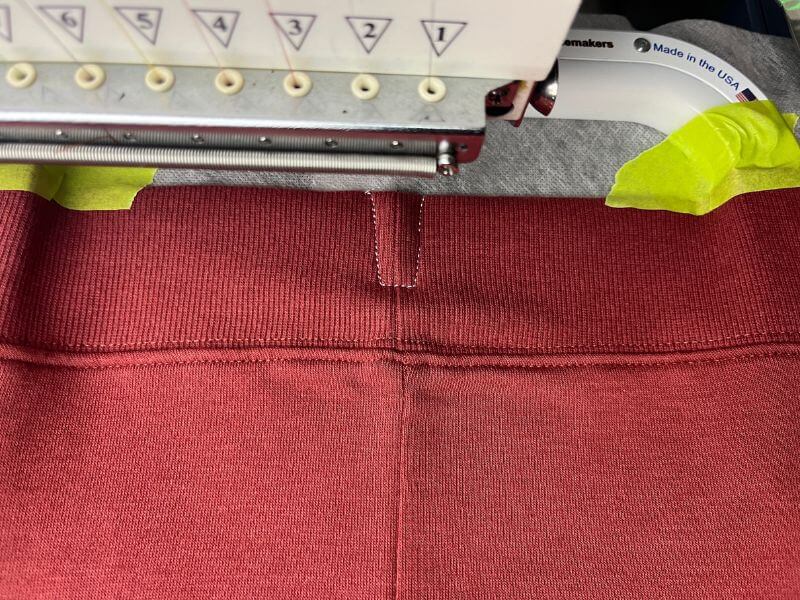
Step 4: Place the hoop in the machine and run the tack-down stitch.
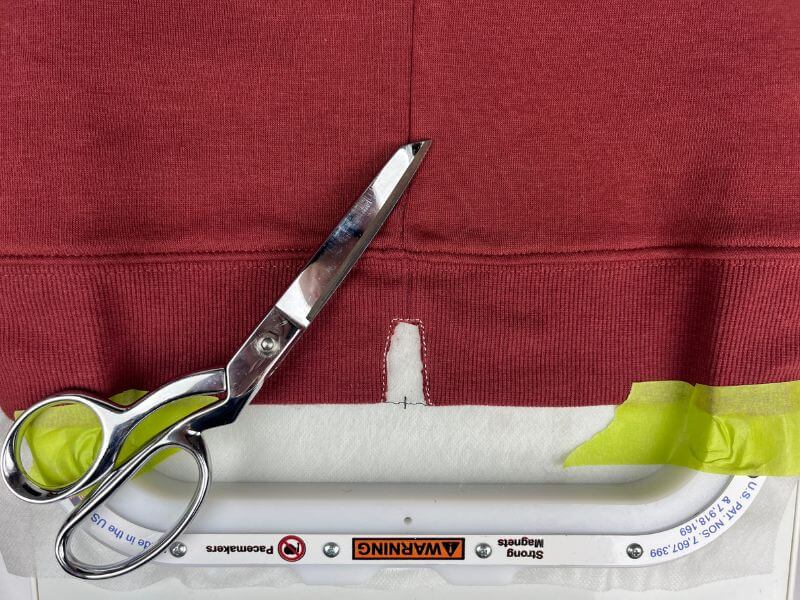
Step 5: Remove the hoop and cut along the tack-down stitch, removing the sweater material.
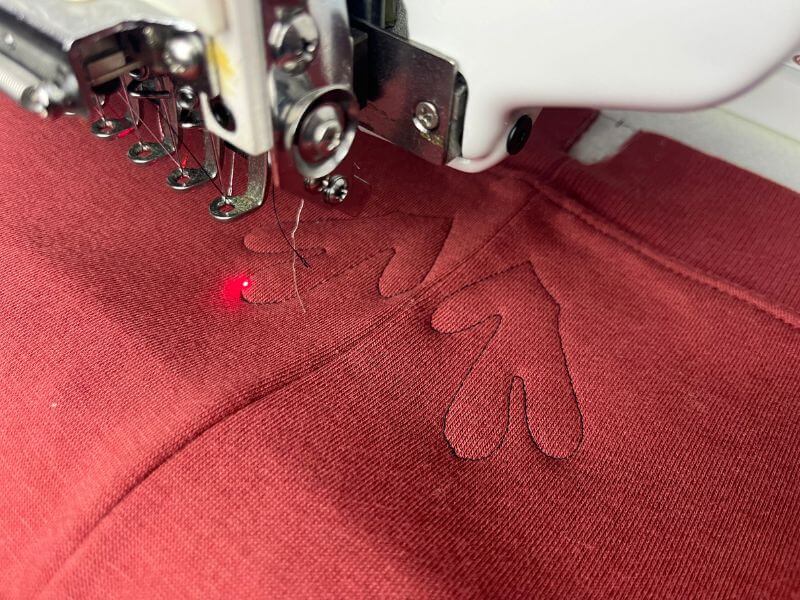
Step 6: Return the hoop to your machine and run the placement stitch for the first applique.
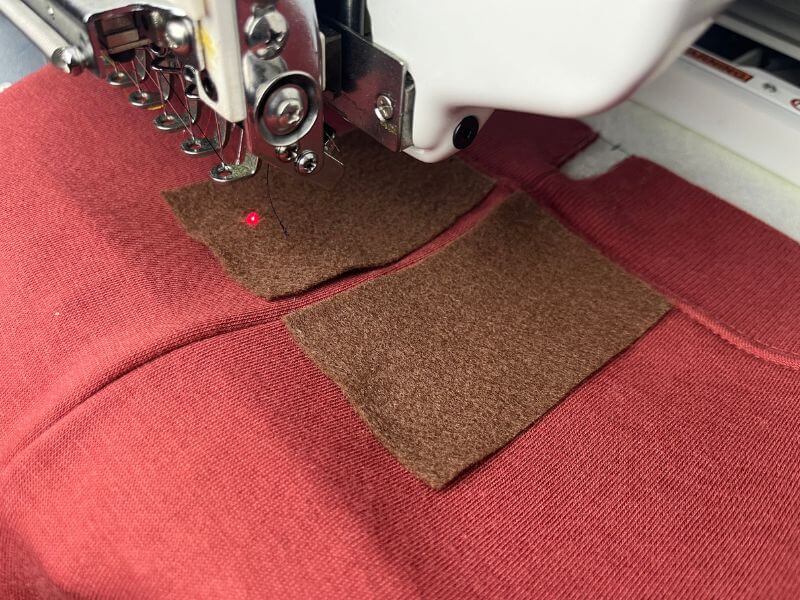
Step 7: Remove the hoop from your machine, and place two of the 3” x 3” pieces of fabric over the placement stitch, covering it completely.
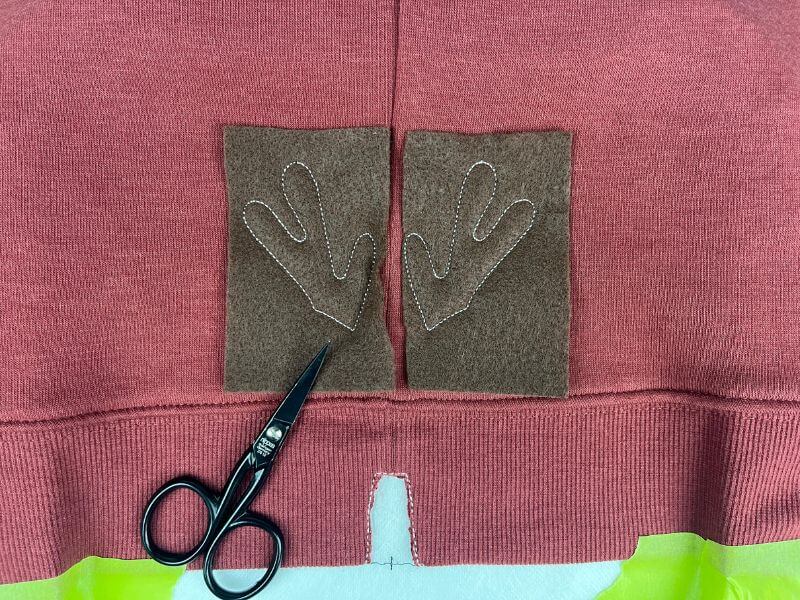
Step 8: Return the hoop to the machine and run the tackdown stitch.
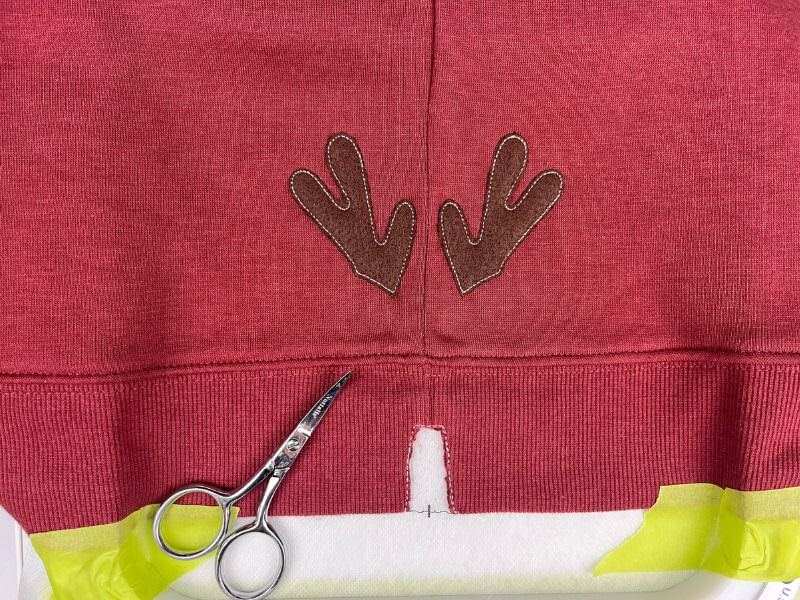
Step 9: Remove the hoop from the machine and carefully trim the excess fabric around the tack-down stitch.
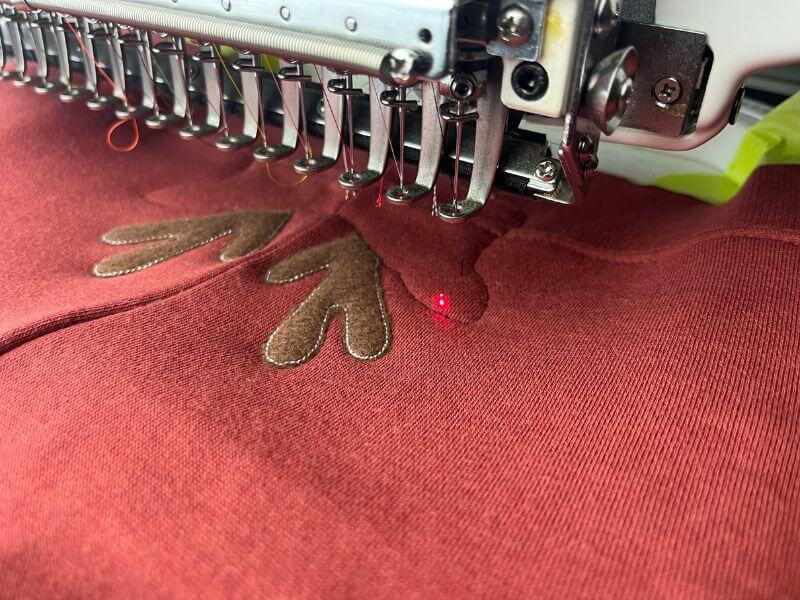
Step 10: Return the hoop to the machine and run the placement stitch for the second applique.
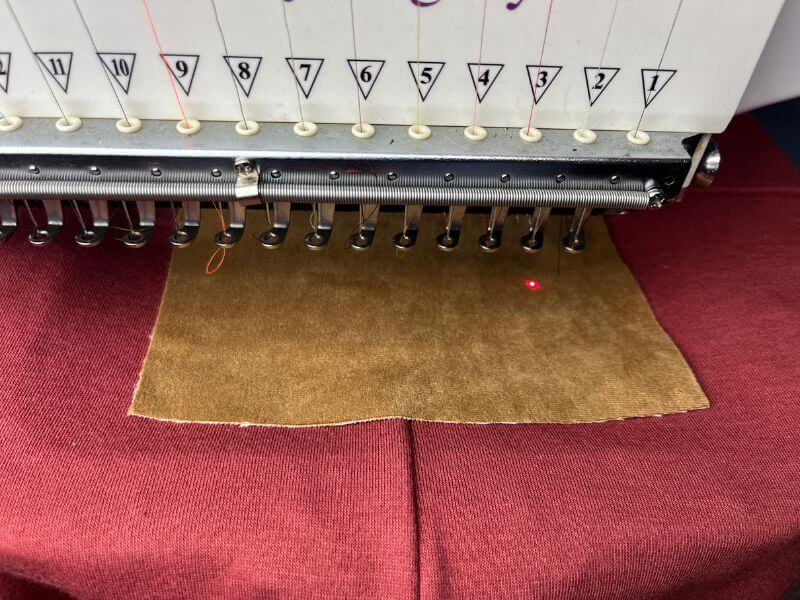
Step 11: Place the 6” x 6” piece of fabric over the placement stitch, covering all the stitching.
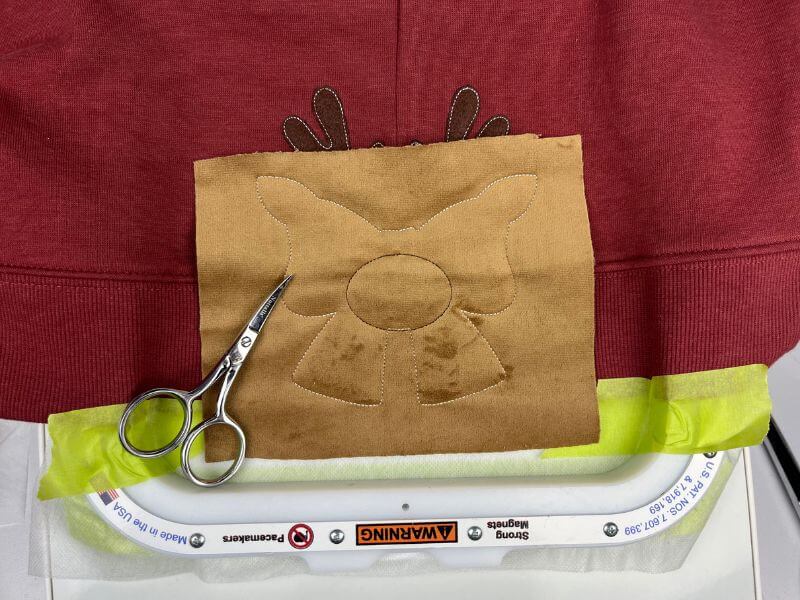
Step 12: Return the hoop to the machine and stitch the tack-down.
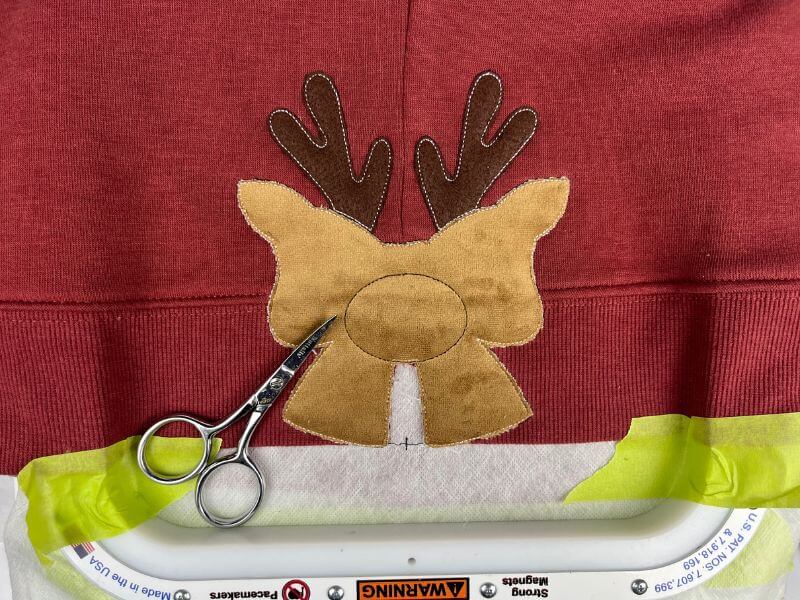
Step 13: Remove the hoop from the machine and carefully cut the excess fabric from around the tack-down stitch.
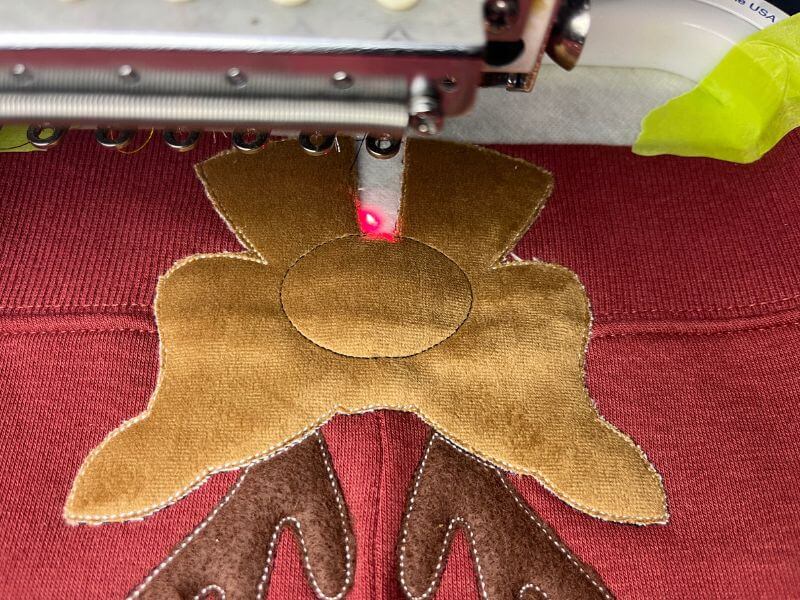
Step 14: Return the hoop to your machine and stitch the final placement stitch.
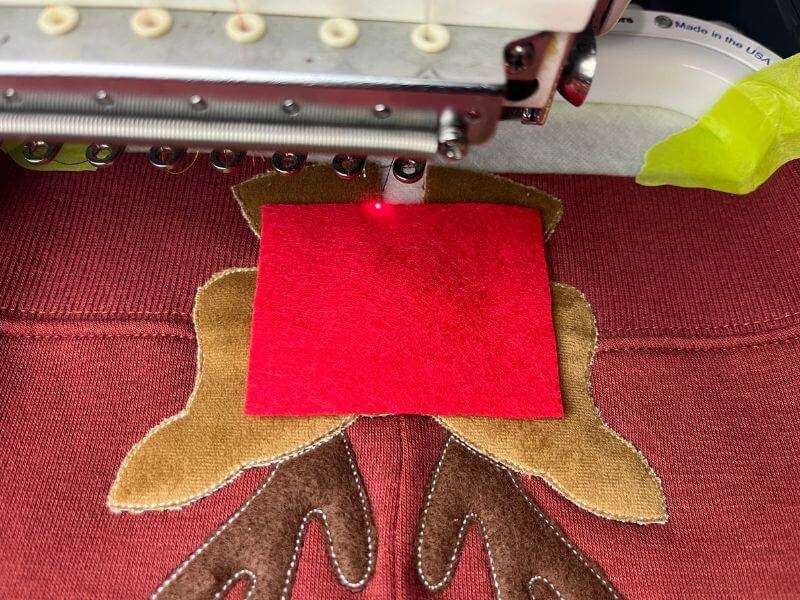
Step 15: Place one of the 2.5” x 2.5” pieces of fabric over the placement stitch, covering all the placement stitches.
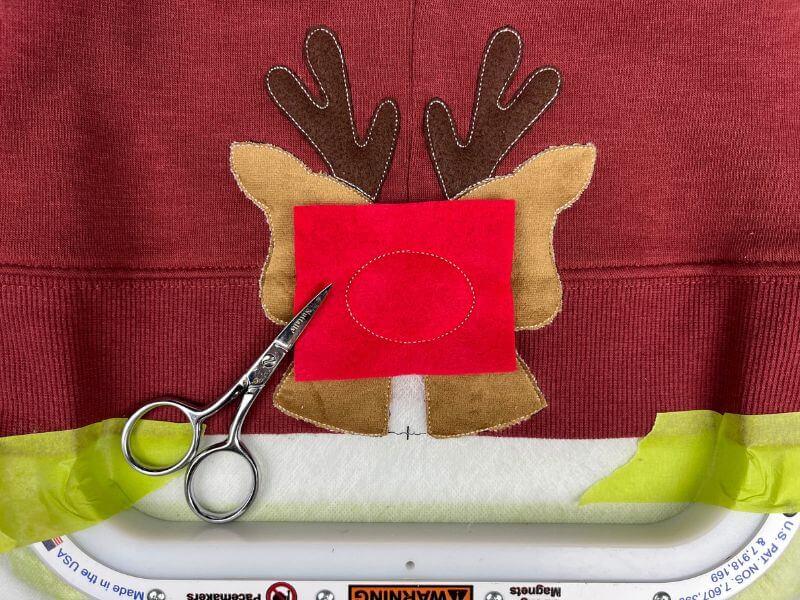
Step 16: Return the hoop to the machine and stitch the tack-down.
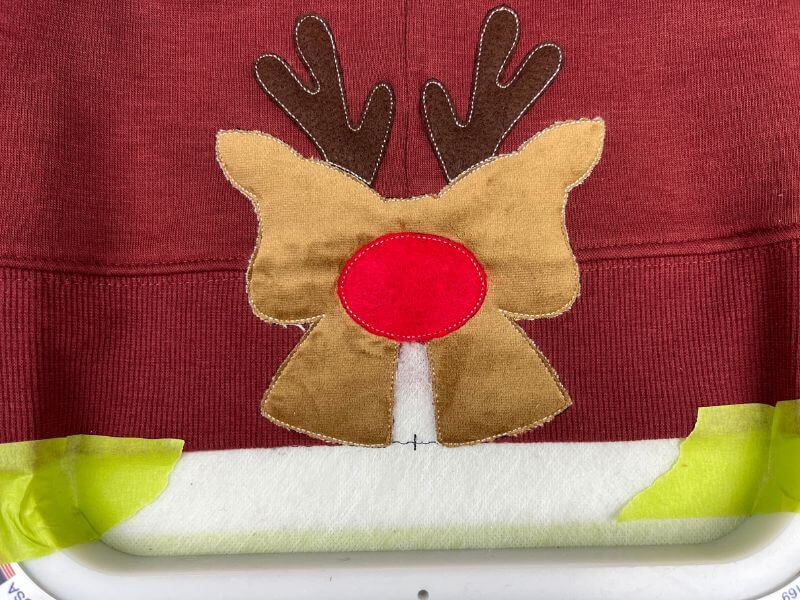
Step 17: Remove the hoop from the machine and carefully cut away the excess fabric from around the tack-down stitch.
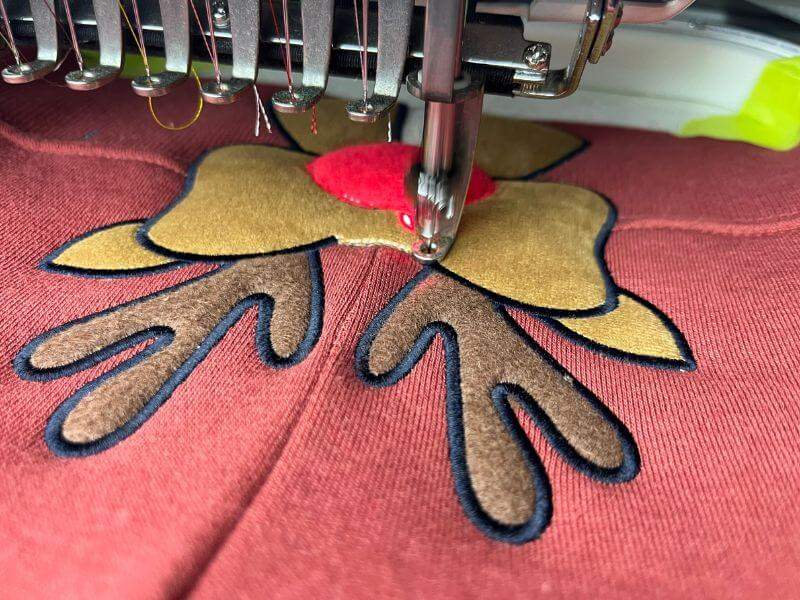
Step 18: Return the hoop to the machine and run the final satin stitch around the design.
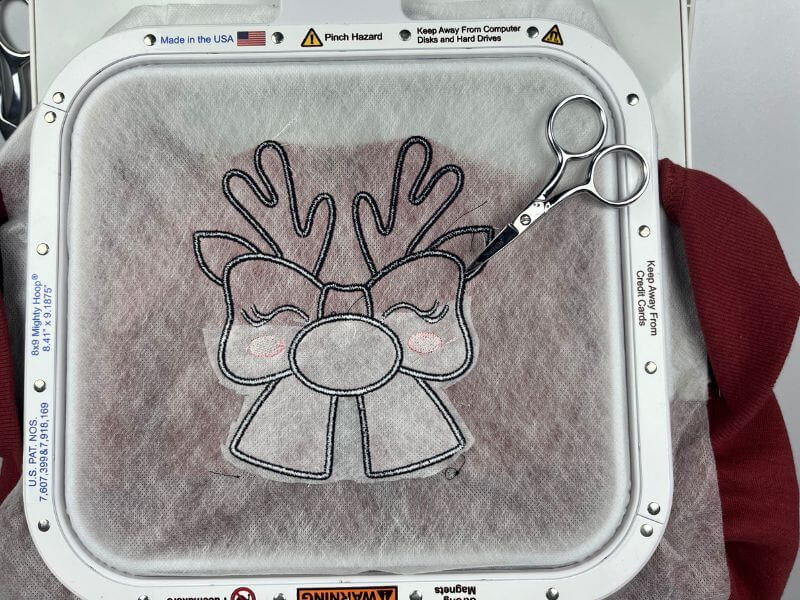
Step 19: Remove the hoop from the machine and the design from the hoop. Cut away any long threads from the back of the design.
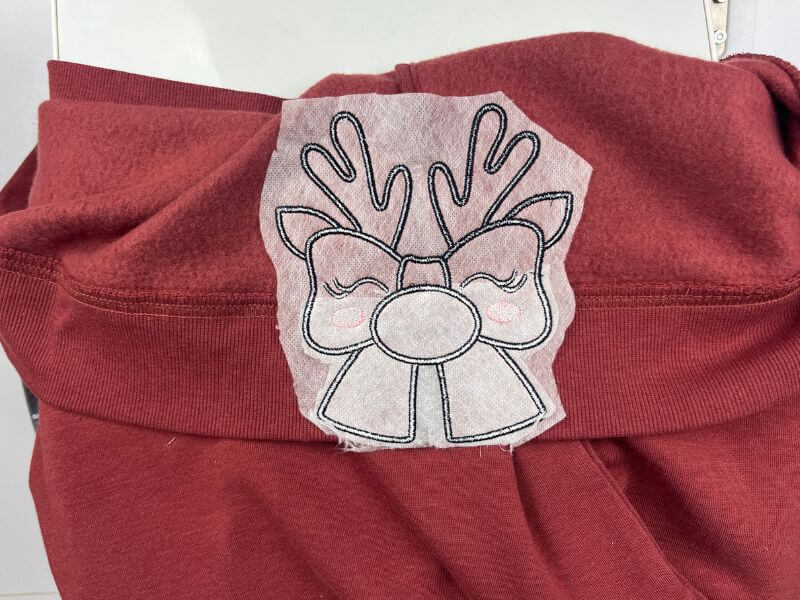
Step 20: Cut the excess stabilizer around the design, carefully not cutting into the satin stitch.
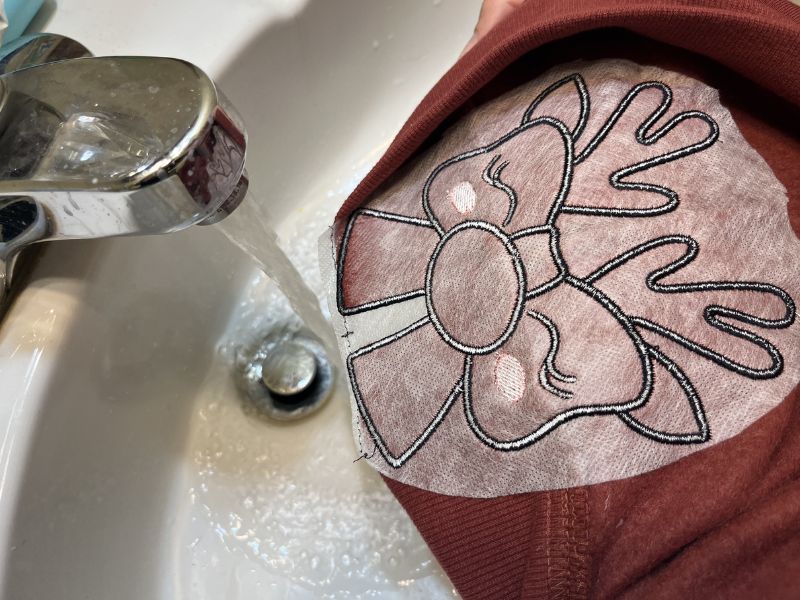
Step 21: Using a warm bowl of water and your fingers, carefully wash away the remainder of the stabilizer from around the design.
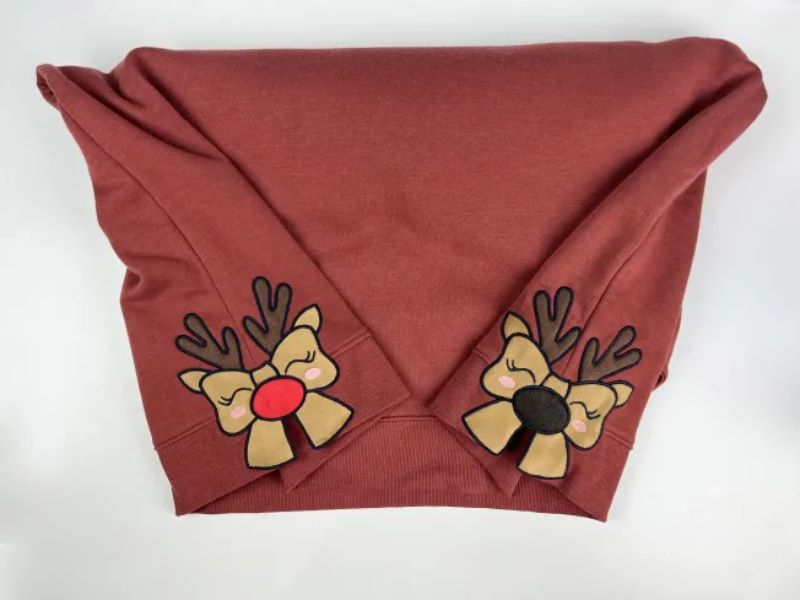
Step 22: Repeat all these steps for the other side of your sweater.
With side seam appliqué bows, you can transform any sweater into a festive and fashionable piece. Whether creating for yourself or planning handmade gifts, this technique will bring smiles and compliments. We can’t wait to see how you bring this trend to life!
Remember to check out all our other high-quality embroidery designs! Want to save up to 90% on designs? Join our special Embroidery Legacy Design Club for great savings. Members get free pocket page PDFs of various embroidery techniques!
