Have you ever thought about giving your sleeves a stylish twist with machine embroidery?
Discover the creative options of machine embroidery on sleeves, adding personality to your clothing. This guide will show you how to add style to your sleeves using different methods depending on what equipment you have. We will also share versatile styling ideas.
Ready to roll up your sleeves and stitch your style?
Types of Sleeve Embroidery
Sleeve embroidery can jazz up a boring sweatshirt or sweater and add elegance to a crisp cotton shirt.
You can place your embroidery design virtually everywhere, depending on the size and type. Still, considering how those viewing them will perceive them is best.
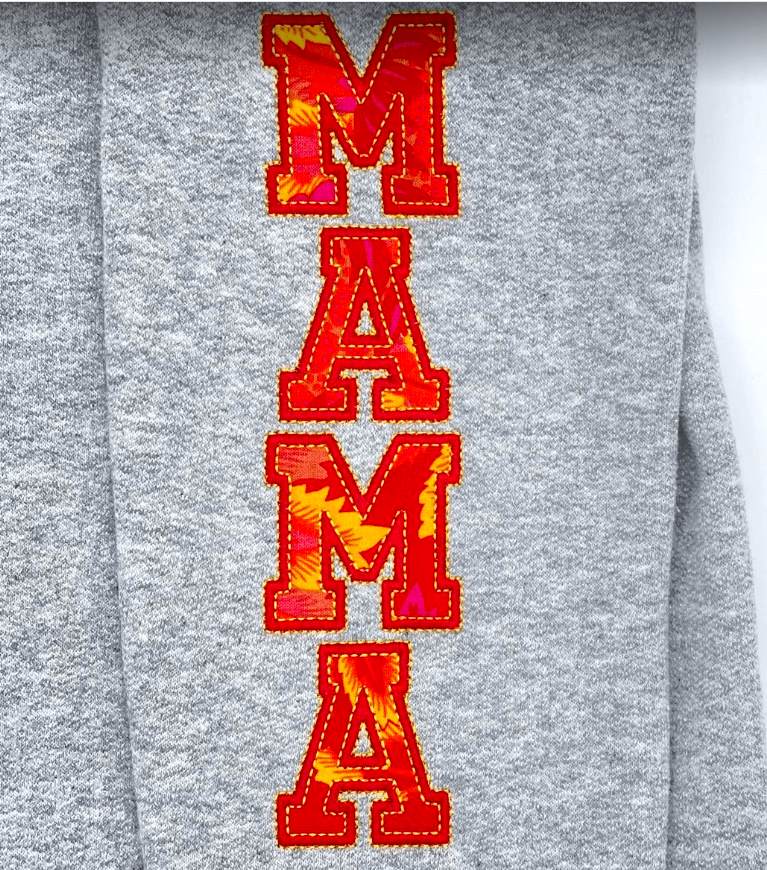
If you have team spirit, you can place your favorite mascot on the outside shoulder, almost like a badge of honor. A longer saying or bigger letters can run down your arm vertically or horizontally.
If you have a meaningful quote or name (such as your kids or pets) you want to see all day while you work, place it on the inner forearm. You can also place a smaller logo or monogram near or on the cuff. Personalized sweatshirts also make great gift ideas!

Placement is up to you; you can embroider on virtually every area of the sleeve.
Upper Sleeve Embroidery
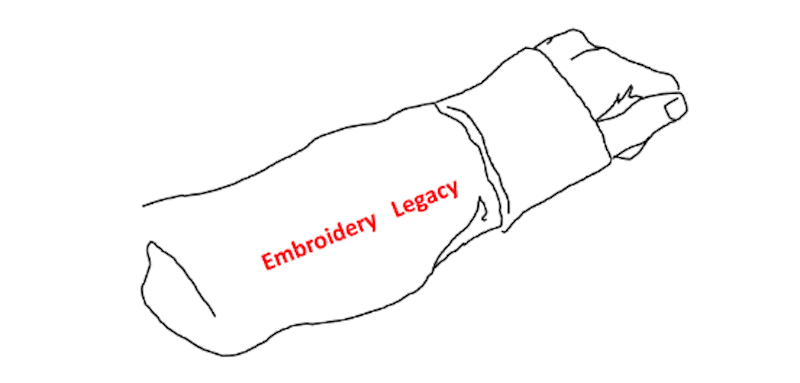
Center the upper sleeve on the shoulder seam and let it run down the sleeve. You can align the lettering vertically or horizontally. People often get embroidery on their upper arm, from shoulder to elbow, to show it off on the side.
Lower Inside Sleeve Embroidery
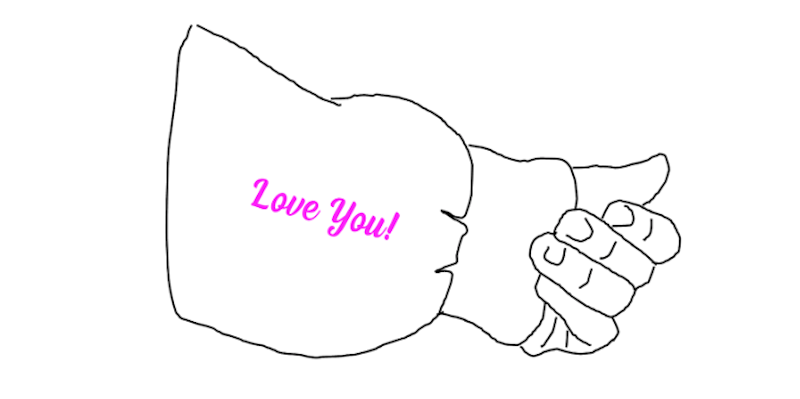
The orientation of the “inside” sleeve embroidery is between the center line of the sleeve and the seam under your arm. This places it so that you can see it when you look down.
Lower Sleeve Embroidery
Lower sleeve and upper sleeve placement are the same on the center line of the sleeve.
Cuff Embroidery
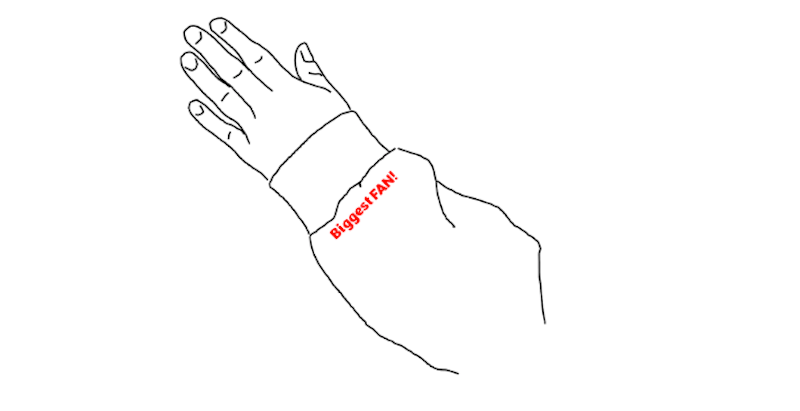
You can directly do cuff embroidery on the cuff or the bottom of the sleeve by the cuff. We will discuss the best way to do these narrower sleeve parts.
What Do I Need To Embroider On Sleeves
Let’s discuss the equipment you will need to create sleeve embroidery. Sleeves are long and skinny, so having a sleeve hoop is extremely handy if you’re embroidering lots of them. But we have some tricks “up our sleeve” to allow everyone to get great results, should you choose to use regular hoops.
- Seam ripper: great for removing the serged edge of sweatshirts (better than scissors to avoid cutting fabric by mistake).
- Marking chalk.
- Ruler or measuring tape.
- Embroidery stabilizer (use one of the following depending on the method you use).
- No-show mesh
- Sticky stabilizer
- An embroidery hoop (we’ll go over both methods to embroider using the two hoops below).
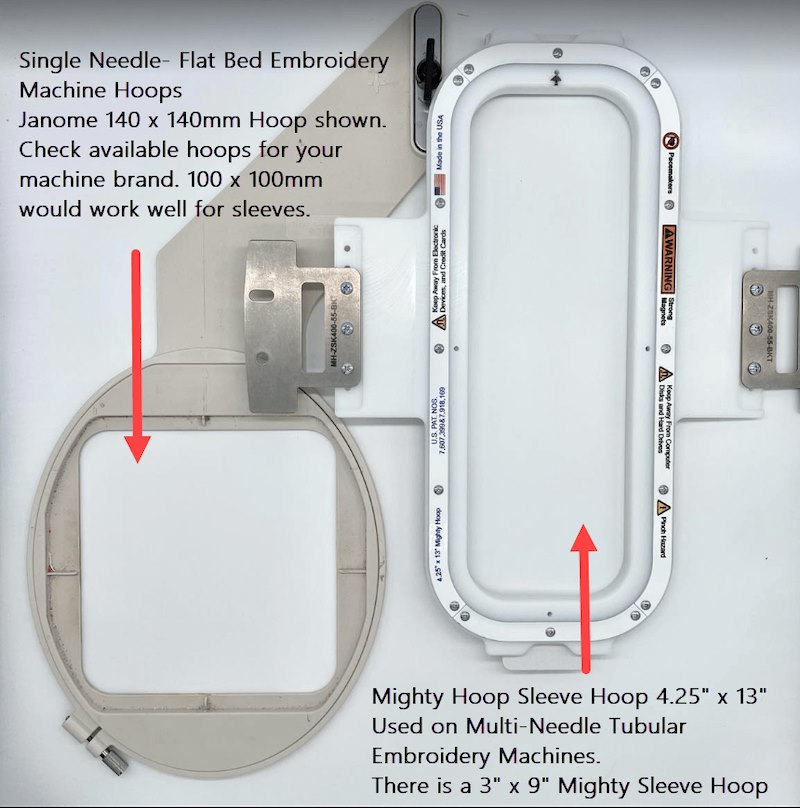
- Sleeve hoop: long and skinny.
- Regular hoop: great for cuffs and smaller areas; the hoop size depends on the size of the design.
How To Embroider A Sleeve Tutorial
The design placement on your sleeve can be anywhere.
We’ll discuss three different methods of embroidering on your sleeve below.
How To Embroider On A Sleeve Using A Sleeve Hoop
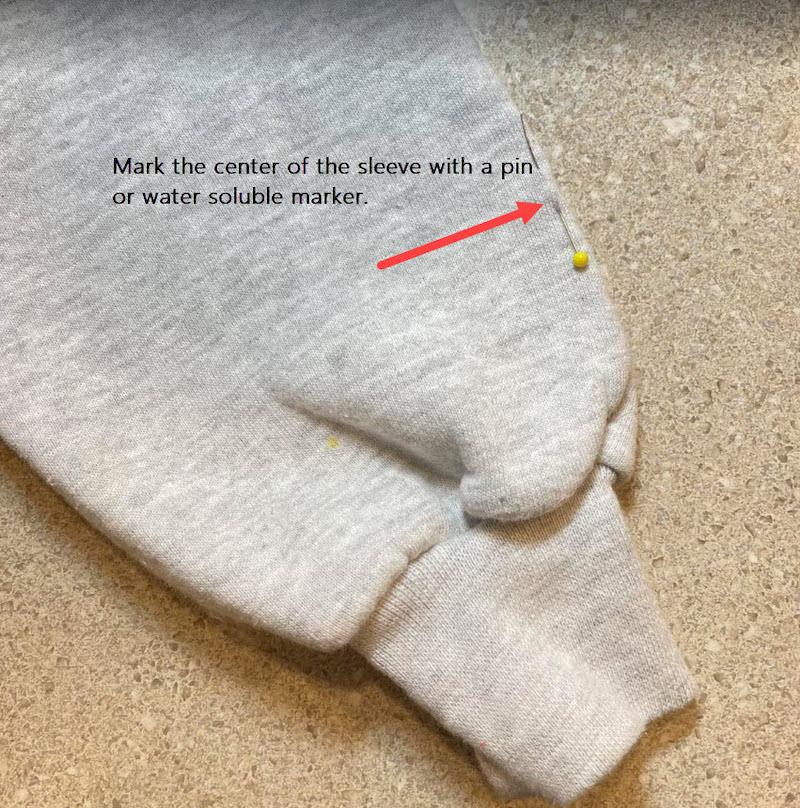
Start by finding the center point of your sleeve. We need to know this no matter where you place your embroidery.
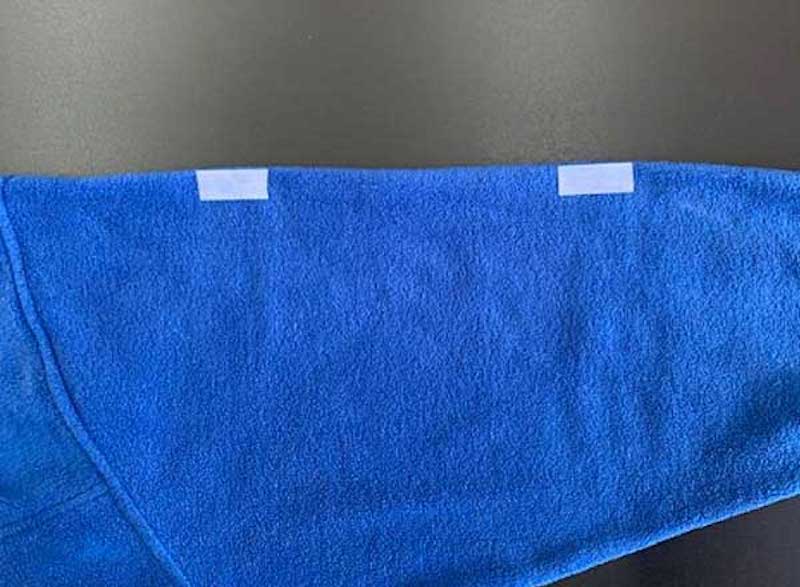
Lay out your garment folding on the center seam (align with the shoulder and underarm seam).
Mark the center with pins or tape.
Open and flatten the sleeve and, using a ruler, put a mark (with chalk or water-soluble pen) between your two center points.

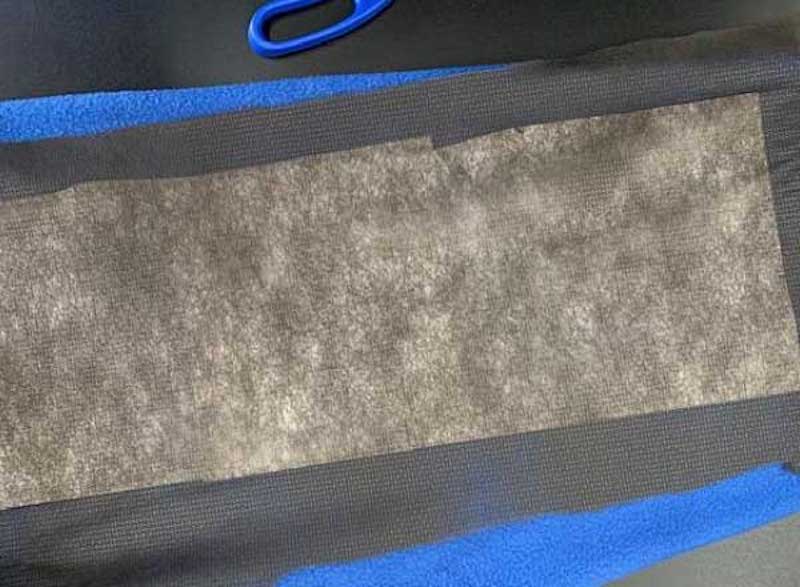
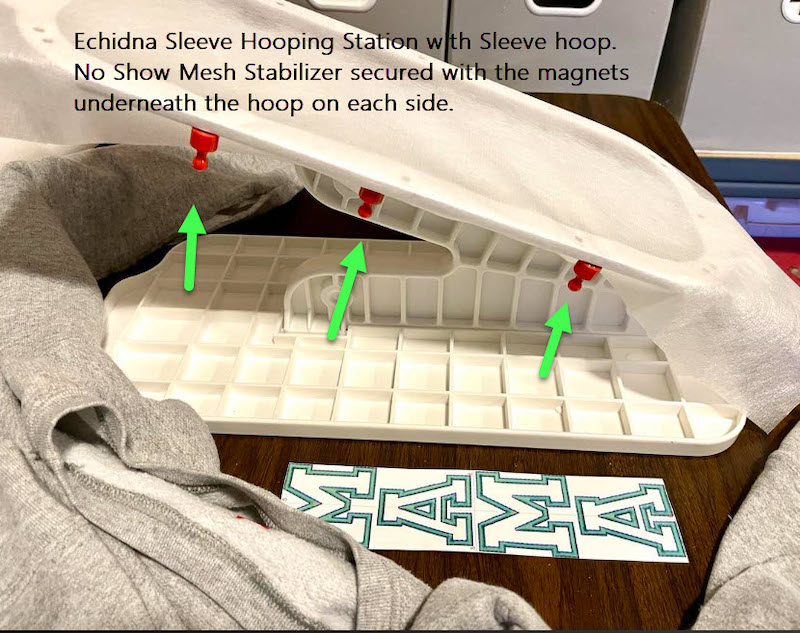
Turn your garment inside out. Combine medium cutaway stabilizer and no-show mesh. Attach them to your sleeve using temporary adhesive spray. (The cutaway is touching the sleeve fabric).
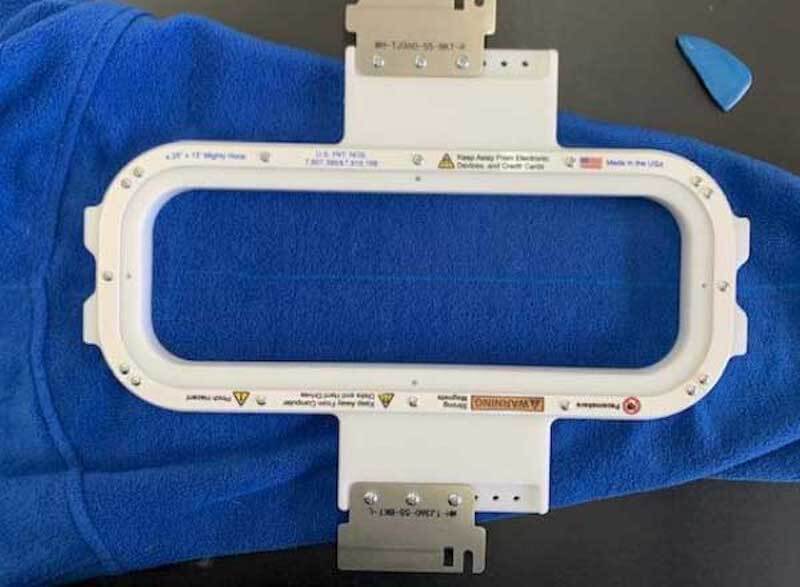
Turn the garment inside out (the stabilizer should stay in place from the spray adhesive) and insert the hoop bottom into the sleeve.
Center the hoop with the markings you made, and apply the top half of the hoop.
Insert your hooped sleeve into your embroidery machine and embroider.

Remove the hoop from your sleeve, and you’re done! That was easy!

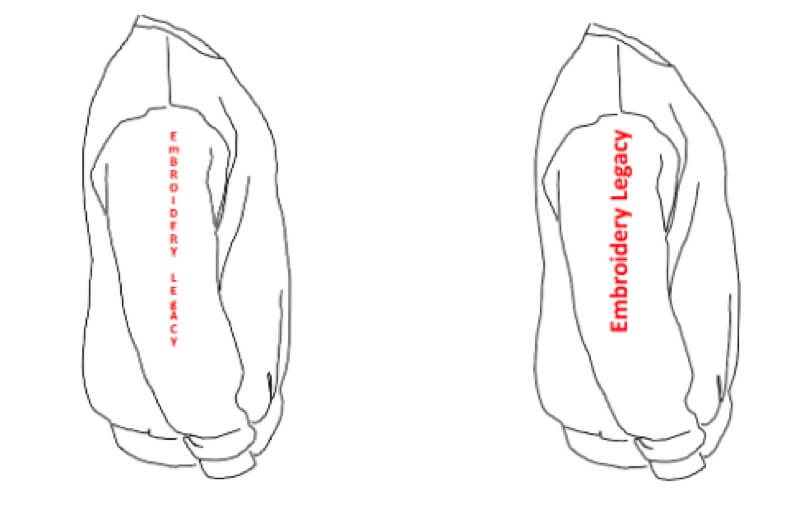
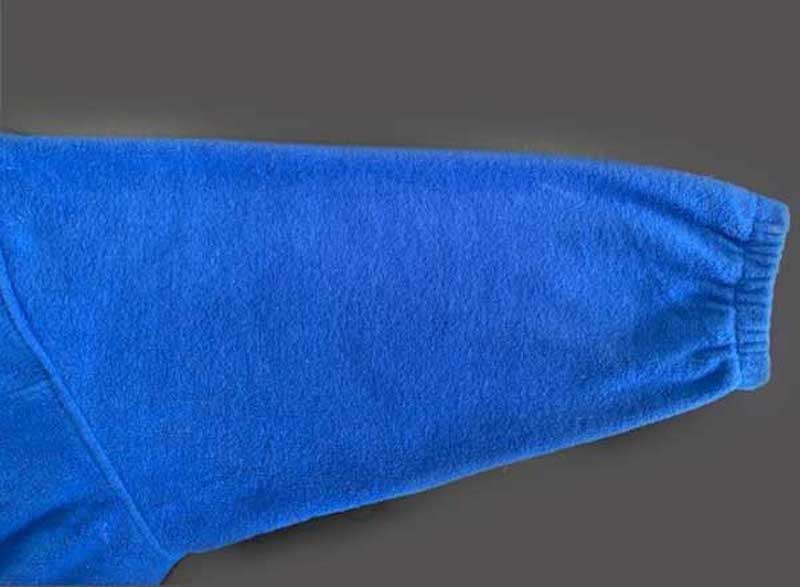
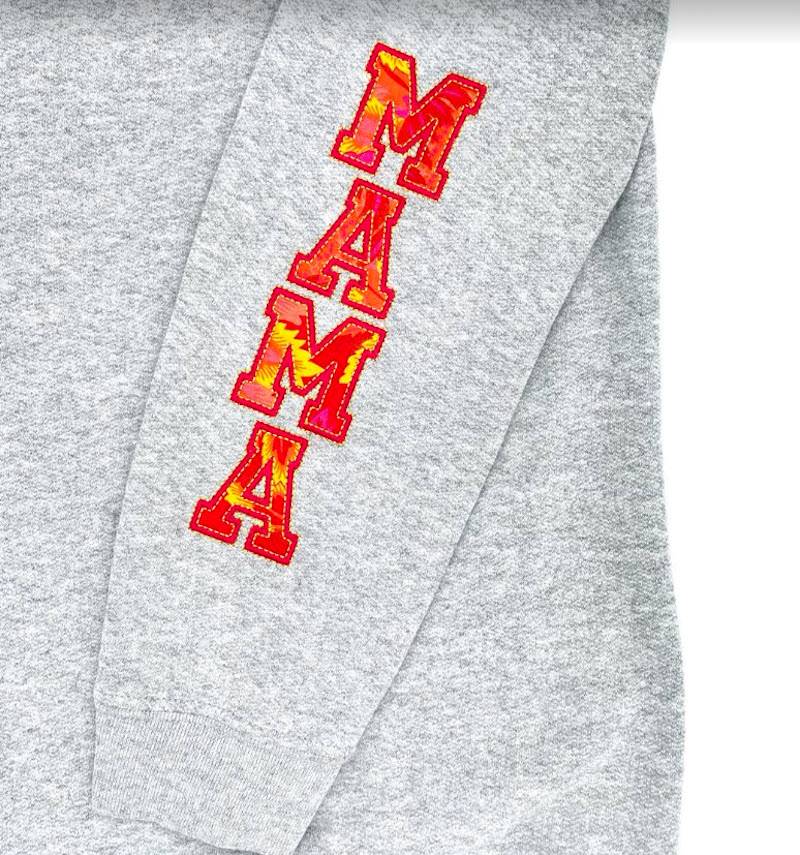
These are two examples of what vertical and horizontal embroidery look like.
Don’t have a sleeve hoop? No problem, we can help you with that, too!
How To Embroider On A Sleeve – Sewing Involved
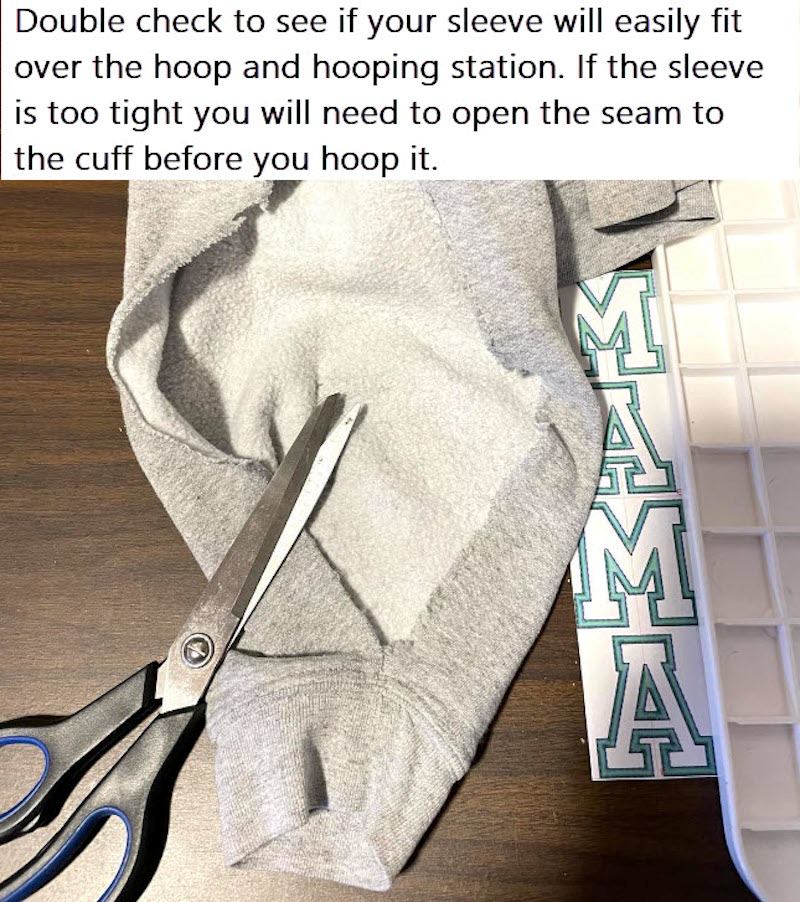
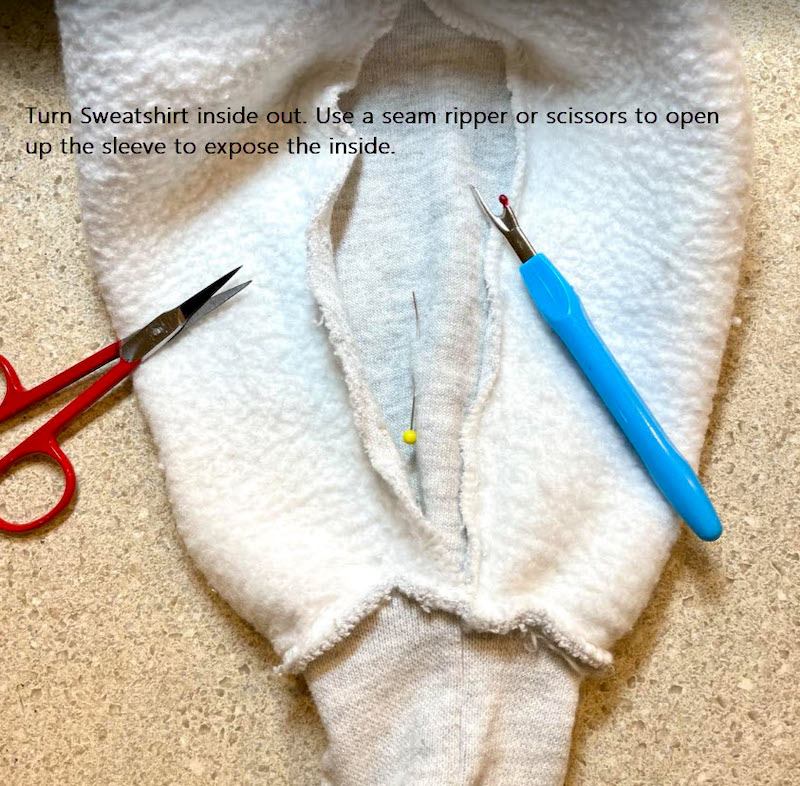
Sometimes, your embroidery hoop does not fit in your shirt sleeve. Perhaps you have a smaller sweater or bigger hoops. To start embroidery hooping, we will have to open the sleeve so we can get a hoop in – Please note there will be sewing involved.
Following the first few steps in the sleeve hoop method above. You will still want to center and outline where you’ll place your design. Use scissors or a seam ripper to remove stitches from the closest area to where you want to embroider.
Remember, you do not have to remove stitches in the whole arm! You just need a space large enough for your hoop to fit. Sometimes, you may not have to open the cuff.
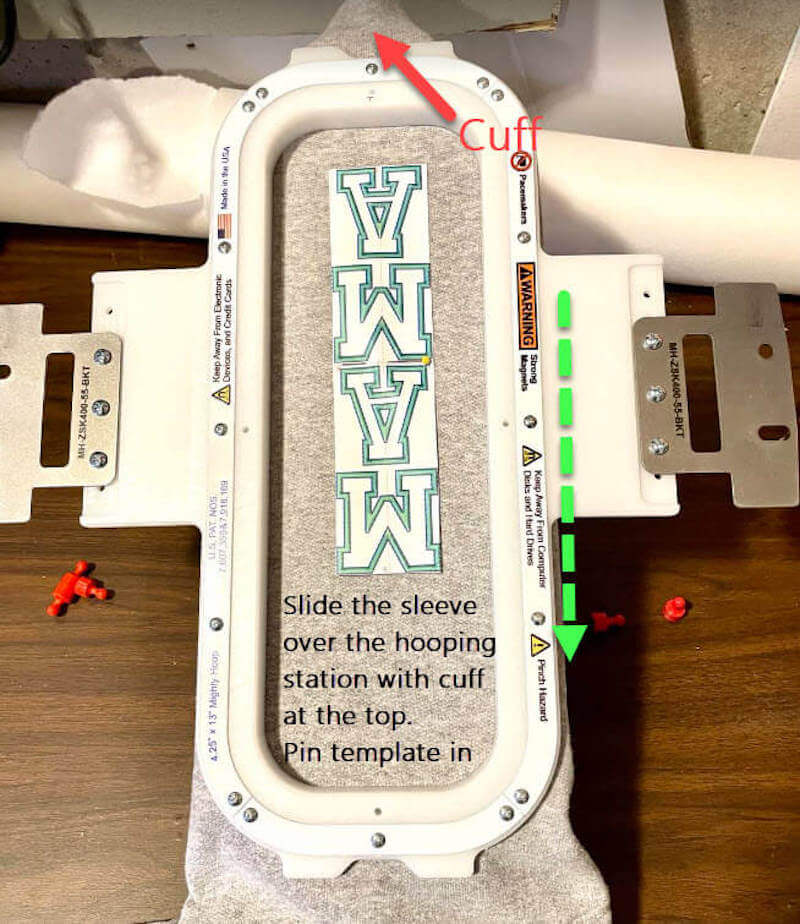
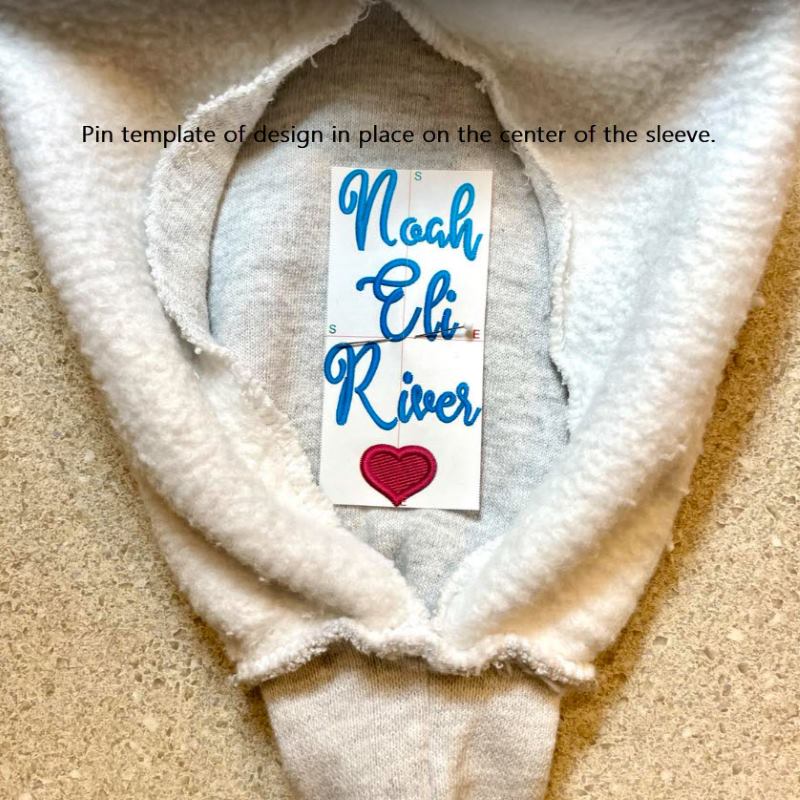
Print a template of your design to help with proper placement.
Pin your template to your desired location.
Now that you know the exact location for your design make sure your starting needle lines up with the center of your design.
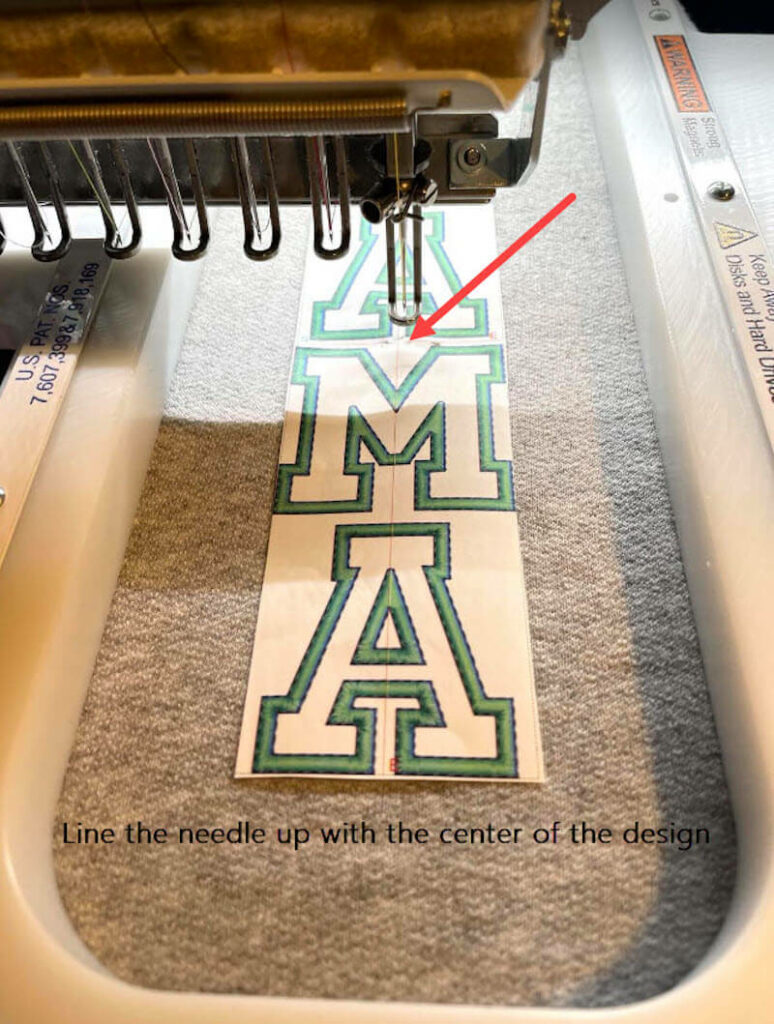
Put your embroidery hoop in your machine and let it stitch!
Now, close up your sleeve.
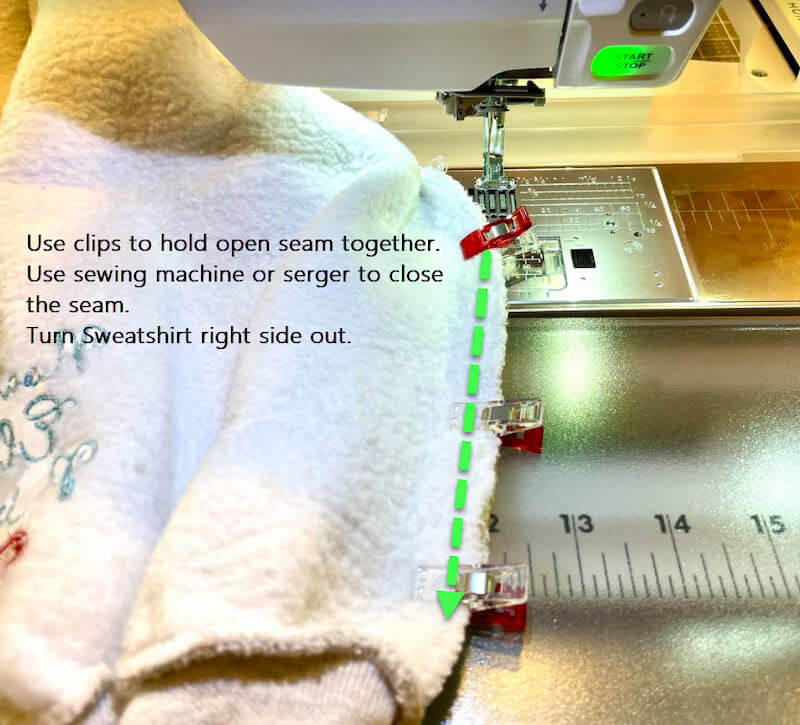
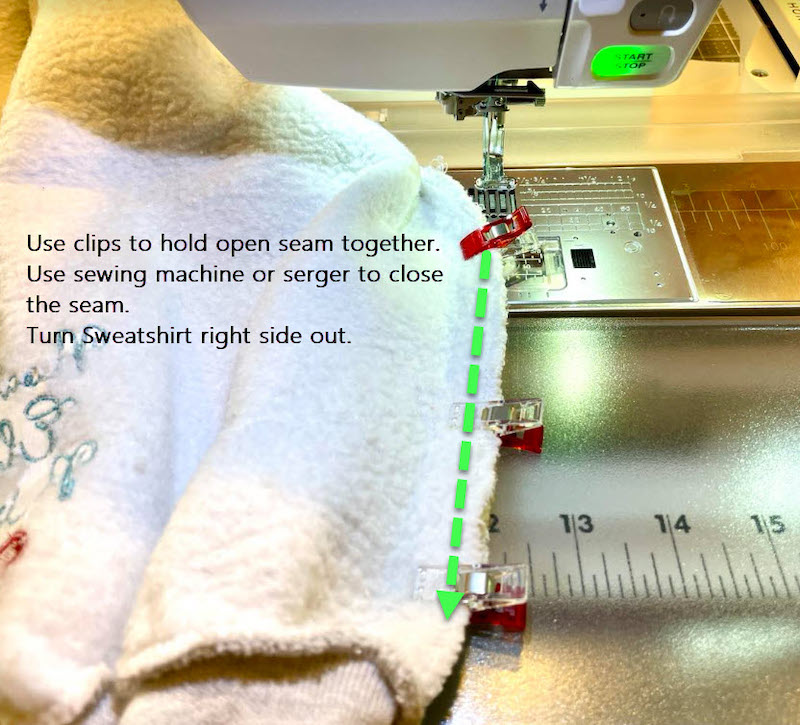
Fold your sweater so it is inside out. Use clips or pins to hold the seam together, and use your sewing machine (on a straight stitch) or serger to sew the gap shut.
Once you finish, turn your sweatshirt right side out.
How To Embroider On & Near A Sleeve Cuff
Follow the same centering rules we discussed above.
Flip your sleeve and cut open the part closest to where you’ll embroider the design using scissors or a seam ripper.
Pin the template of your design in the area you previously marked.
Use a sticky stabilizer and remove the paper to which you want your garment to stick.
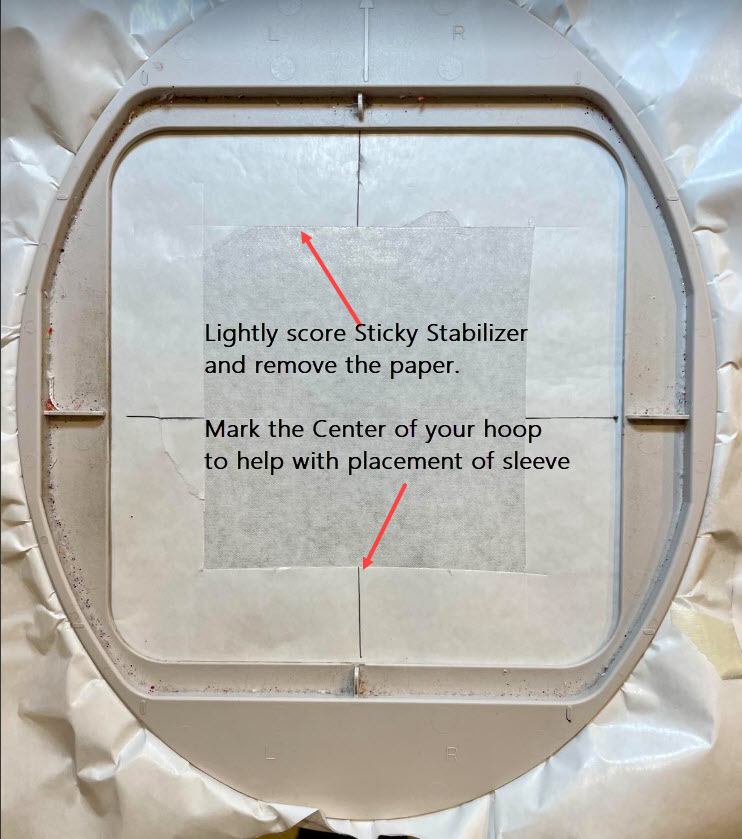
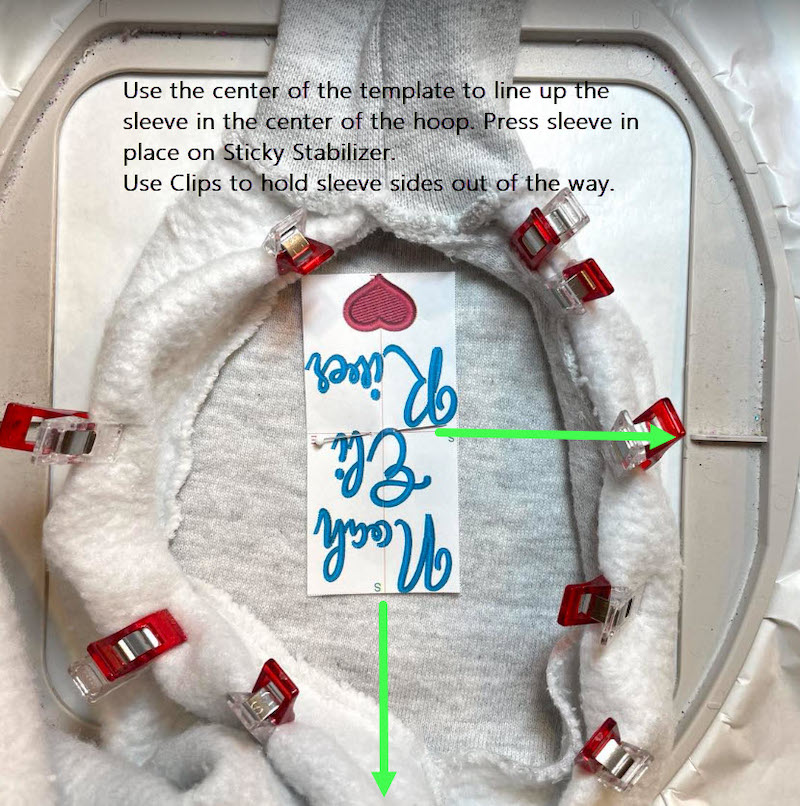
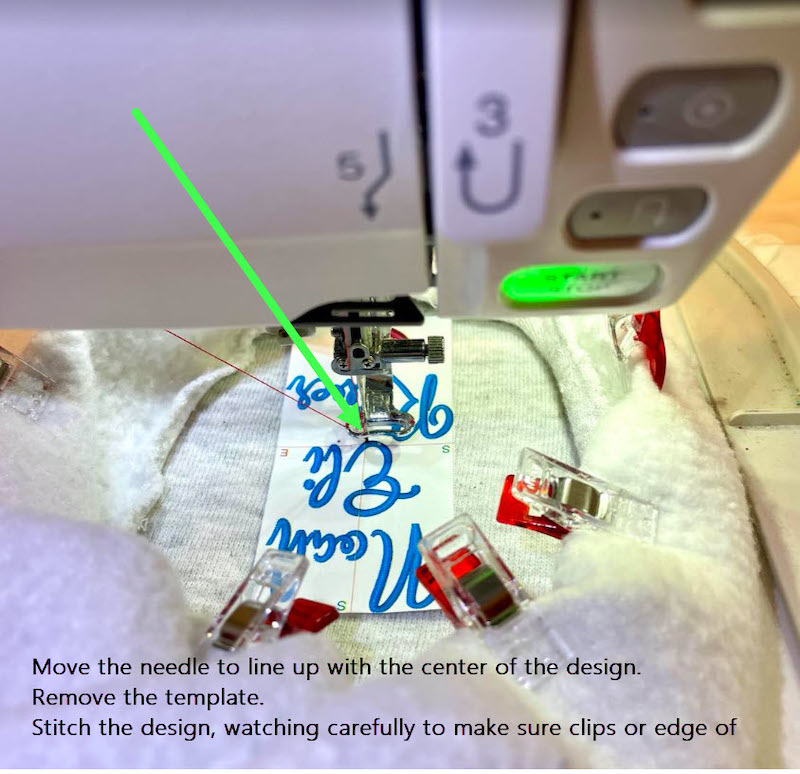
Center the design of your template with your machine.
Remove your template and pin, and let your design start stitching! Carefully watch to ensure that the needle does not hit your clips or sides of the sleeve.
Once you’ve finished embroidering, tear away the remainder of the sticky stabilizer and turn the sleeve inside. Sew the side of your sleeve back together.
Once you finish embroidering, sew the side of your sleeve back together, and voila, you finish!

Conclusion: What Shirt Sleeve Are You Embroidering First?
Trying new things can be scary, but this tutorial should help you feel more comfortable. Remember these tips for embroidering sleeves.
- Know who is going to view this: you or others? An easy way to gauge is to create a template, place it on the sleeve, and view it in a mirror.
- If opening a sleeve, use a seam ripper to clip the top stitches of the serged edge.
- When embroidering near the cuff, avoid the cuff and sleeve seam.
- Practice on old garments until you feel comfortable hooping and stitching. When you’re comfortable, move on to your final garment stitches.


Love this! Such detailed instructions and pics really show the right way to work through the issues.
Thank you for this tutorial!
No problem Robin! Glad this tutorial helped 🙂