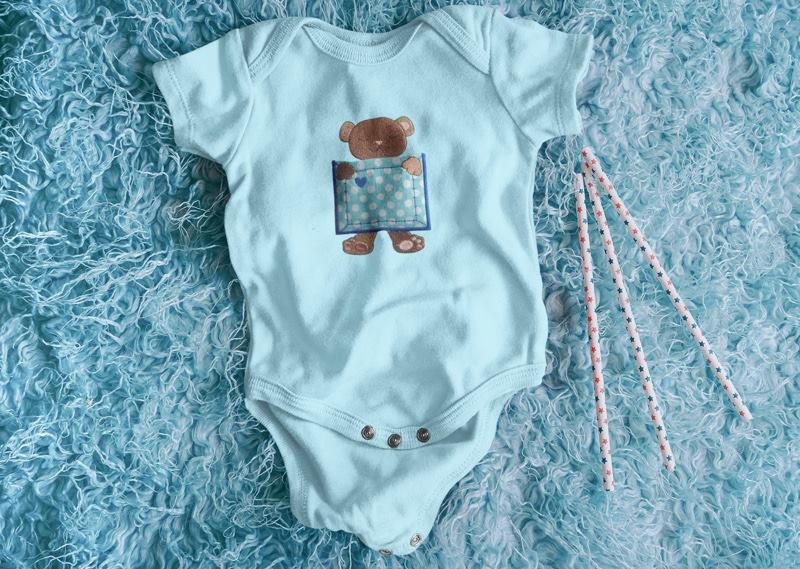
Want to add a touch of personality to your garments? Pocket embroidery design makes it easier than you might think (with no sewing involved)!

If you’ve ever glanced at an item and thought that could use something extra, you’re not alone! Embroidering pockets is a great way to add creativity and style to your projects.
You can use them on pants, and they are also stylish and functional for shirts, bags, and placemats!
How To Machine Embroider A Pocket
You can personalize your pocket with your thread color and the fabric you’ll use as your applique!
There are pocket embroidery designs with all the different embellishments that make it so easy to upcycle your garment!
The process of making a pocket design is quite simple!
- Iron-on fusible no-show mesh stabilizer
- Tear-away stabilizer
- Fabric for your pocket
- Matching embroidery thread
- Pocket embroidery design
- Pre-wash the applique fabric before stitching it onto the shirt. Manufacturers typically make T-shirts from knit fabric that doesn’t shrink. The cotton applique on the pocket may shrink if you embroider it onto the shirt and then wash it.
- Apply HeatnBond to the applique fabric before tacking it down to help the design stay in place. It also keeps the fabric from unraveling around the outside edges.
Embroidery Pocket Tutorial
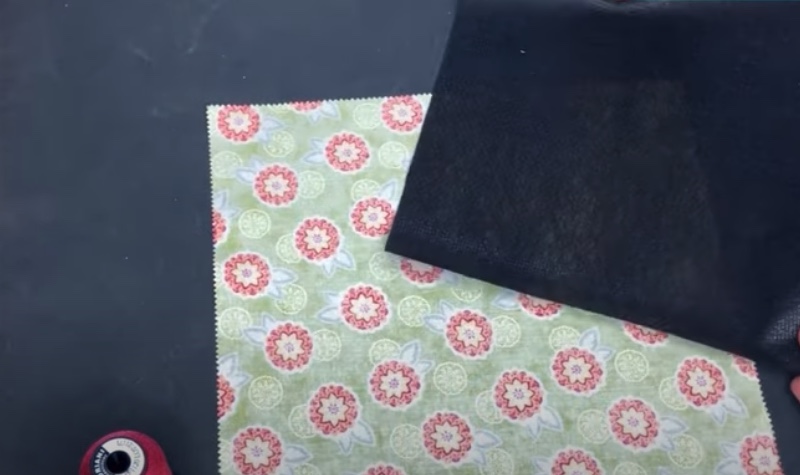
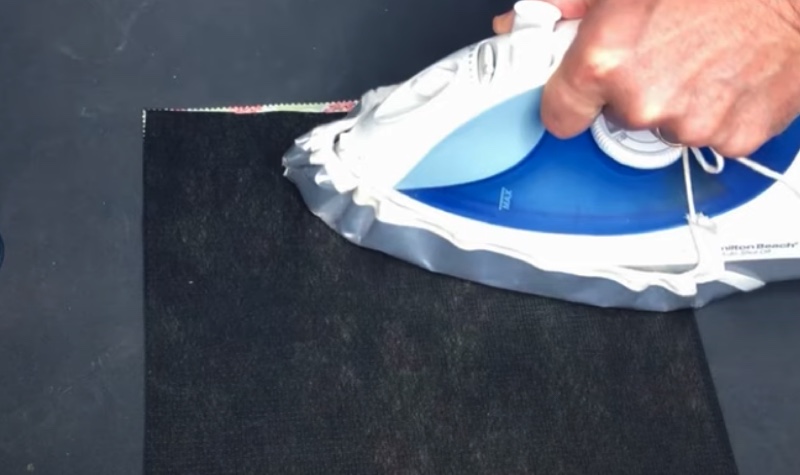
Step 1: Place the applique material upside down and iron on fusible no-show mesh stabilizer (this helps avoid fraying later on in the project).
Step 2: Hoop your tear-away stabilizer. Add your design file to your embroidery machine. After your first tack-down placement stitch, stop your machine.
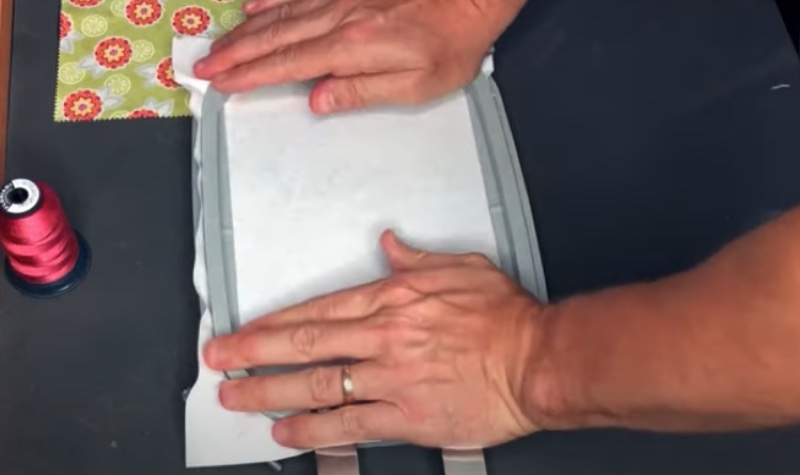
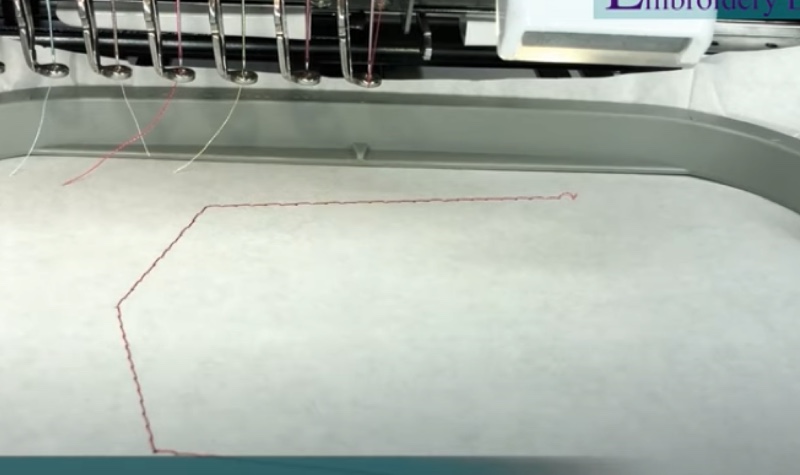
Step 3: Place the very end of your applique material and no-show mesh fusible sandwich over the placement stitch and run the following placement stitches.
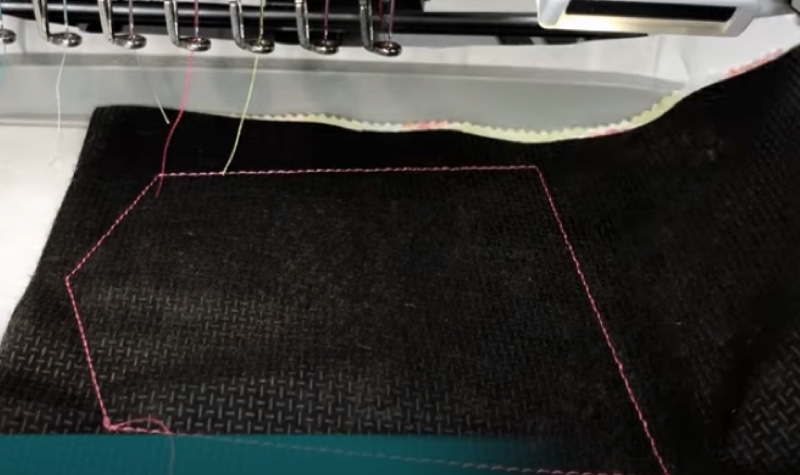
Step 4: Fold the applique material tightly over the placement stitch (you can use painters tape to hold the end down), then run the tack down and decorative stitches.
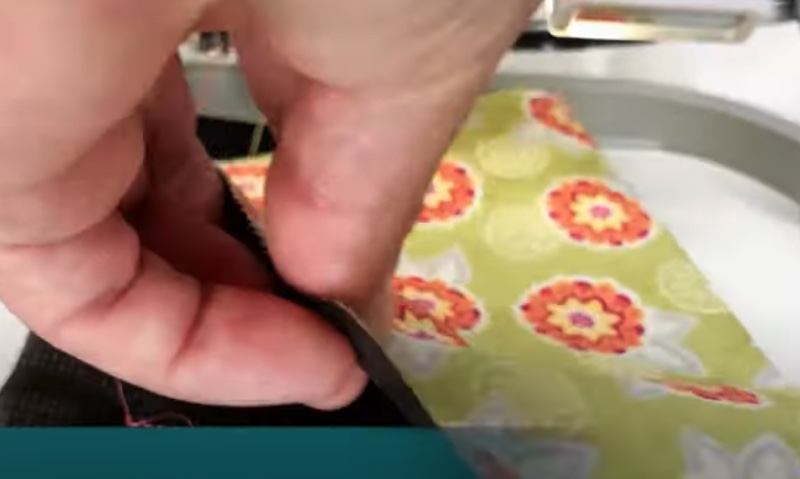
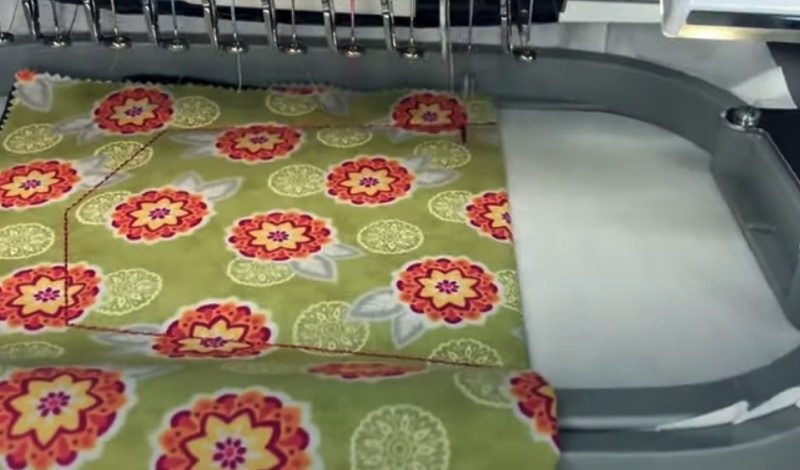
Step 5: Remove your design from the hoop and cut closely along the stitch line.
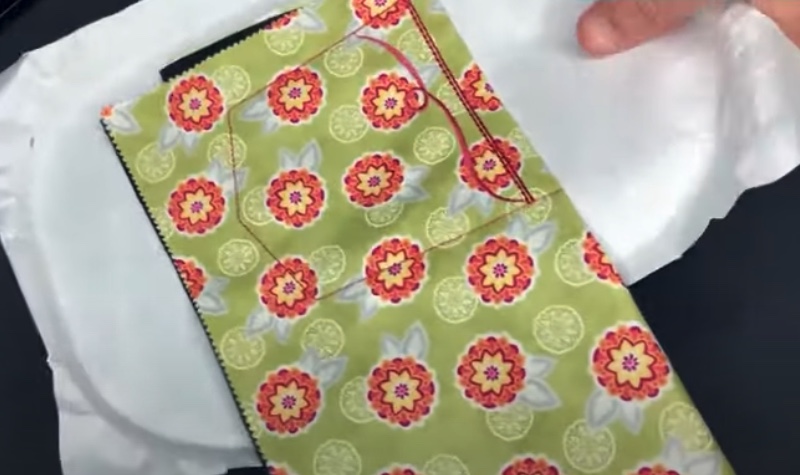
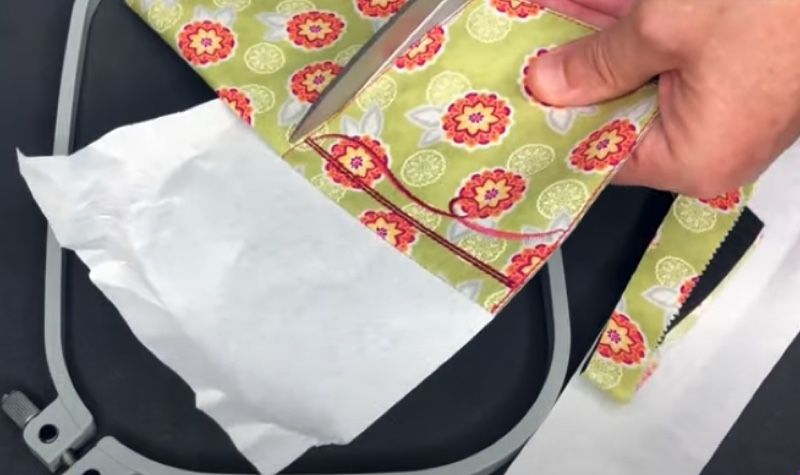
Step 6: Tear away all the stabilizer.
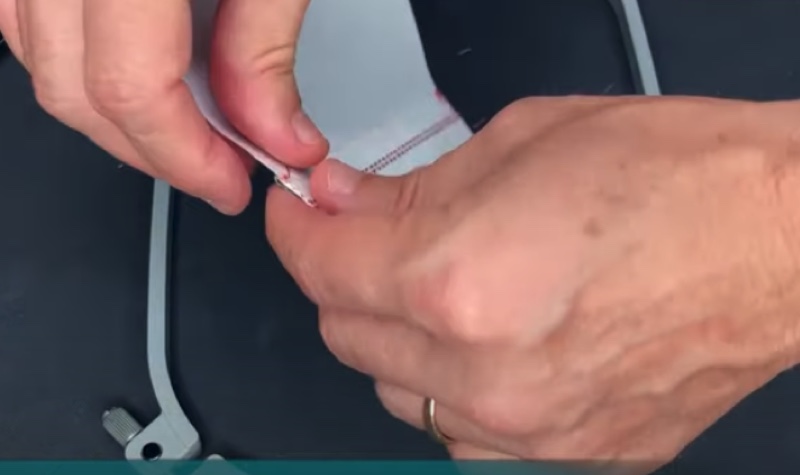
Step 7: Hoop the garment you’ll be applying your pocket to with a cut-away stabilizer. (Using a T-pin can help mark the center of your hoop and placement stitches.) Add your second pocket file to your machine.
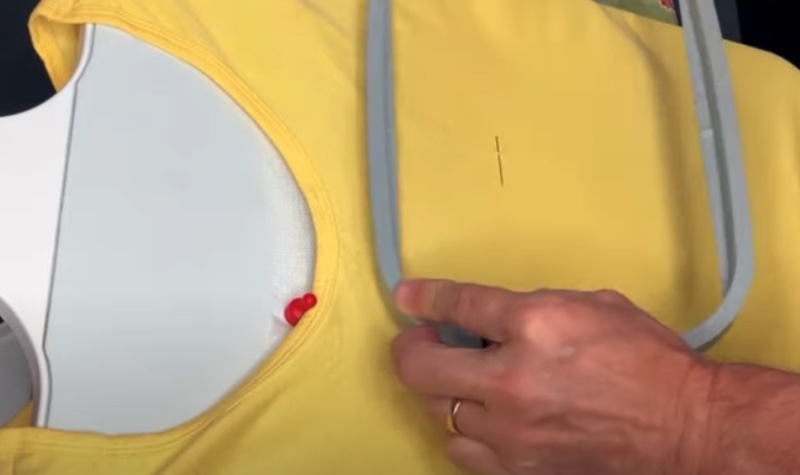
Step 8: Run your next placement design. Place the pocket above the placement stitch and run the finishing stitches.
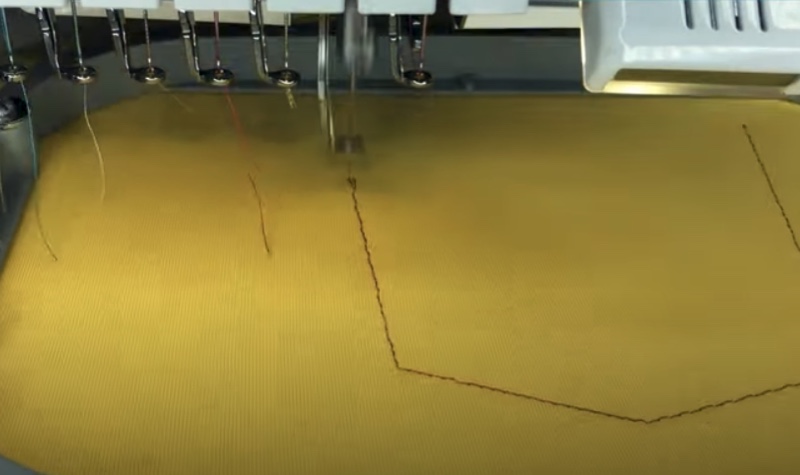
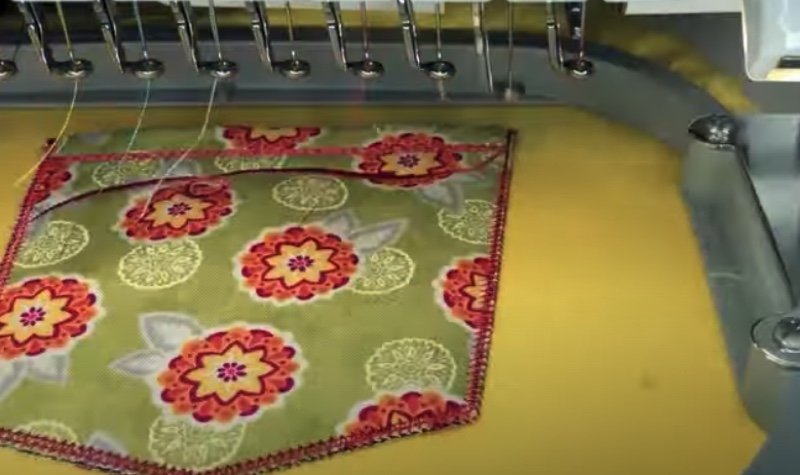
Step 9: Remove your garment from the hoop and cut away the stabilizer.
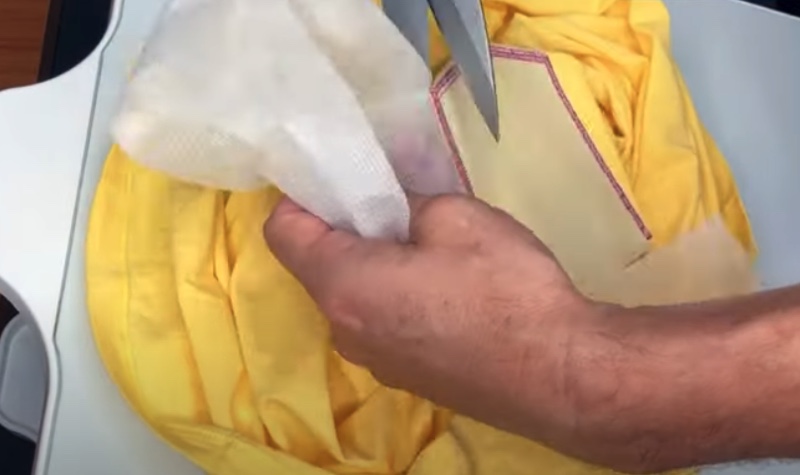
Your embroidered pocket is now complete!
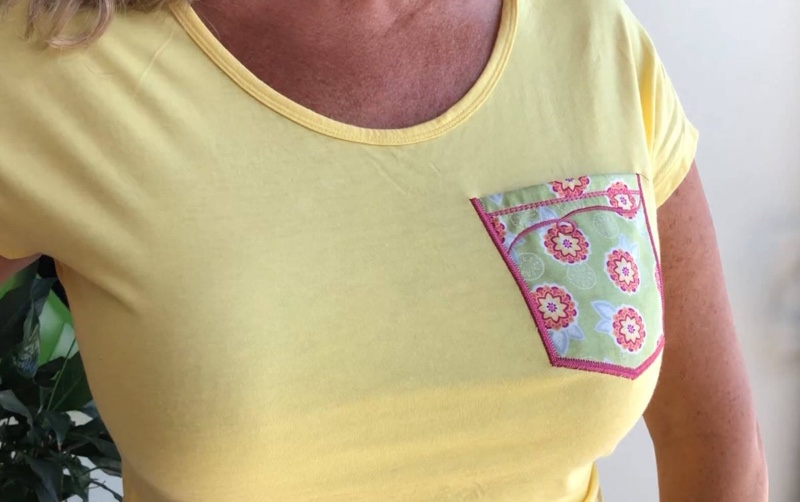
Are you more of a visual learner? Here’s a quick video:
Regarding clothing or bags, the smallest details can sometimes make the most significant impact! These are not only fun but also easy. You can create them for adults or children; they have become a trend you’ll want to practice!
We can’t wait to see your personalized garments – happy stitching!
