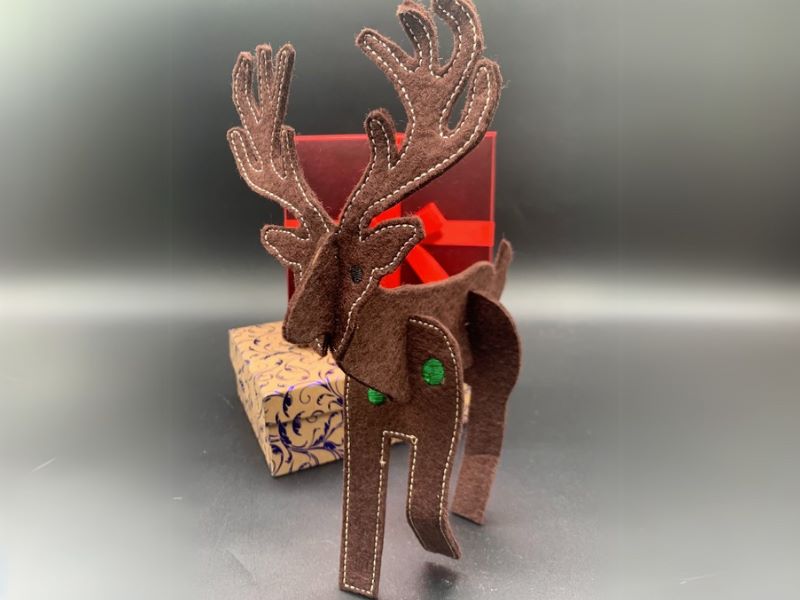
This Christmas, make your decorations (or gifts!) extra special with a 3D reindeer design that’s as adorable as it is festive.
In this tutorial, we’ll show you how to use Design Doodler to digitize and bring this charming design to life.
This project is great for brightening your holiday decorations or giving a special gift.
It is fun, creative, and full of Christmas cheer. Ready to wow everyone this season? Let’s get started!
Materials for 3D Embroidered Reindeer
- Design Doodler
- New to the Doodler? Try the free Design Doodler demo, and start creating your own embroidery designs! While you won’t be able to stitch them out, it’s a great way to explore all the features and get a feel for what’s possible. Includes 5 video lessons!
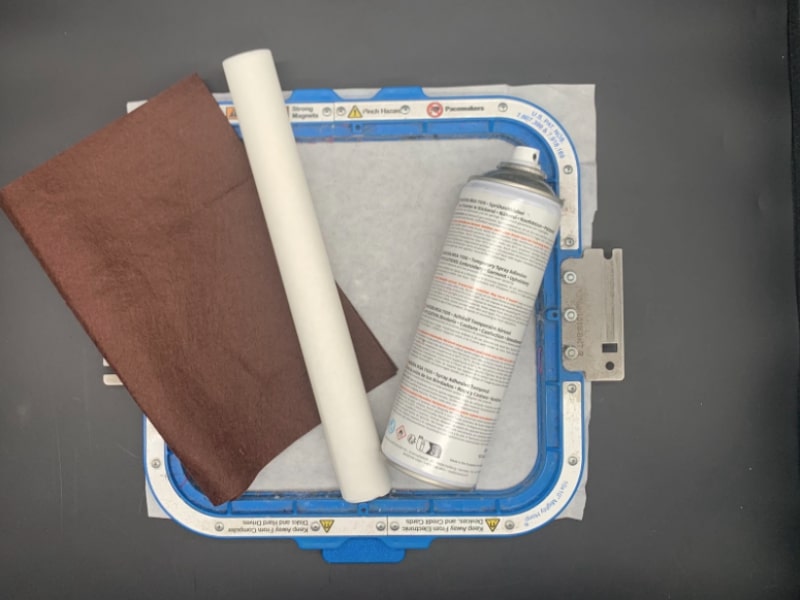
- Medium-weight tear-away stabilizer
- Two pieces of 10×10 inch felt (we used brown)
- Heat n’ Bond or other fusible bonding material 10×10 inch piece
- Temporary Adhesive Embroidery Spray
- Fabric scissors
- Iron
- Collar stays (4 pieces for leg stabilization)
- Artwork, which you can download below
Digitizing 3D Embroidery Christmas Reindeer
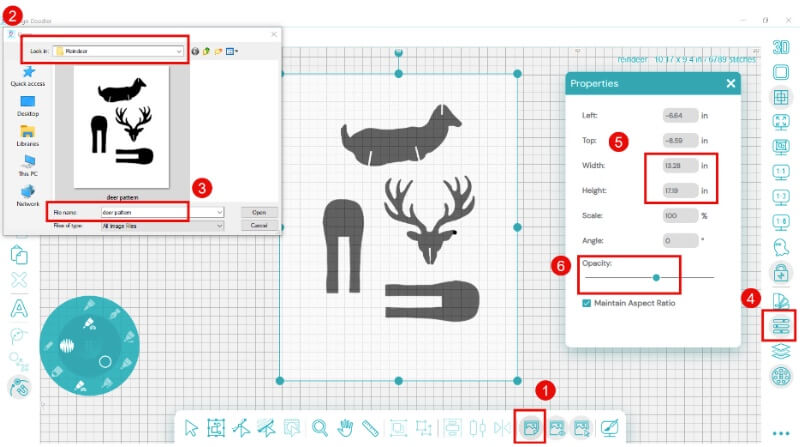
Begin by inserting artwork:
- Select the Load Backdrop icon.
- Navigate to your artwork location.
- Select your file name.
- Open the Properties Tool and select (click) on your artwork image.
- Resize to 13 x 17 inches (remember the actual artwork is smaller than the sheet of paper.
- Change the opacity to the desired level.
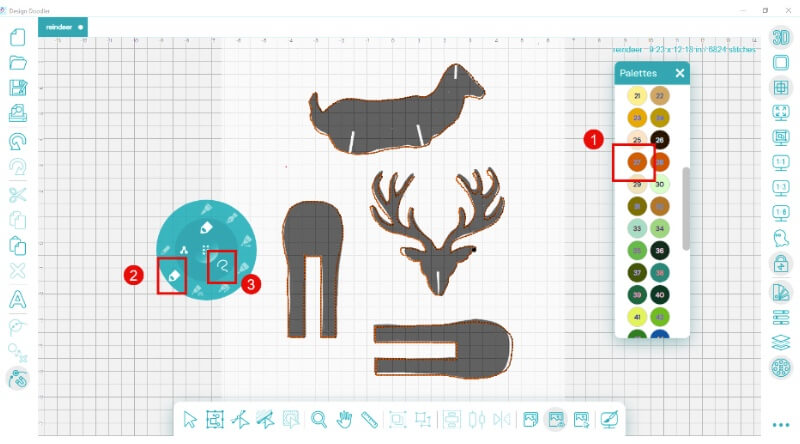
Digitize the outlines:
- Open the color palette and select your desired color.
- Select the Bean Run Stitch (triple stitch).
- Choose the Free draw option and Doodle around the edges of the Objects.
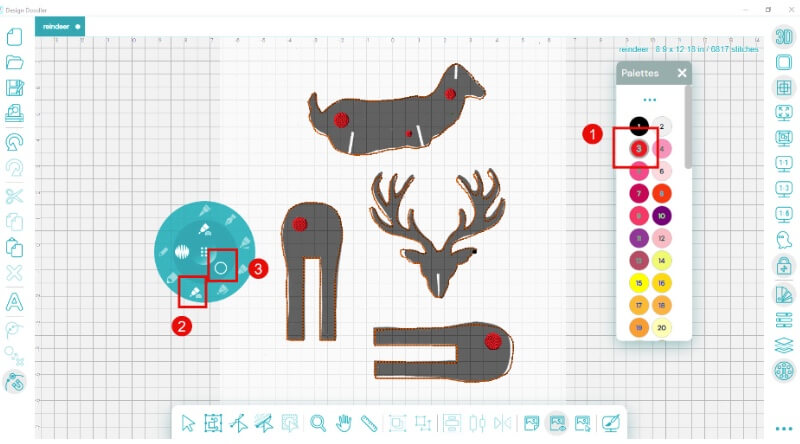
Add the colored dots or your own embellishments:
- Open the color palette and choose your color (we chose red).
- Select the fill brush.
- Choose the circle option and doodle a few spots.
We did red first and then repeated the process with green.
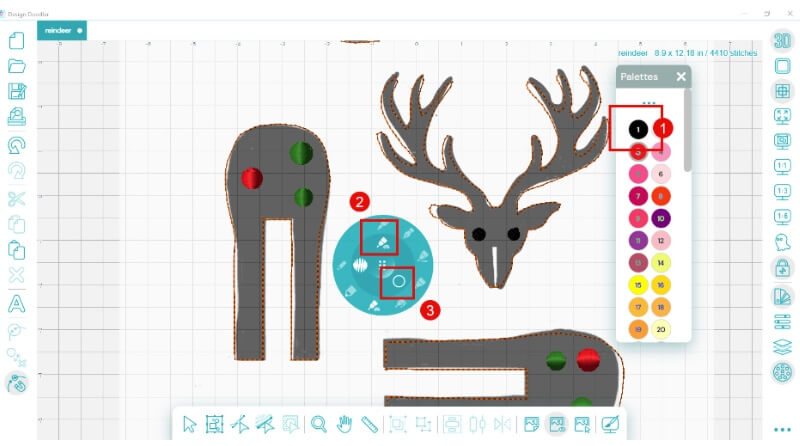
Create the reindeer eyes:
- Open the color palette and choose black (or whatever color you wish).
- Select the Fill brush.
- Choose the circle option.
- Put eyes on your reindeer head.
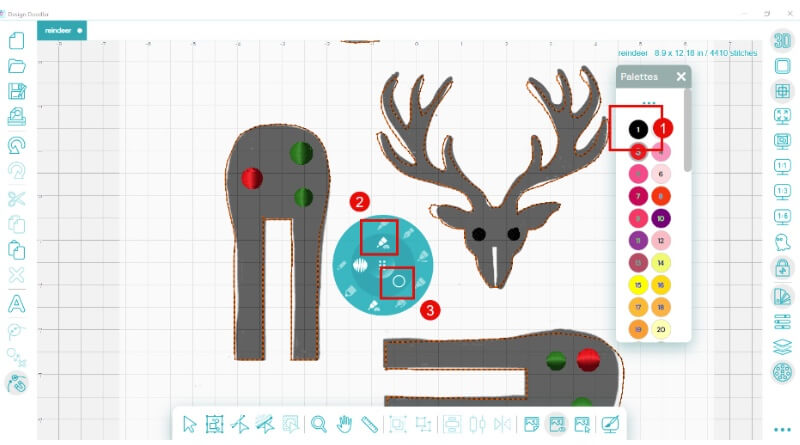
Save your file:
- Click the Save File icon.
- Navigate to your desired location.
- Name the file and click save.
Embroidering 3D Embroidery Christmas Reindeer
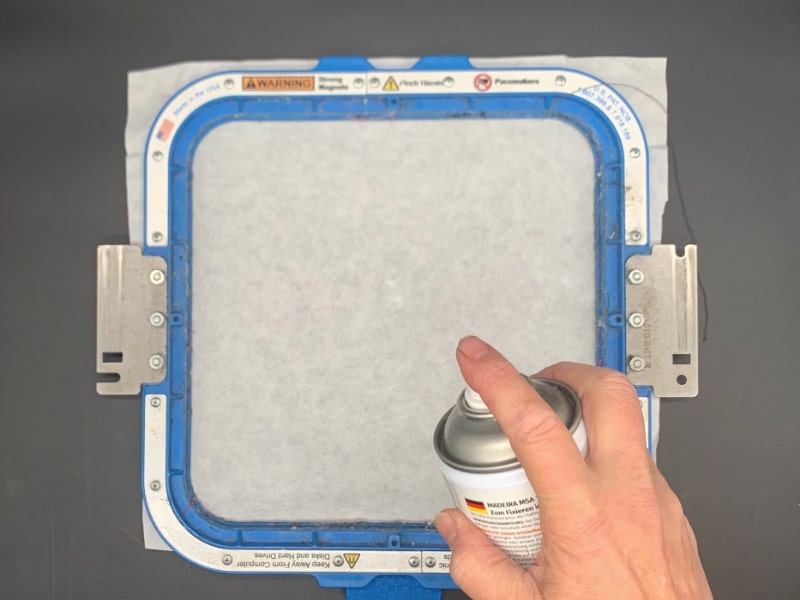
Step 1: Hoop a piece of medium-weight tear-away stabilizer and lightly spray with temporary embroidery spray.
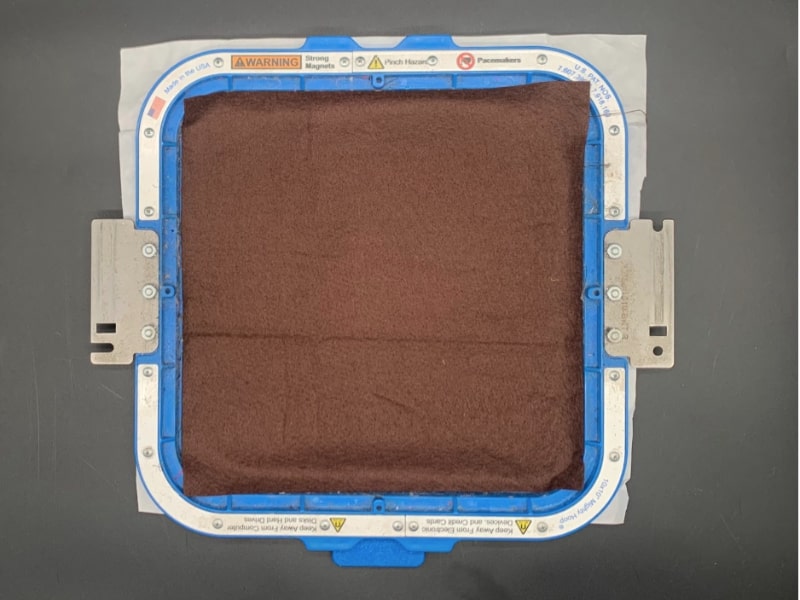
Step 2: Place one of the felt squares down.

Step 3: Insert your file into the machine and stitch the entire file.
After you finish stitching, remove the felt from the hoop and tear away the extra stabilizer. Make sure to leave all the stabilizers in the centers of the objects.
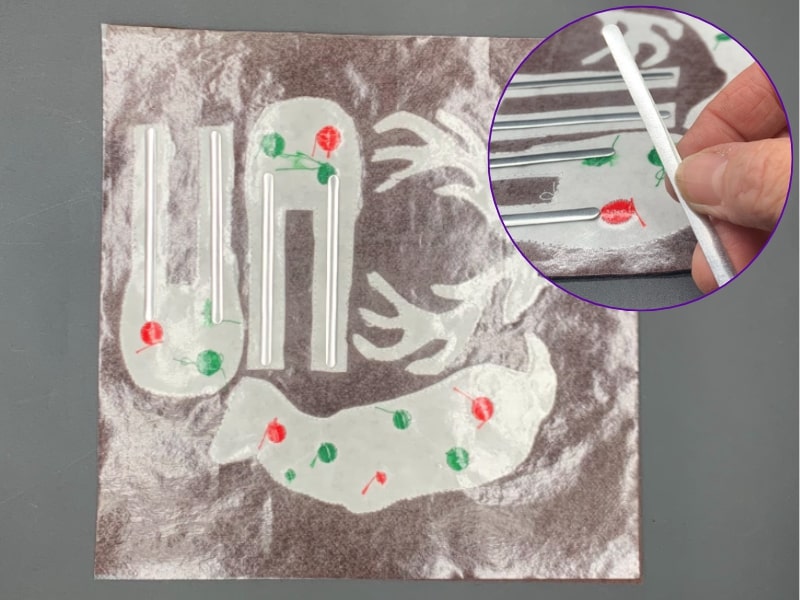
Step 4: Use a hot iron to adhere the fusible bonding material to the back side of your stitch-out.
We used old collar stays to strengthen the legs and provide additional stabilization. Lay them on the legs and press slightly. The bonding material is slightly sticky and will hold these in place until you iron on the top layer.
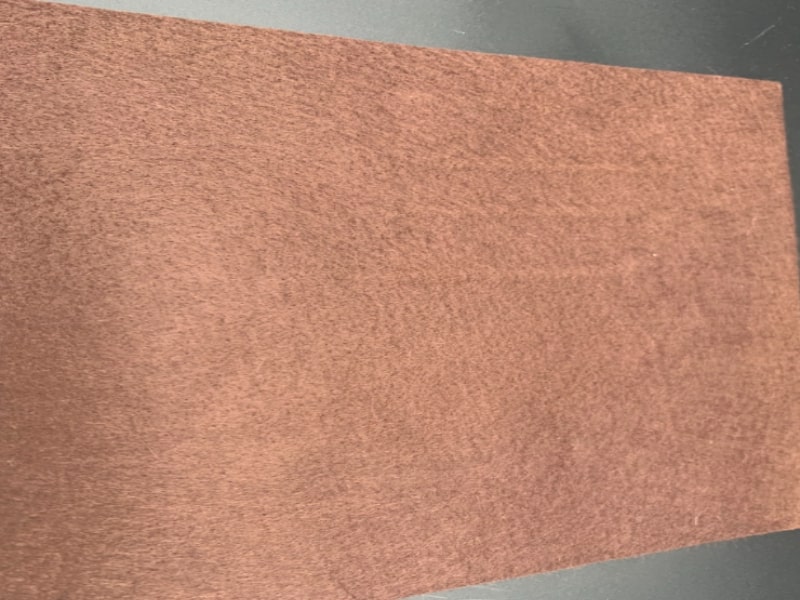
Step 5: Carefully lay the second piece of felt over the prepared felt and iron it.
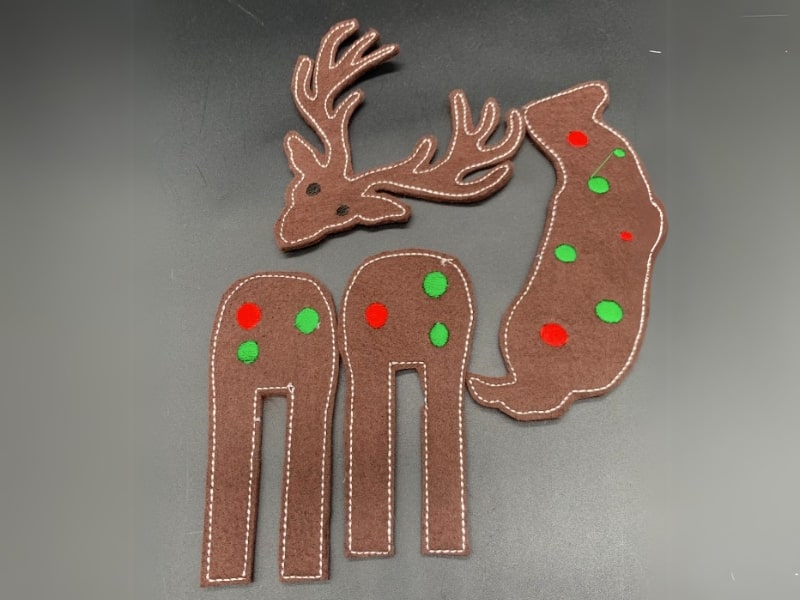
Step 6: When cooled, carefully trim the excess from around the objects, about ⅛ inch.
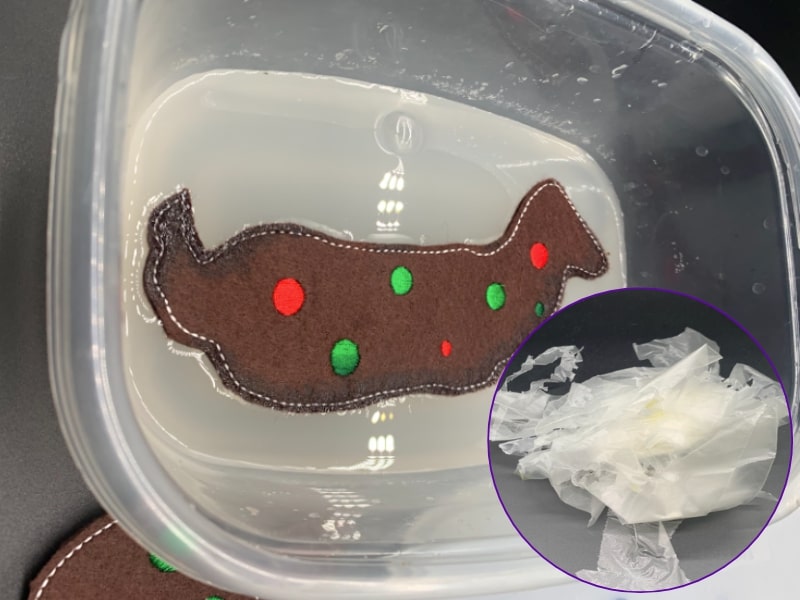
Tip: To provide additional stabilization, use Terial Magic or another fabric stiffener. You can also use leftover water-soluble topper pieces dissolved in water as a fabric stiffener!
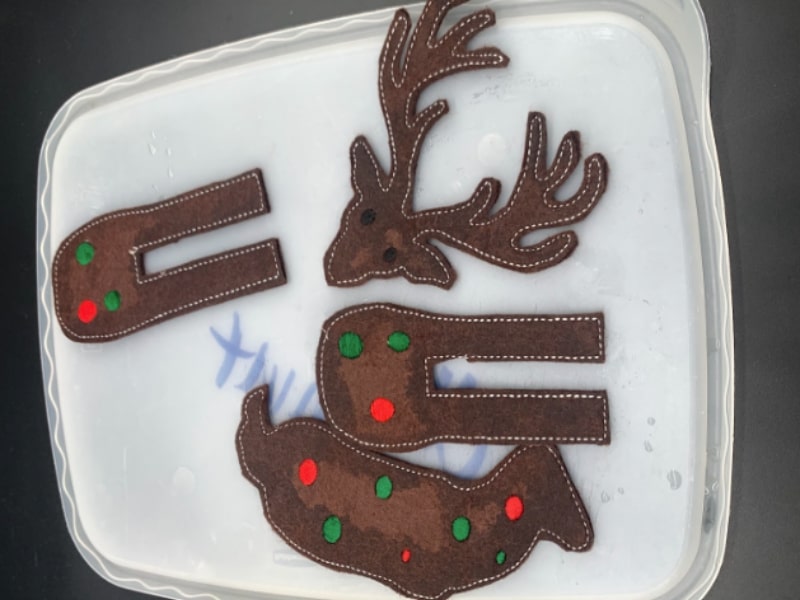
Lay flat to dry.
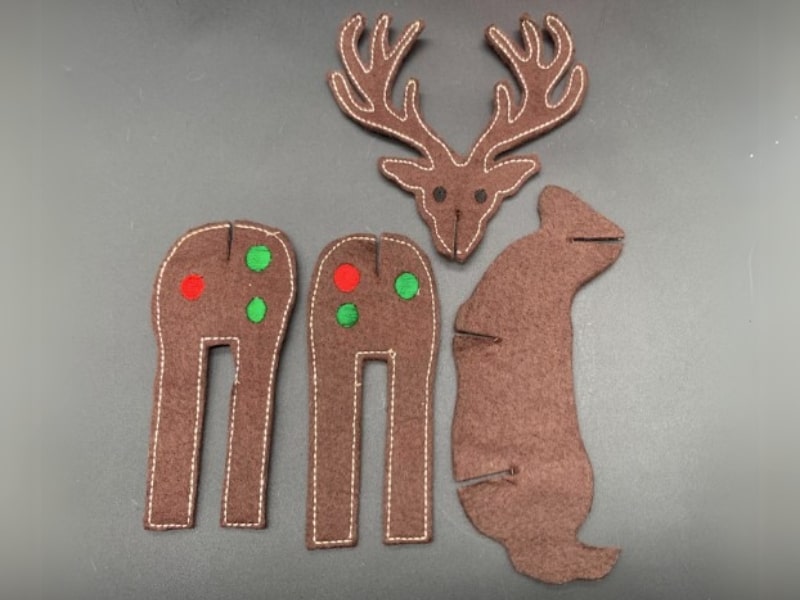
Step 7: Carefully clip the notches in placement as shown in the artwork.
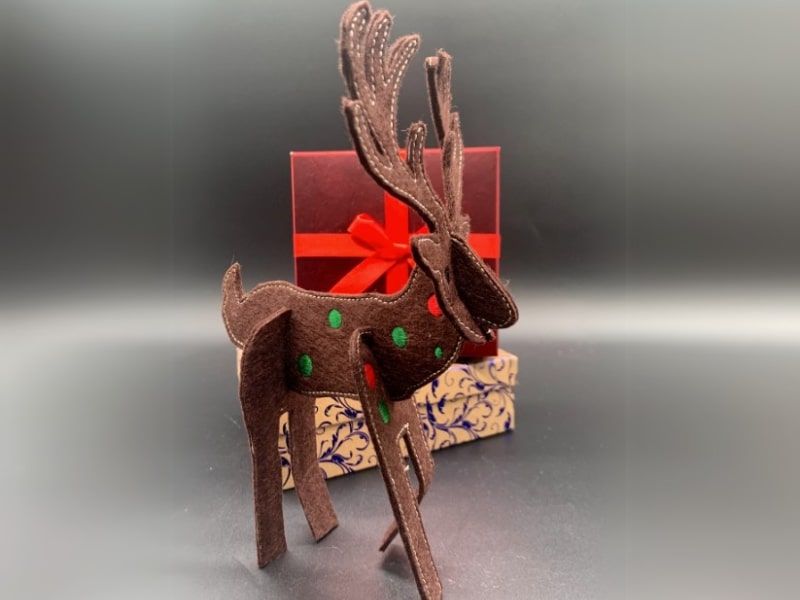
Step 8: Assemble your reindeer.
Congratulations! You’ve just brought a 3D reindeer to life using the Design Doodler. Whether you’re displaying it as part of your holiday décor or gifting it to someone special, this design will spread joy and festive vibes. Don’t forget to experiment with colors, embellishments, and personal touches to make it one-of-a-kind.
If you haven’t yet, don’t miss out—try a free demo of the Design Doodler software to see how easy it is to create your own personalized designs!
If you create this project, we’d love for you to share it with us in our Facebook Embroidery Design Doodler Software Official Group. Have fun creating, and enjoy showing off your Christmas masterpiece!
