Have you ever wanted to create your own custom embroidery patches?
In this blog, we will show you how to make high-quality patches using a single-needle machine. This is perfect for beginners! We will discuss the materials needed to make the patch process easier and essential tips and techniques! We’ll guide you step-by-step to help you design and stitch patches like a pro.
Want a hands-on guide? Watch the video tutorial below while following along with the blog!
Embroidery Patch Materials:
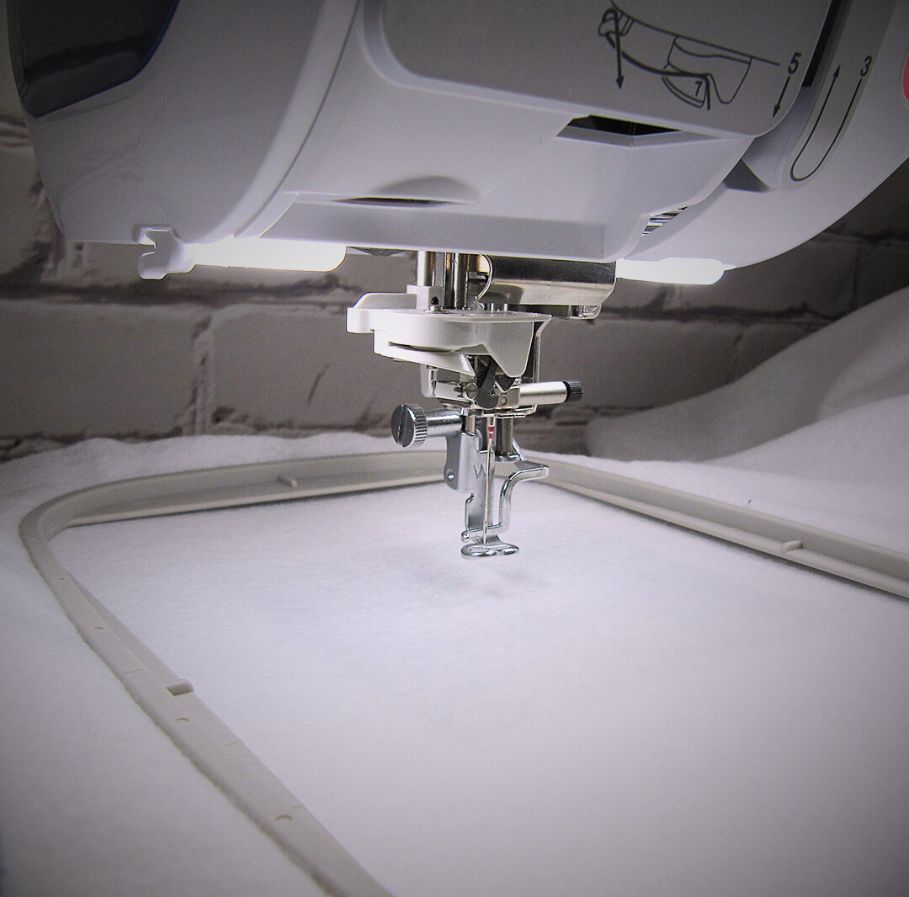
- 5×7 hoop
- Embroidery patches (there are many different types of patches)! Our DIY “Patches Made Easy” designs include machine files and SVG files. Switch the color of fabric and thread for a completely customized look!
- Embroidery designs that are small enough for patches
- Looking for an amazing deal? Our Patch Master Pro Bundle includes circle and square patch design with an additional 75 designs that fit precisely for patches.
- Patch-Backed Twill
- Tear-away Stabilizer
- Prep Patch Stabilizer
- Painters Tape
- Chop Stick (or something similar)
- Spray Adhesive
- Fabric Scissors
- Double Curve Scissors
- Embroidery Thread
File 1:
File 2:
Embroidery Patches Tutorial
File 1
Note: Our DIY patch designs come with an SVG file. You can skip this part of the design if you have a cutter.
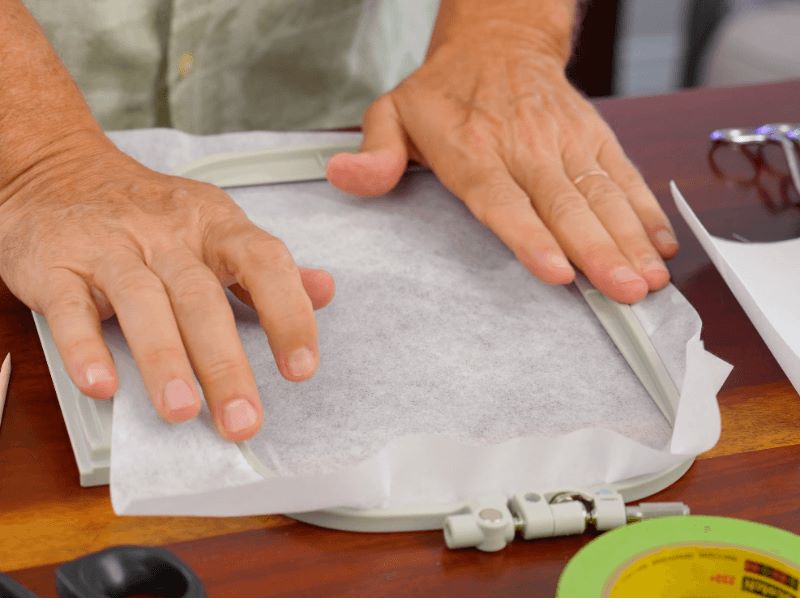
Step 1: Cut the tear-away stabilizer to fit within the 5×7 embroidery hoop and hoop the stabilizer.
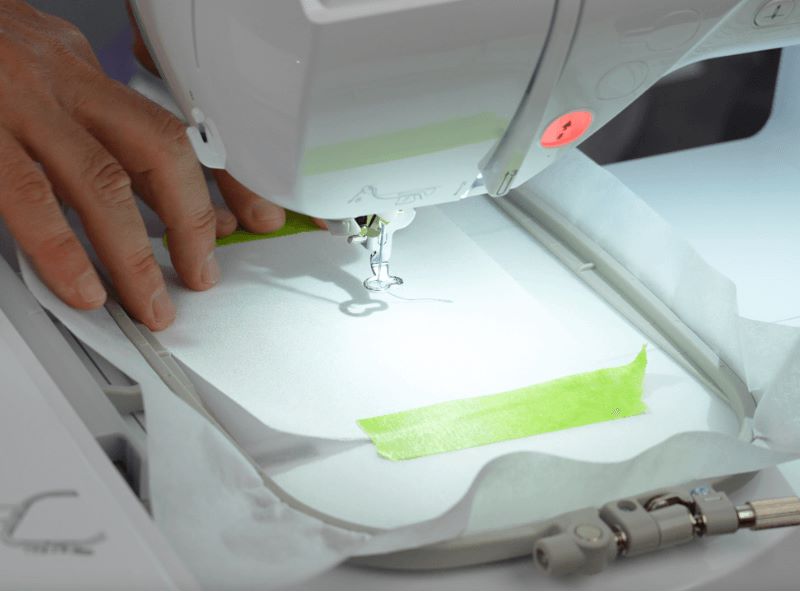
Step 2: Secure the patch-backed twill over the stitching surface with tape.
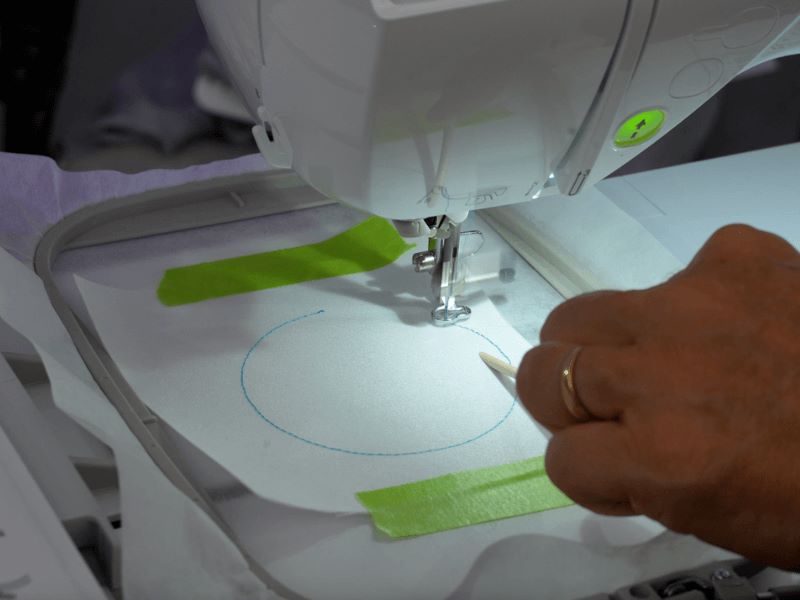
Step 3: Stitch the tack-down stitch for the patch template.
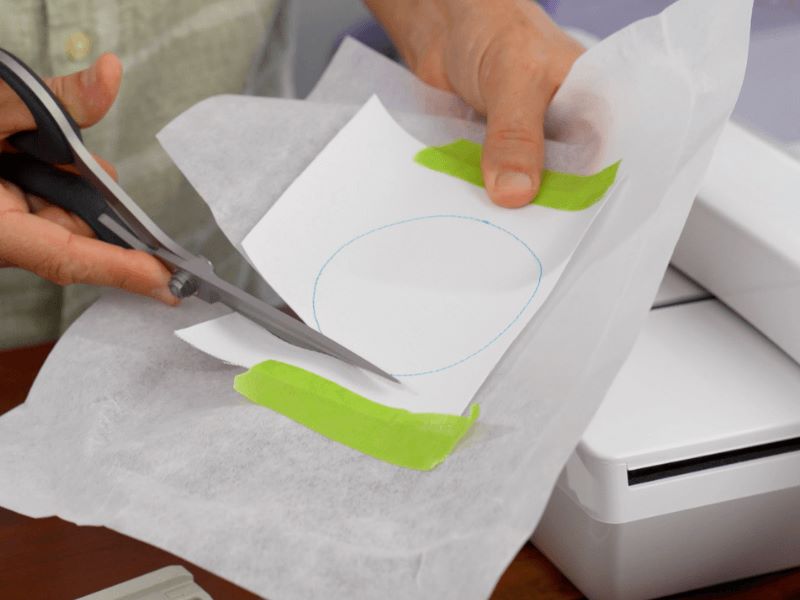
Step 4: Remove the hoop from the machine and then remove the patch template. Carefully cut the running stitch away, revealing the patch template.
File 2
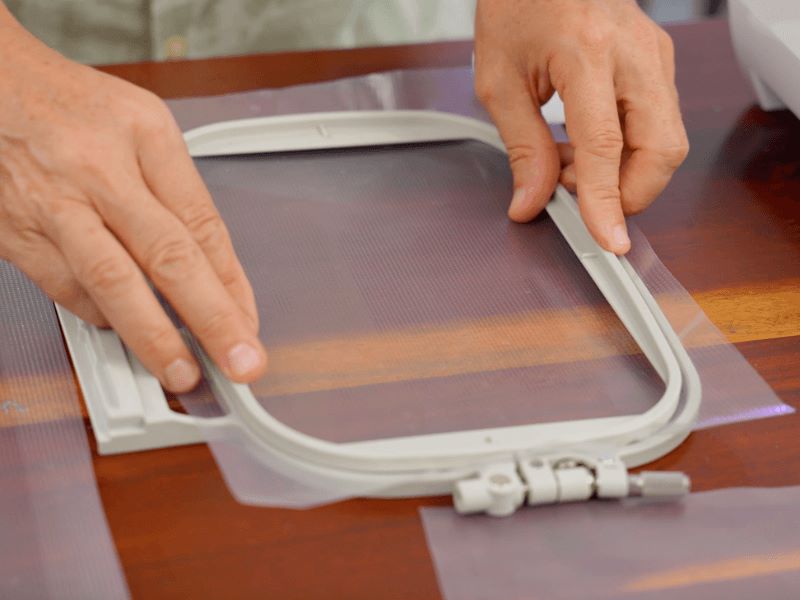
Step 1: Cut a piece of your prep-patch stabilizer to fit within the embroidery hoop. Place the dimpled side of the stabilizer in the hoop facing down to prevent movement when you run the patch design.
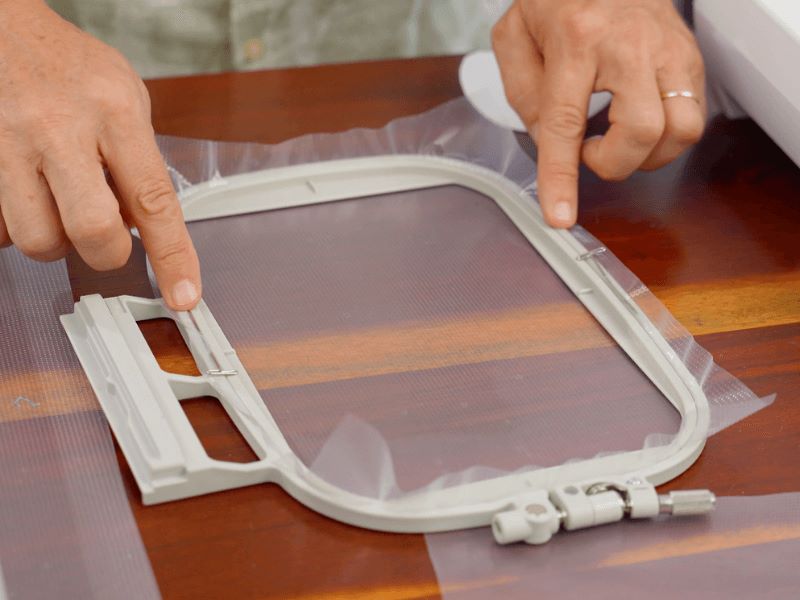
Tip: Use t-pins to minimize further movement within the hoop.
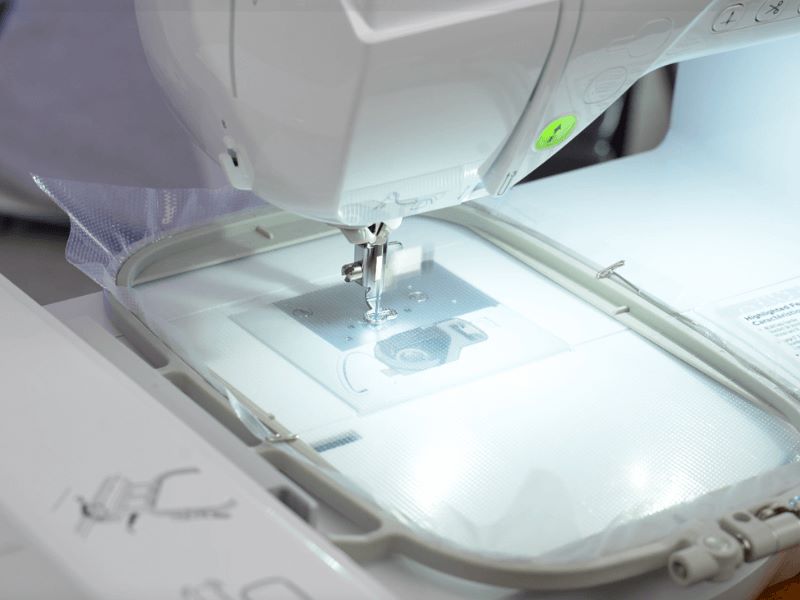
Step 2: Place the hoop into your machine and stitch out the placement line onto the prep-patch stabilizer.
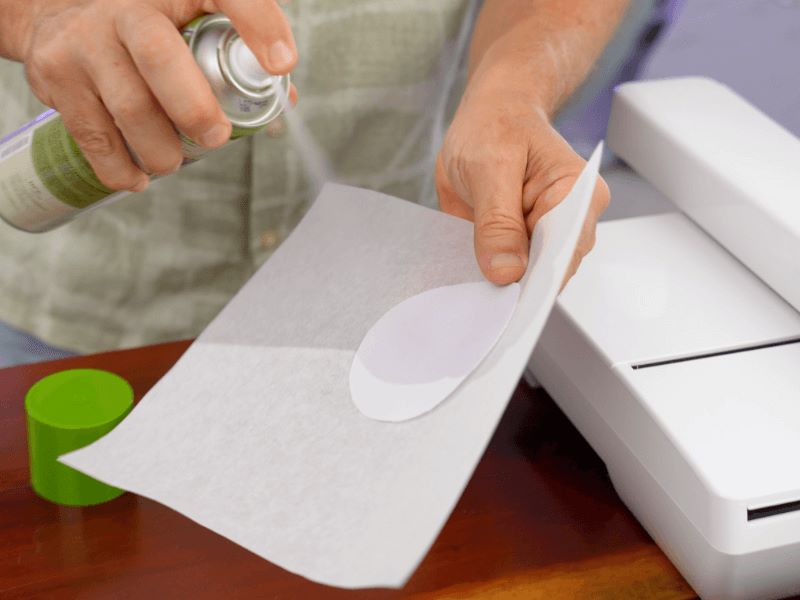
Step 3: Use spray adhesive on the back of the twill fabric patch, ensure the twill side faces up. Place it inside the placement guide line.
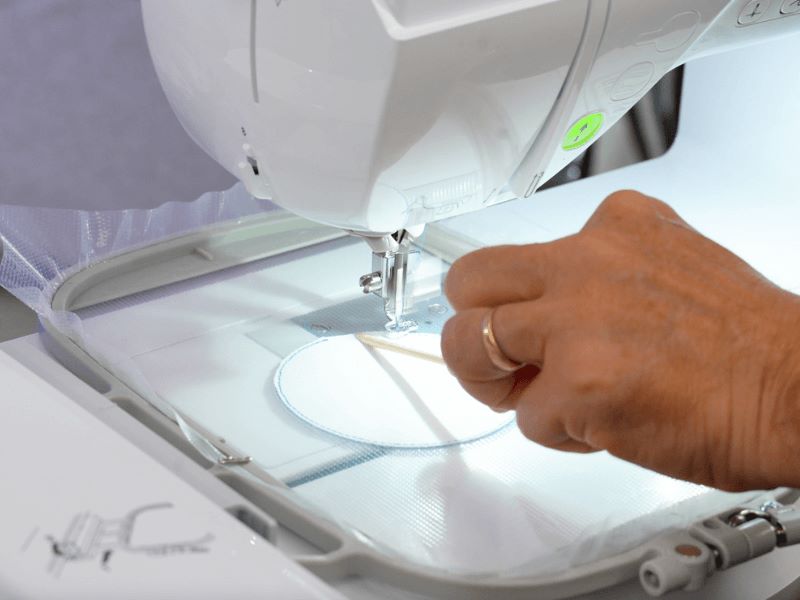
Step 4: Run the tack-down stitch around the patch template. This will hold the twill patch in place.
Note: Use a bamboo stick to help guide the patch-backed poly twill as the tack-down stitch embroiders.
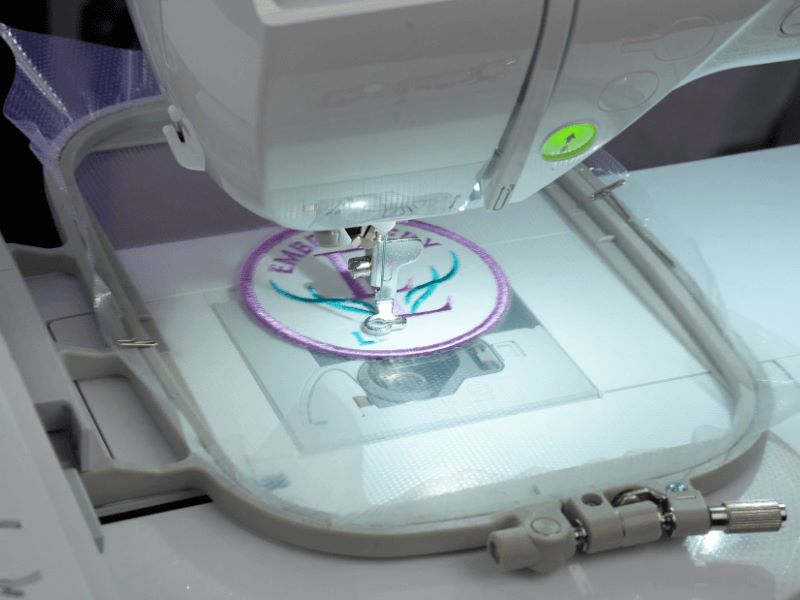
Step 5: Embroider your patch design.
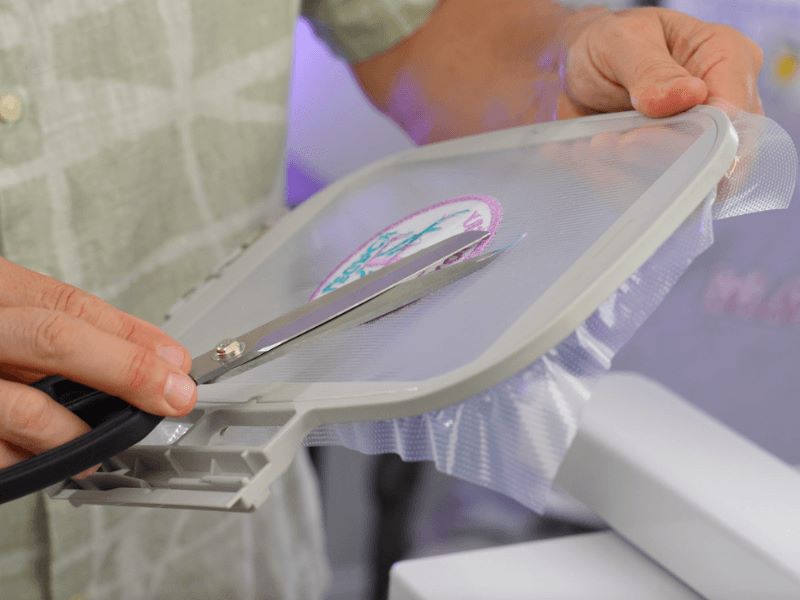
Step 6: Once the design has finished stitching, remove the hoop and trim any long threads away from the back of the patch.
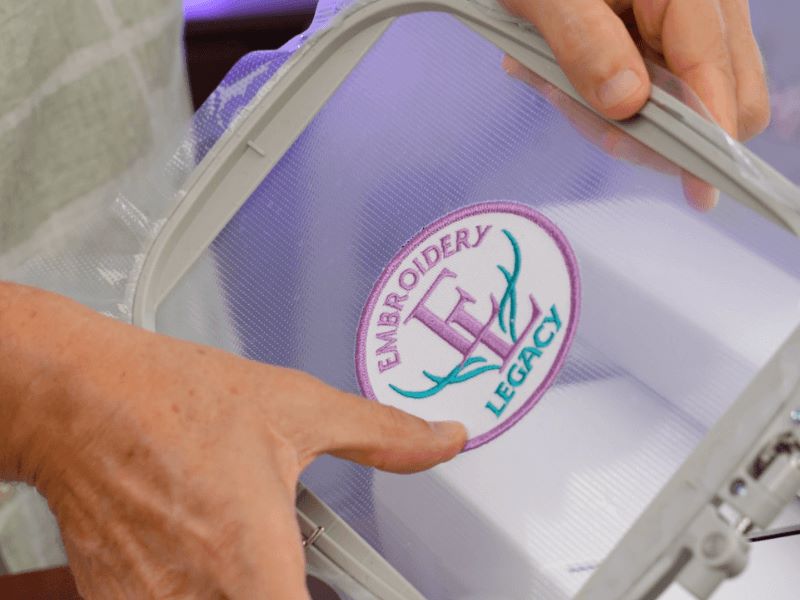
Step 7: Carefully press down the patch’s corner, easily removing it from the stabilizer.

Look at that amazing patch quality!
Now that you know how to create custom embroidered patches, the possibilities are endless! With the right materials and techniques, you can create patches for jackets, bags, or any project that needs a personal touch. So grab your single-needle machine and start stitching your way to one-of-a-kind creations. Happy patch-making!

