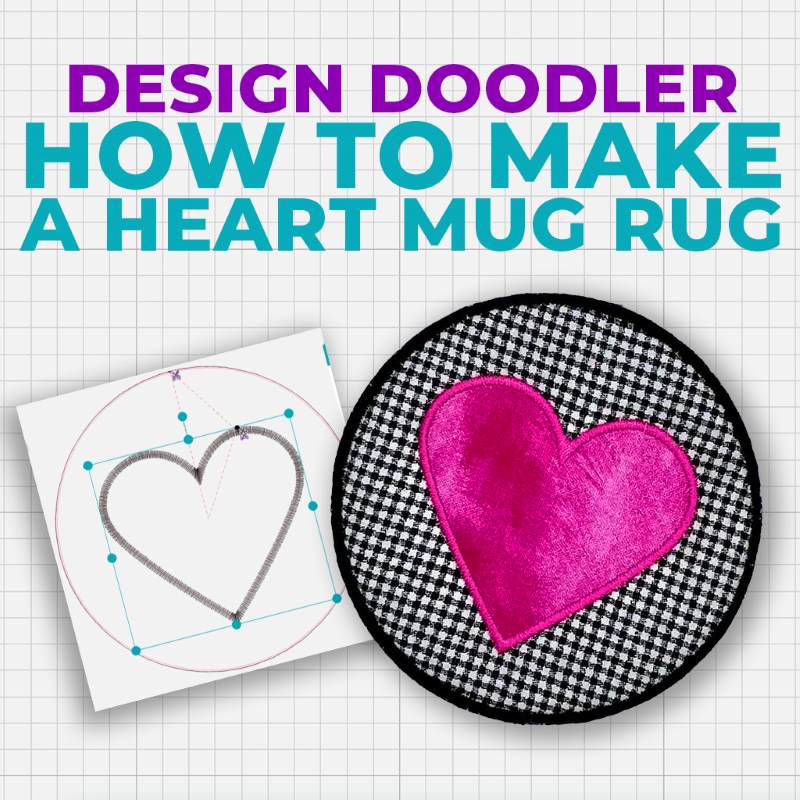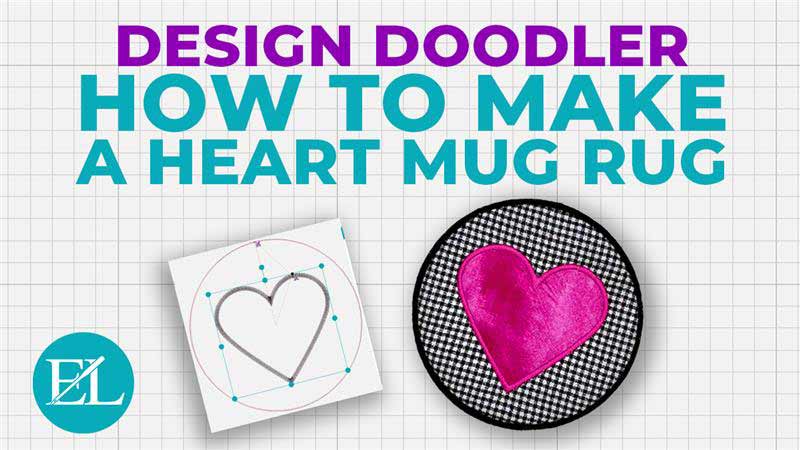
Easily create your own embroidered mug rug in this tutorial, where the hoop meets the heart!
In The Hoop Heart Mug Rug Design Doodler Tutorial
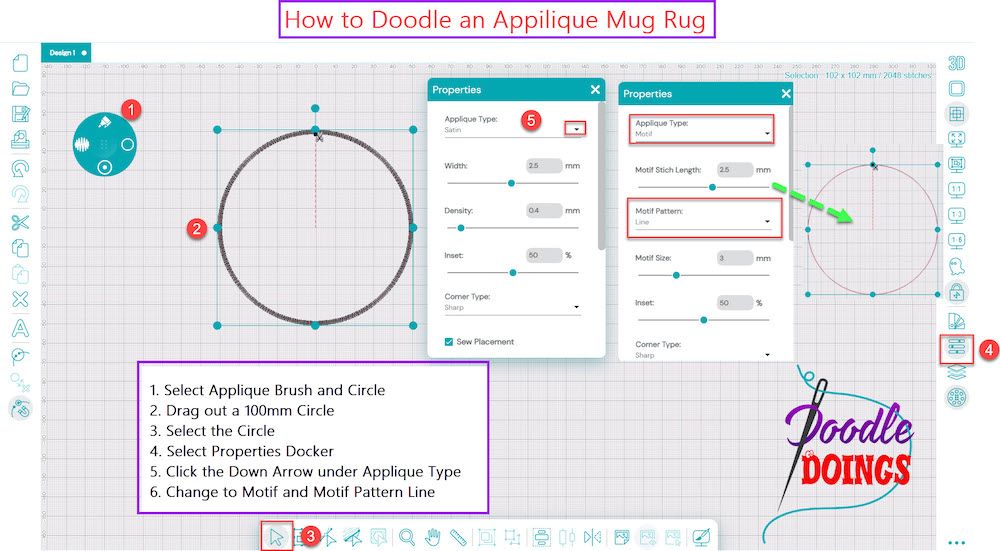
Step 1: Select ‘Applique Brush’ and ‘circle’
Step 2: Drag out a 100mm circle
Step 3: Select the circle
Step 4: Select Properties docker
Step 5: Click the Down Arrow under Applique Type
Step 6: Change to ‘Motif’ and Motif Pattern to ‘Line’
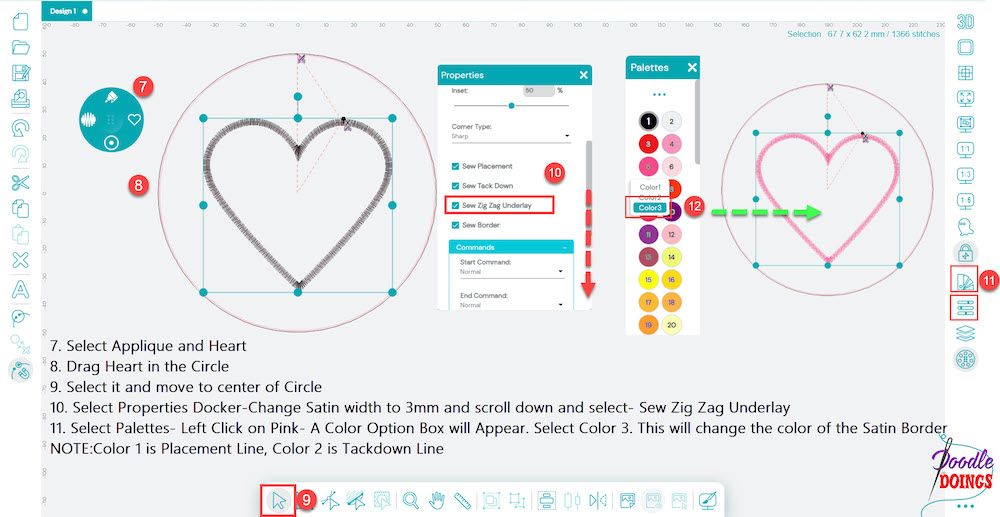
Step 7: Select ‘Applique’ on the widget and ‘heart’ shape
Step 8: Drag the heart in the circle
Step 9: Select it and move to the center of the circle
Step 10: Select the ‘Properties’ docker – change Satin width to 3mm, scroll down, and select – Sew Zig Zag Underlay
Step 11: Select Palettes – left click on Pink – a color option box will appear. Select ‘Color3’. This will change the color of the satin border
NOTE: Color1 is the placement line, Color2 is the tackdown line
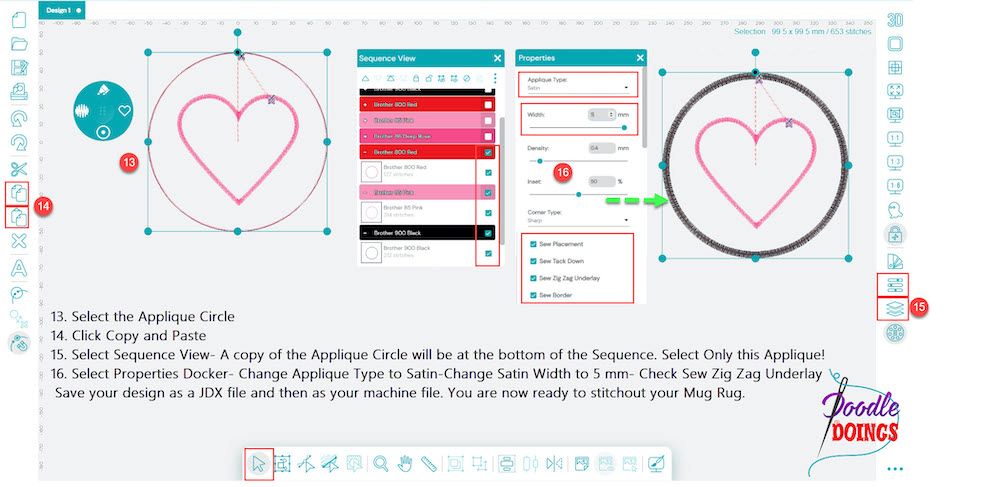
Step 13: Select the applique circle
Step 14: Click copy and paste
Step 15: Select ‘Sequence View’ – a copy of the applique circle will be at the bottom of the sequence. Select only this applique!
Step 16: Select the ‘Properties’ docker – change ‘Applique Type’ to ‘Satin’ – change ‘Width’ to 5mm – select ‘Sew Zig Zag Underlay’.
Step 17: Save your design as a .JDX file and then as your machine file format. You are now ready to stitch out your custom mug rug!
Supplies For In The Hoop Heart Mug Rug
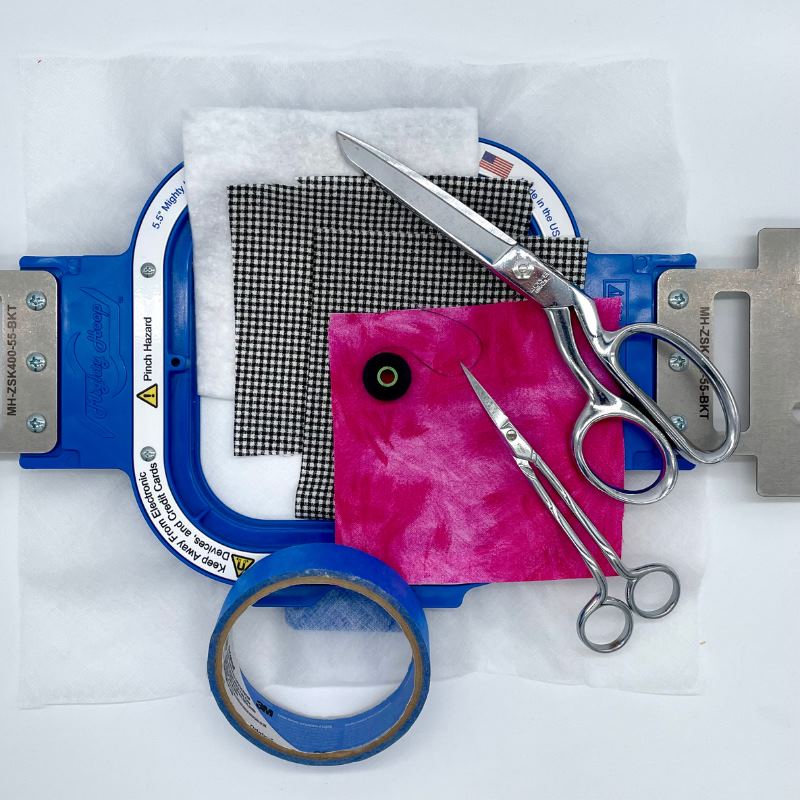
- 5” Hoop
- Batting 5”x 5”
- Mug rug fabric 2x 5”x 5”
- Heart fabric 4”x 4”
- Scissors (6” double-curved scissors)
- Tape (masking or painters tape)
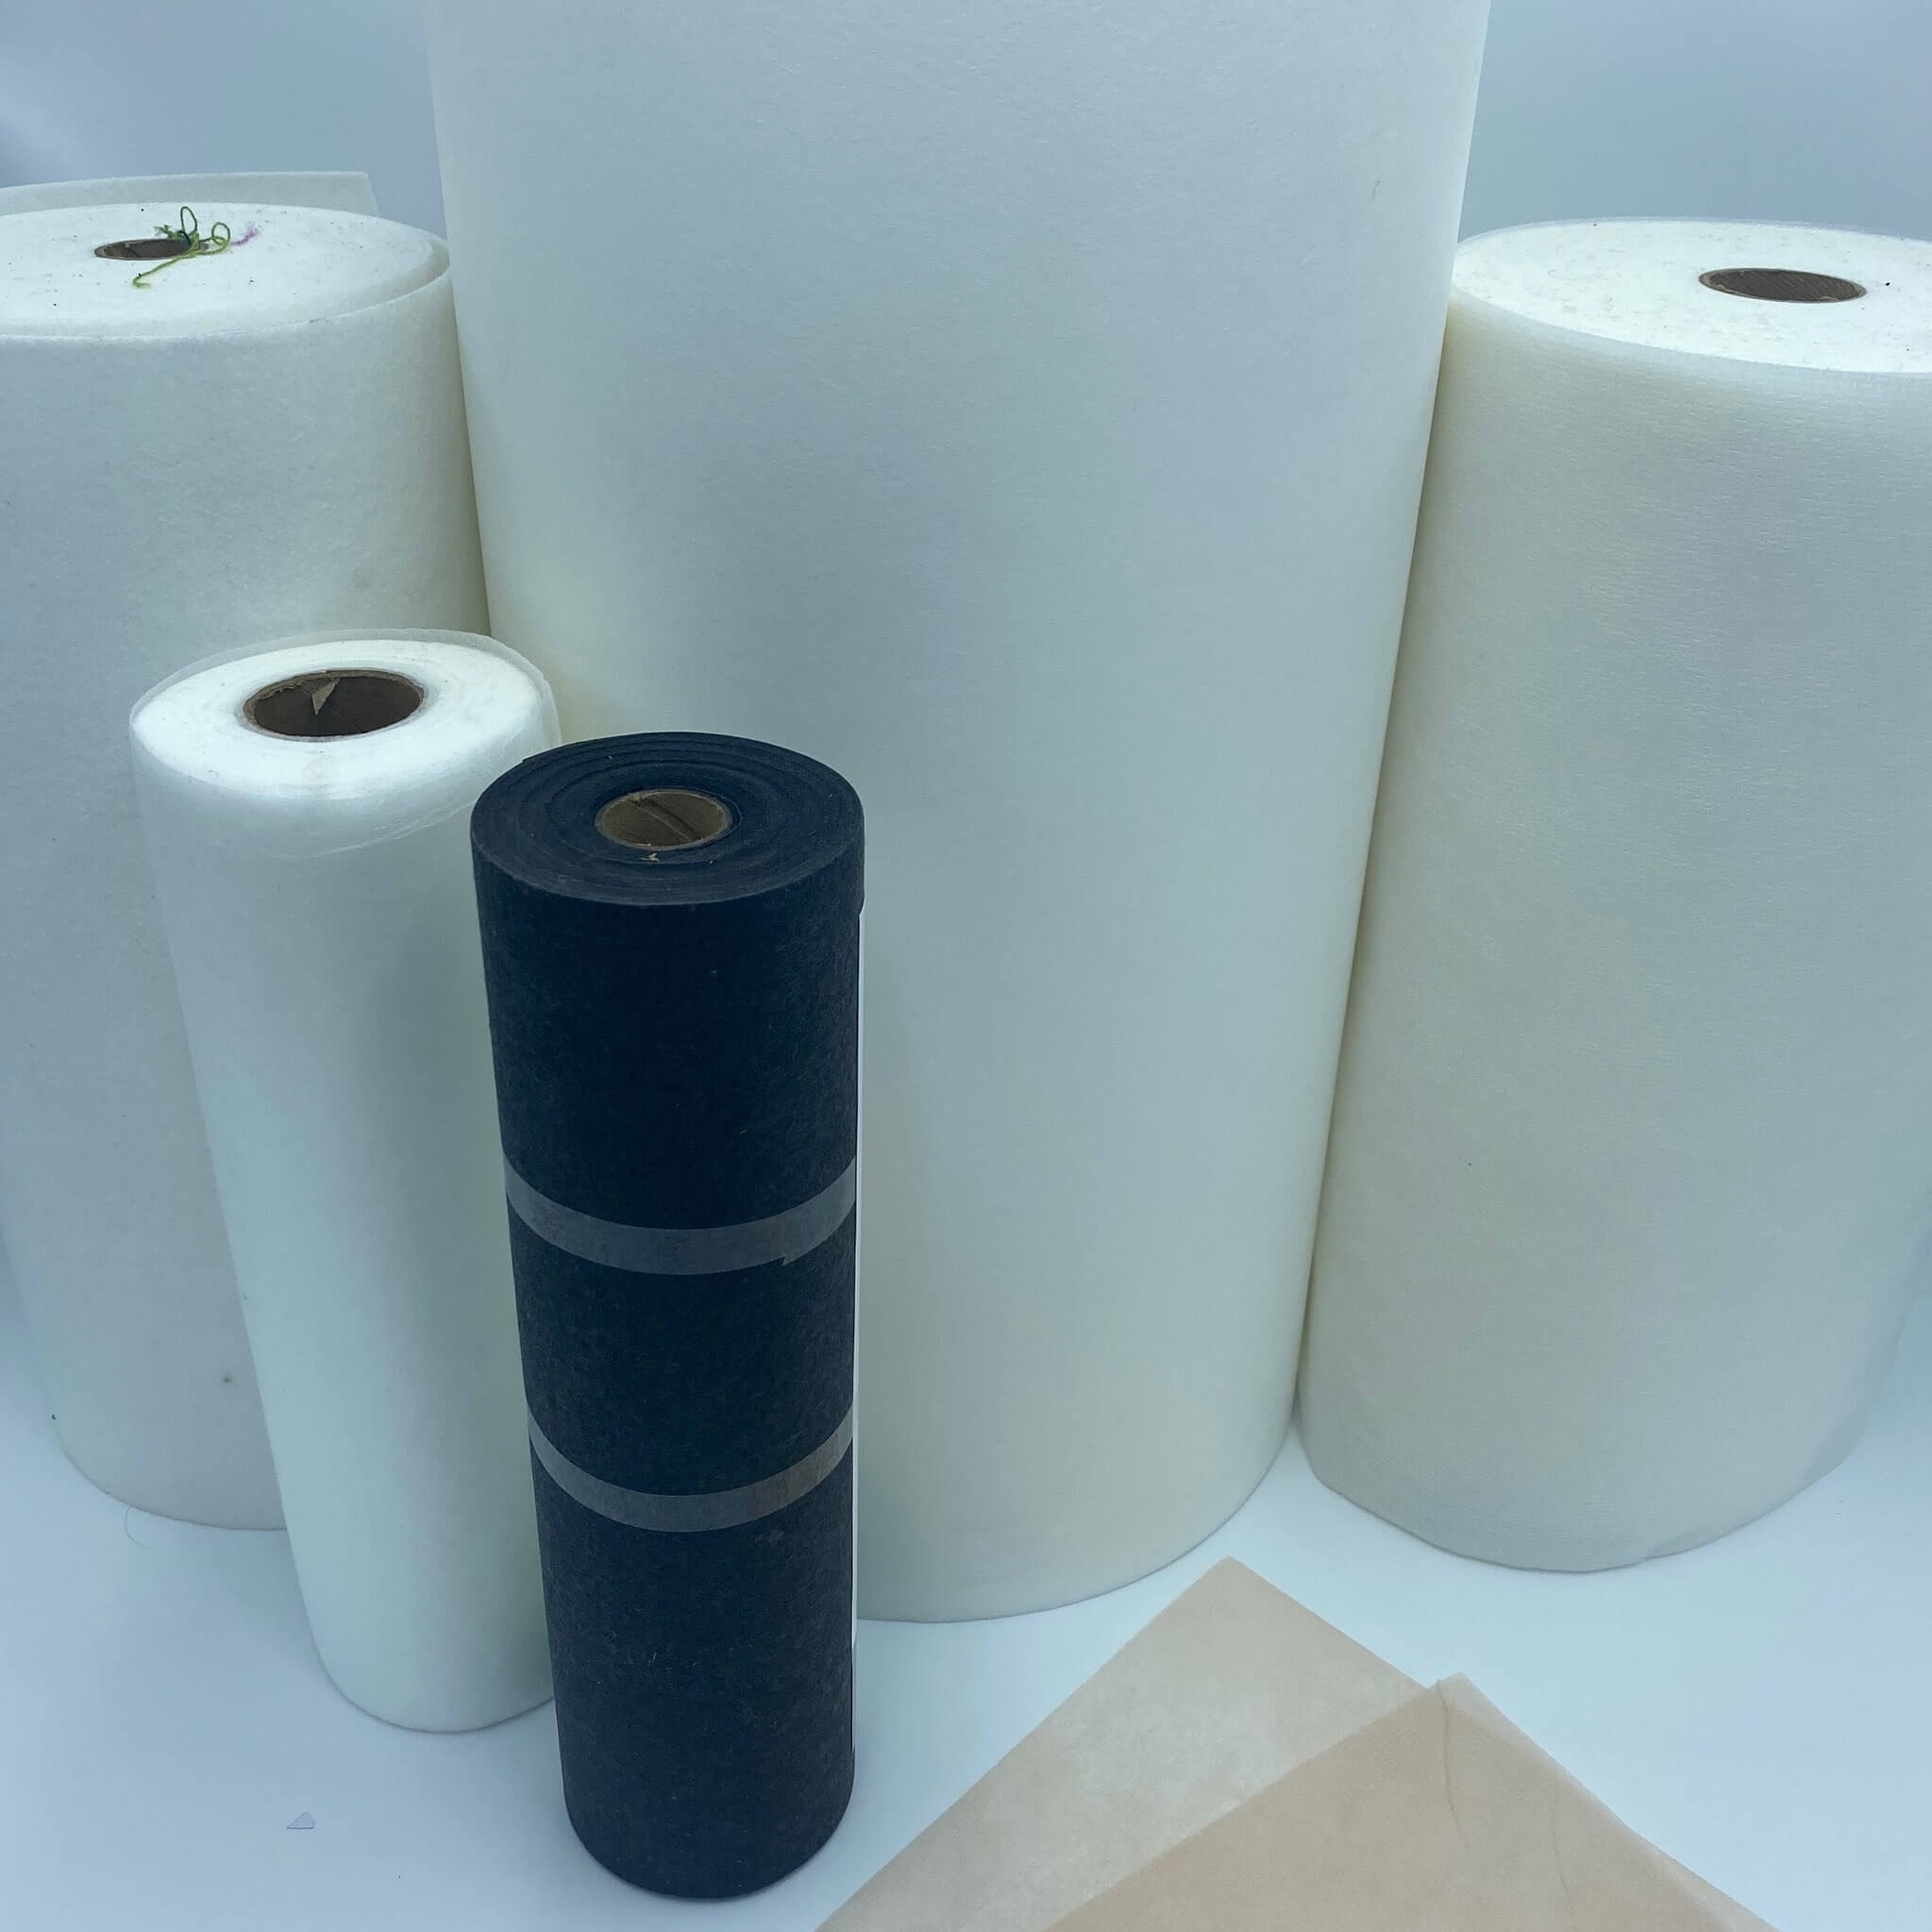
- Water-soluble stabilizer
- Bowl with warm water
- Optional: Bobbing color matching circle satin border thread
In The Hoop Heart Mug Rug Tutorial
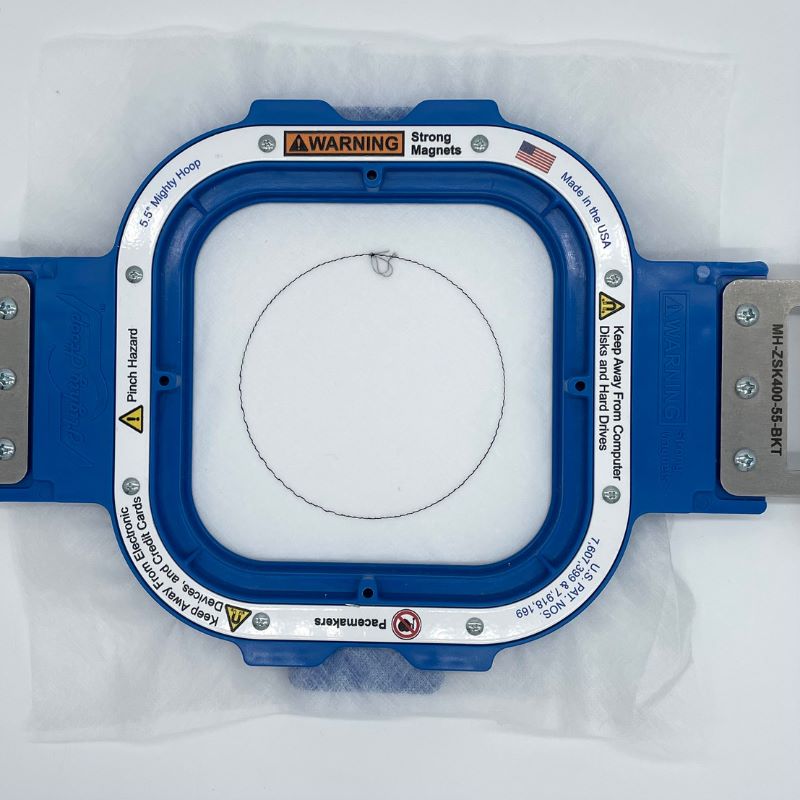
Step 1: Hoop the stabilizer and stitch the placement line for the batting. Stop the machine.
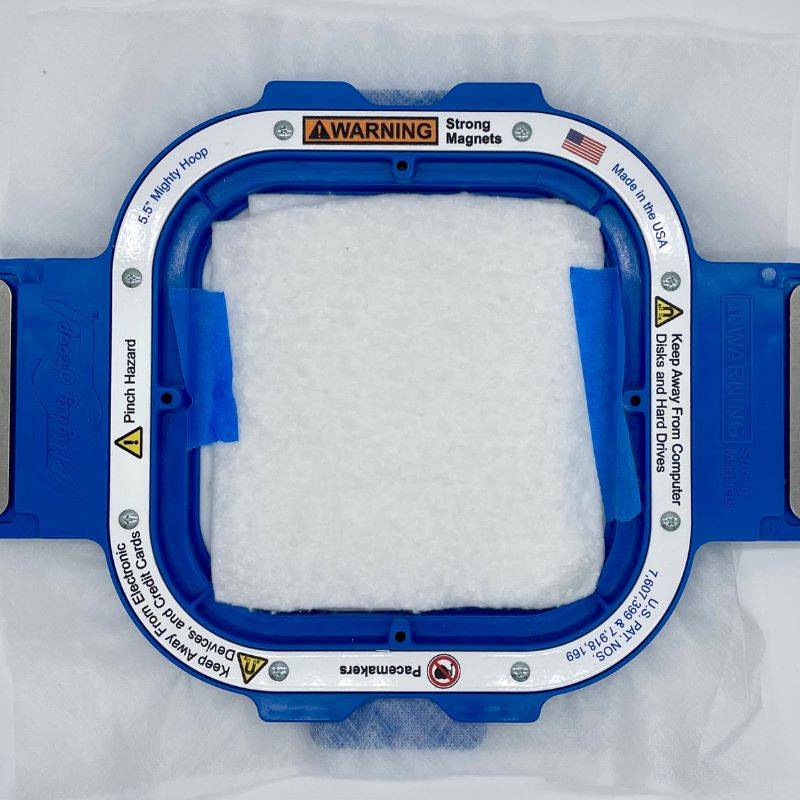
Step 2: Lay the batting over the top of the placement line and secure it with tape.
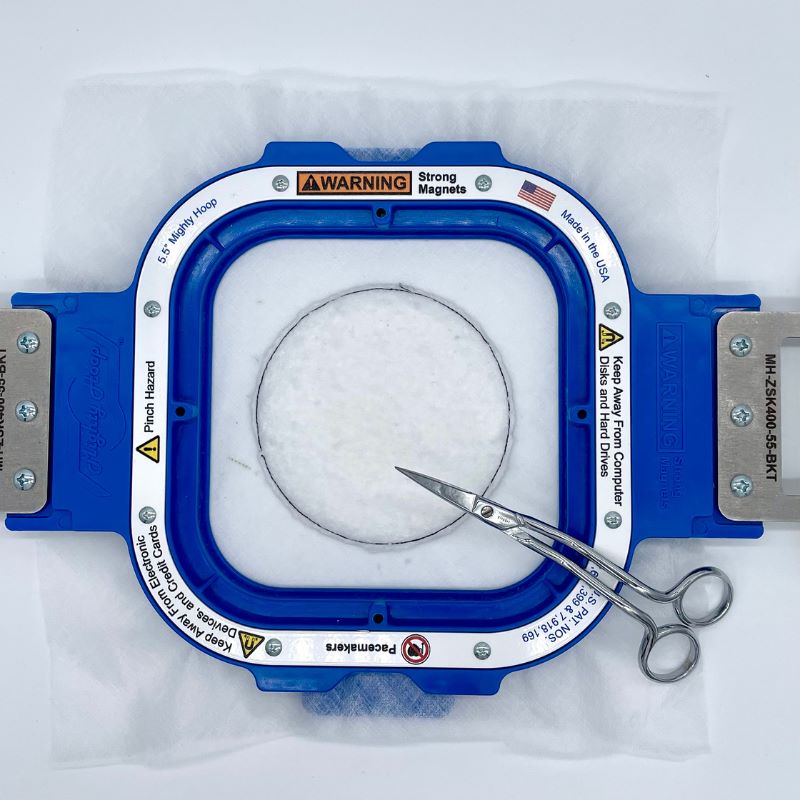
Step 3: Stitch the tack down line. Remove the hoop and carefully trim excess batting close to the stitching line.
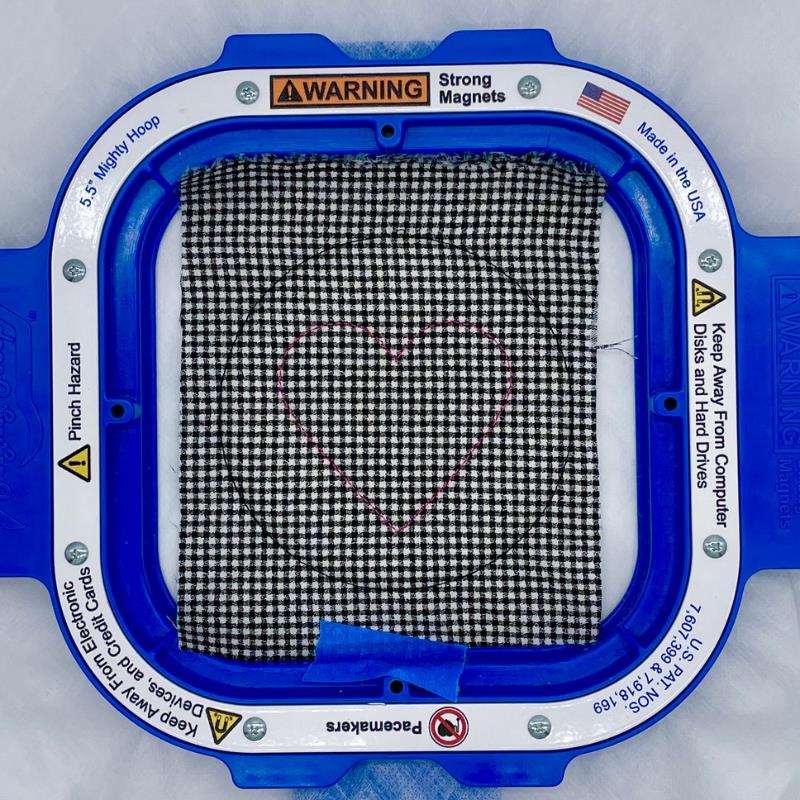
Step 4: Lay the mug rug fabric over the batting and secure it with tape. Stitch the tack-down line and the placement line for the heart. Stop the machine.
Step 5: Lay the heart fabric and secure it with tape.
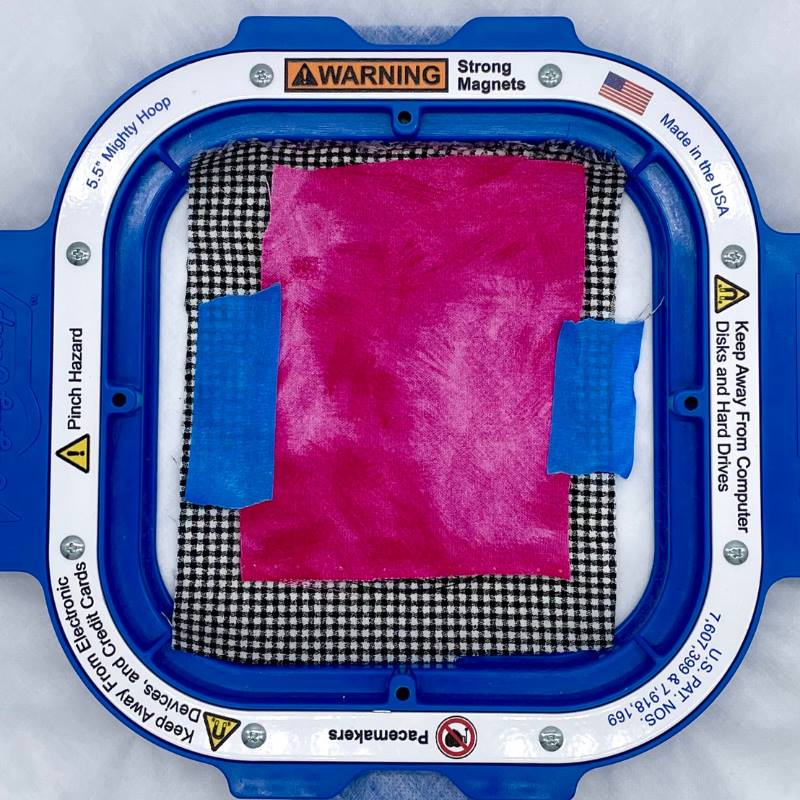
Step 6: Stitch the tackdown line. Carefully trim the excess fabric around the edge of the heart. Stitch the satin border around the heart. Stop the machine.
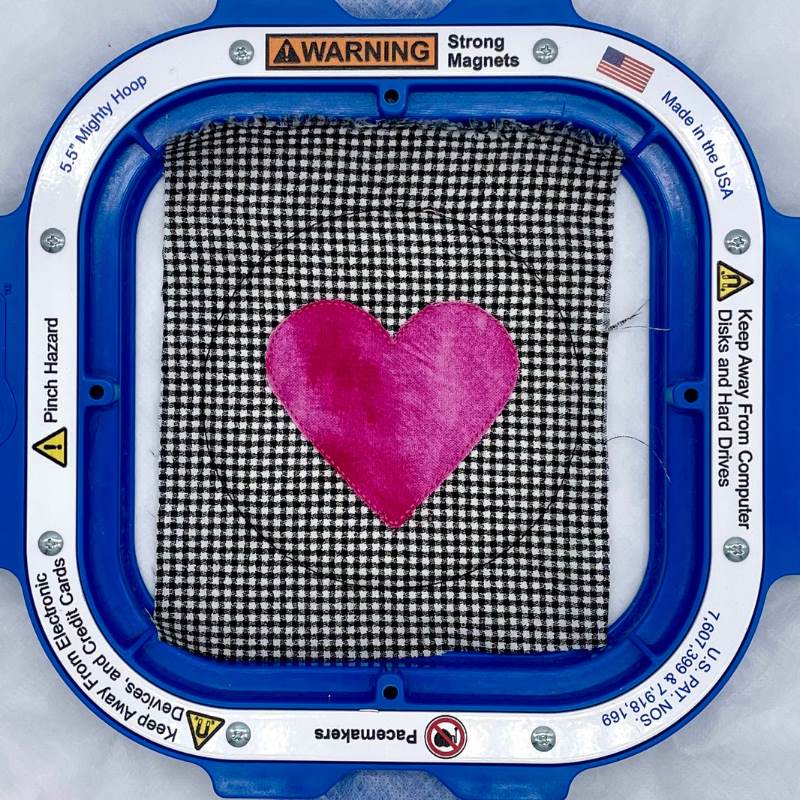
Step 7: Remove and turn over the hoop. Lay the mug rug fabric over the backside of the design and secure it with tape.
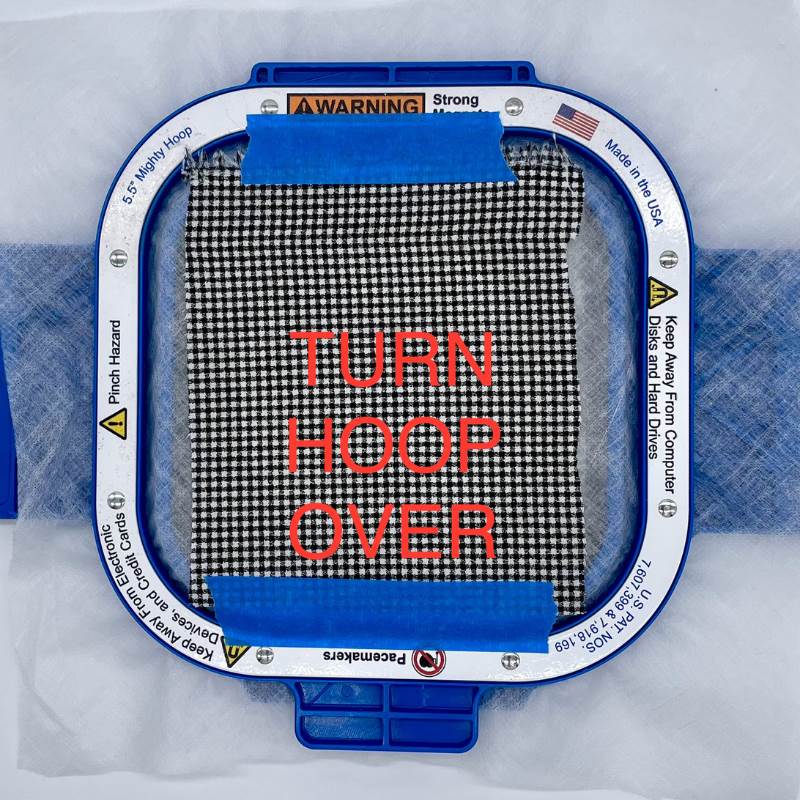
Step 8: Stitch the placement and tack down lines around the circle. Stop the machine. Carefully trim the excess fabric around the circle on both the front and back sides.
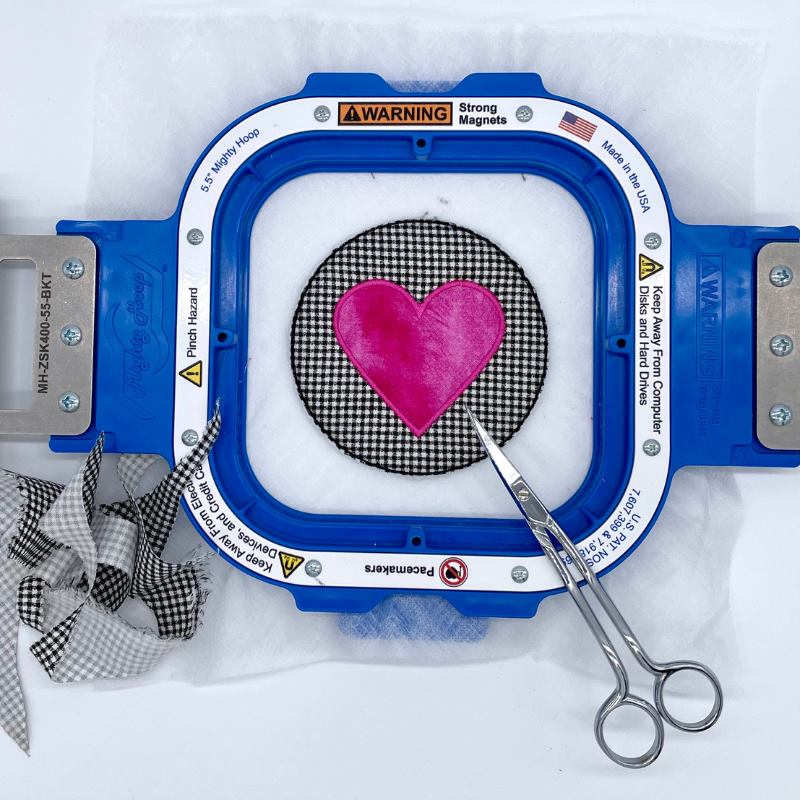
Step 9: Stitch the satin border around the circle. Remove from the hoop. Carefully trim away excess water-soluble stabilizer around the mug rug. Do not cut the satin stitching.
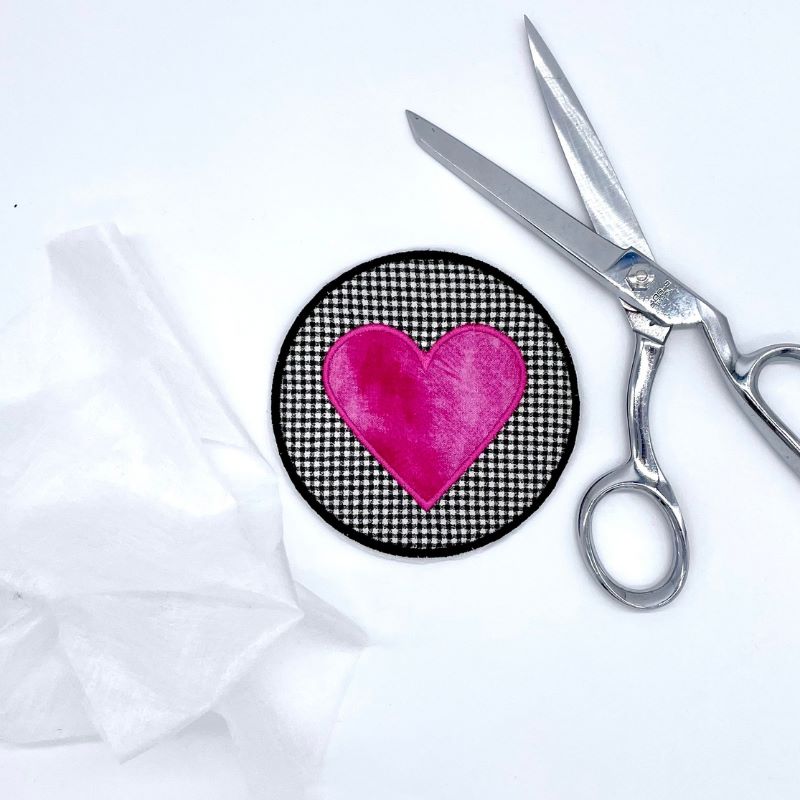
Step 10: Fill a bowl with warm water. Dip your finger in the water and run it around the satin border to remove the remaining water-soluble stabilizer.
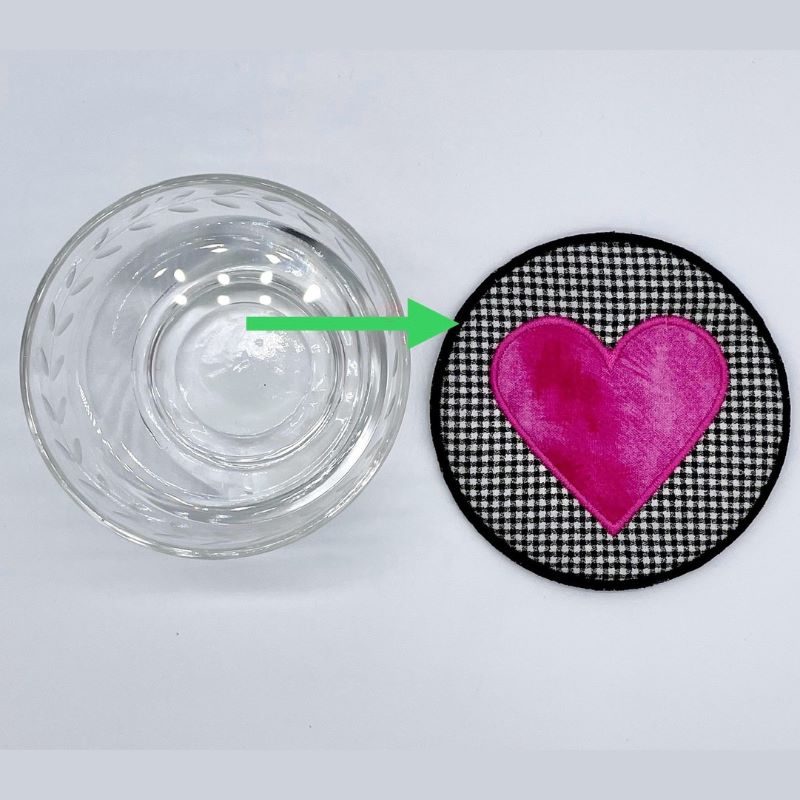
Congratulations, you just doodled and stitched a cute heart applique mug rug!
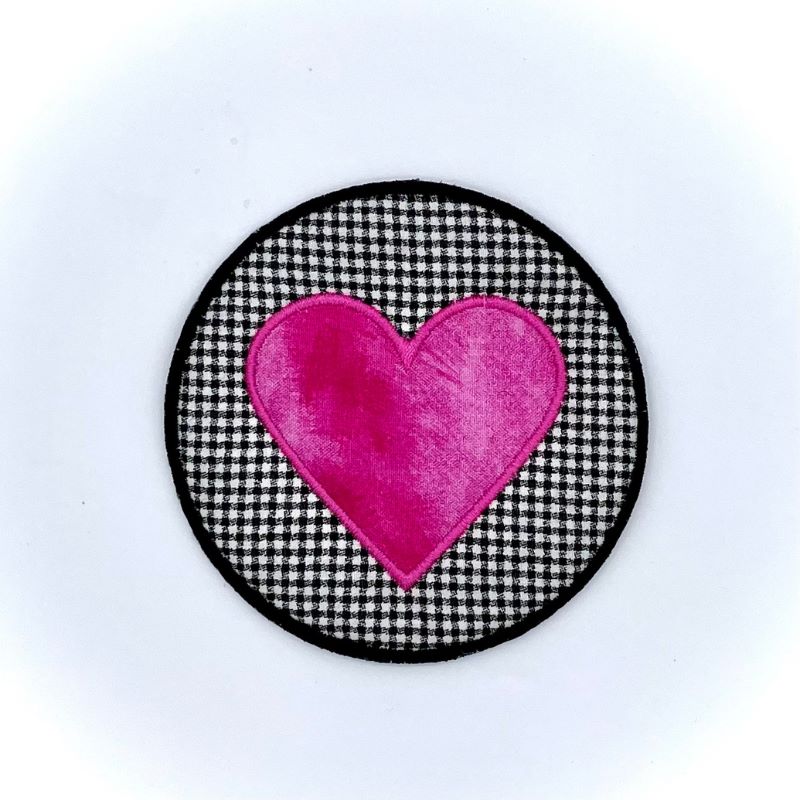
May your mug rug bring joy and warmth to every sip!
