
Beanie hats are useful in cold weather and winter fashion, but have you considered using them to show your creativity?
You can be creative and personalize your beanie hat with machine embroidery, giving you many options.
In this article, we will give you helpful advice and guide you on how to get the best embroidery results. Embroidering a plain beanie hat into a stylish statement piece is easier than you think!
How To Embroider A Custom Beanie
When asking about embroidering on a beanie, you’re really asking how to embroider on fleece or knit.
Knit beanies are stretchy and soft but can be difficult to embroider because of the ribbed knit. They are knitted in a circle, creating a tube and gathering at the top. Usually, knitted hats are thicker than fleece, so you need to prepare them to embroider on a stable base carefully.
Fleece caps are made and sewn together to have at least one seam, making placement more difficult.
There are a few things to consider when embroidering and creating custom beanies:
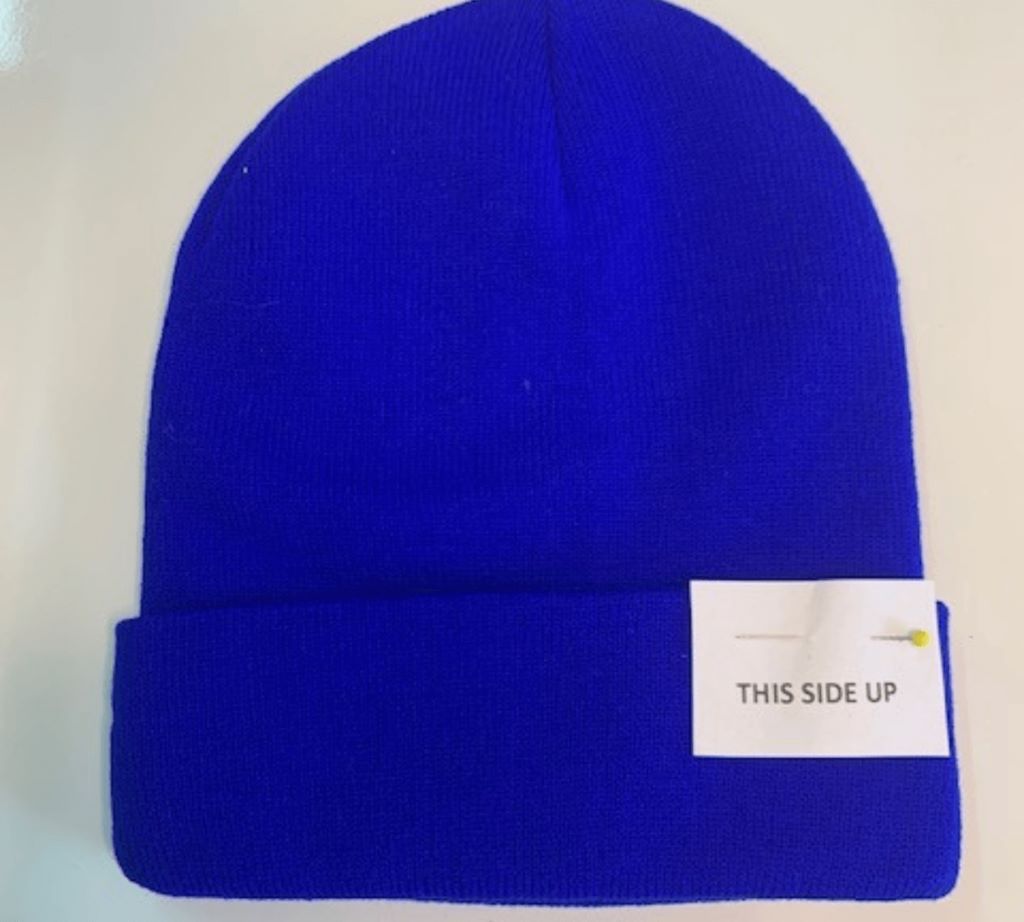
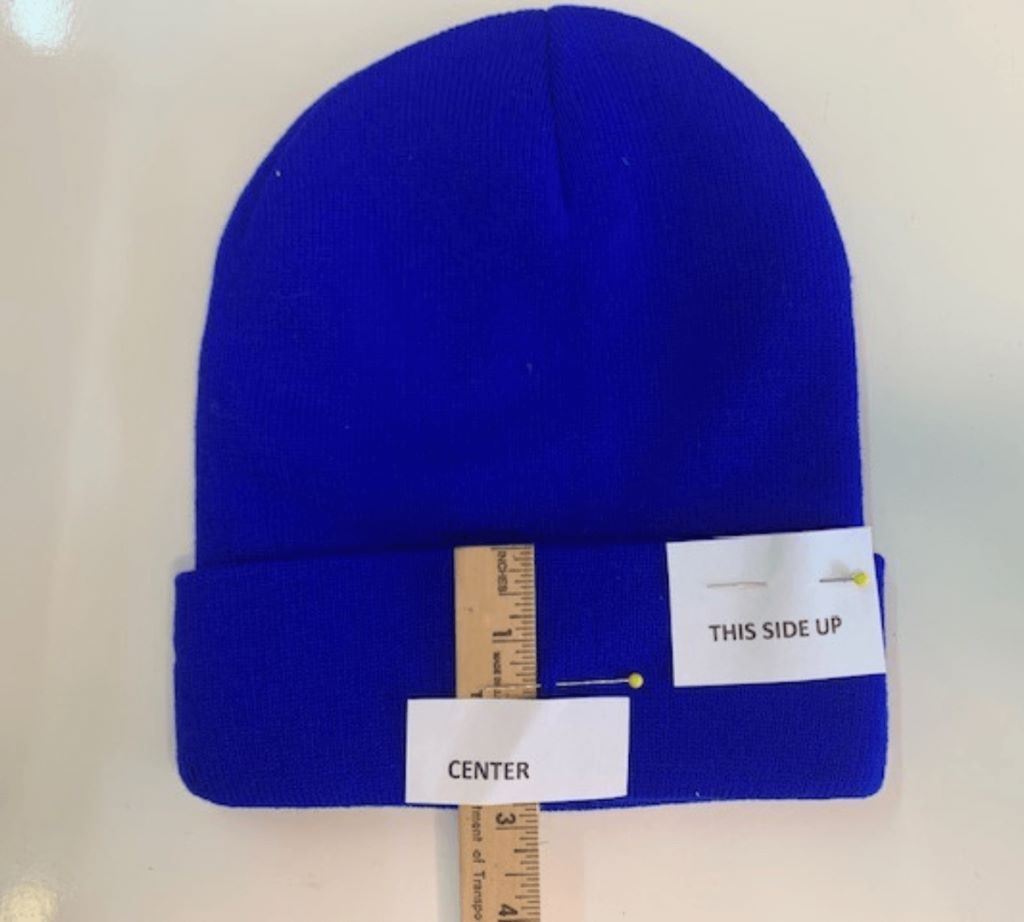
- It is very important to mark the “up” side before you go near a hoop!
- Since beanies have stretch, you must stretch them very slightly before stitching. When you wear the cap, the stretch under the design is the same as the stretch on your head. The beanie may seem strange when not worn, but it becomes perfect when you put it on.

3. Here is the most important point…. To make the cap look right, turn it inside out and sew the design facing up towards the edge.

Digitizing For A Beanie Hat
Using a tatami stitch with a spacing of approximately 1.2 mm is a great method for success on beanies! When it’s color-matched with the beanie, it creates a stable platform for stitching.
Adding Embroidery Techniques To Your Beanie
Why not add some sparkle and texture to make a custom embroidered beanie?
You can give your stitching a unique background or a 3D texture using an applique technique. Here are some suggestions:
- Magic sparkle sheets under your knockdown stitch
- Puffy Foam or Puff Stuff to create a 3D effect.
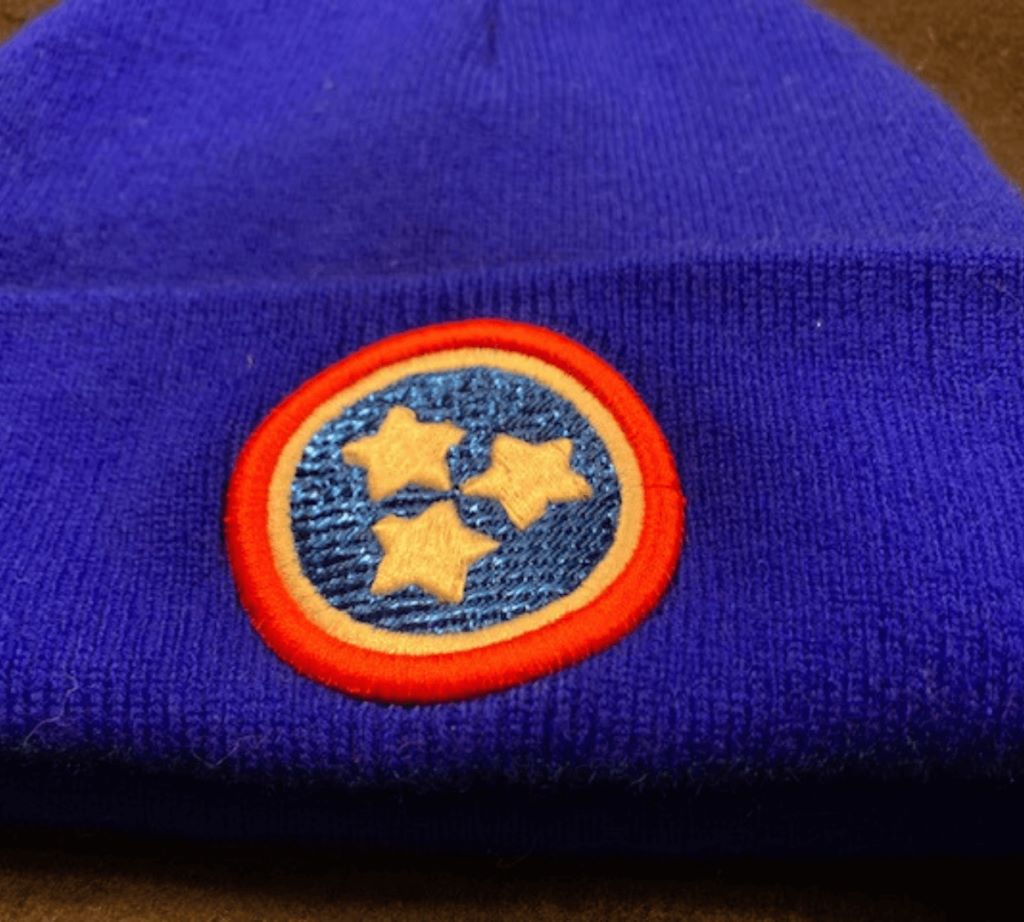
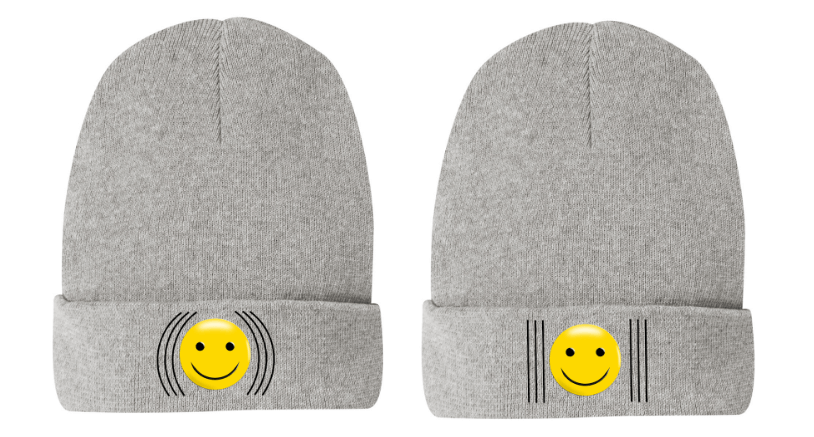
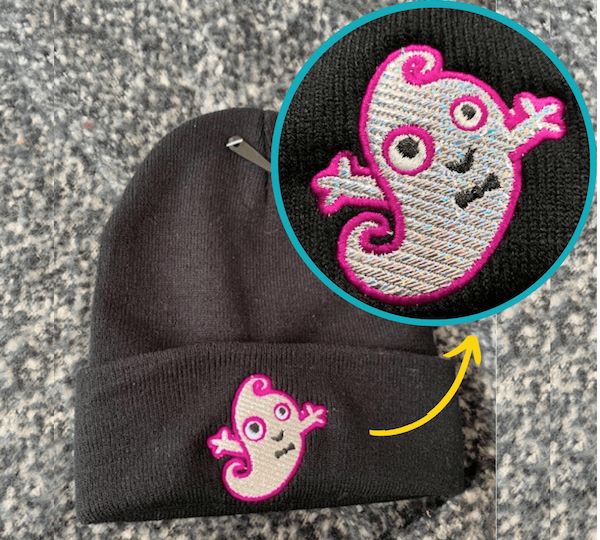
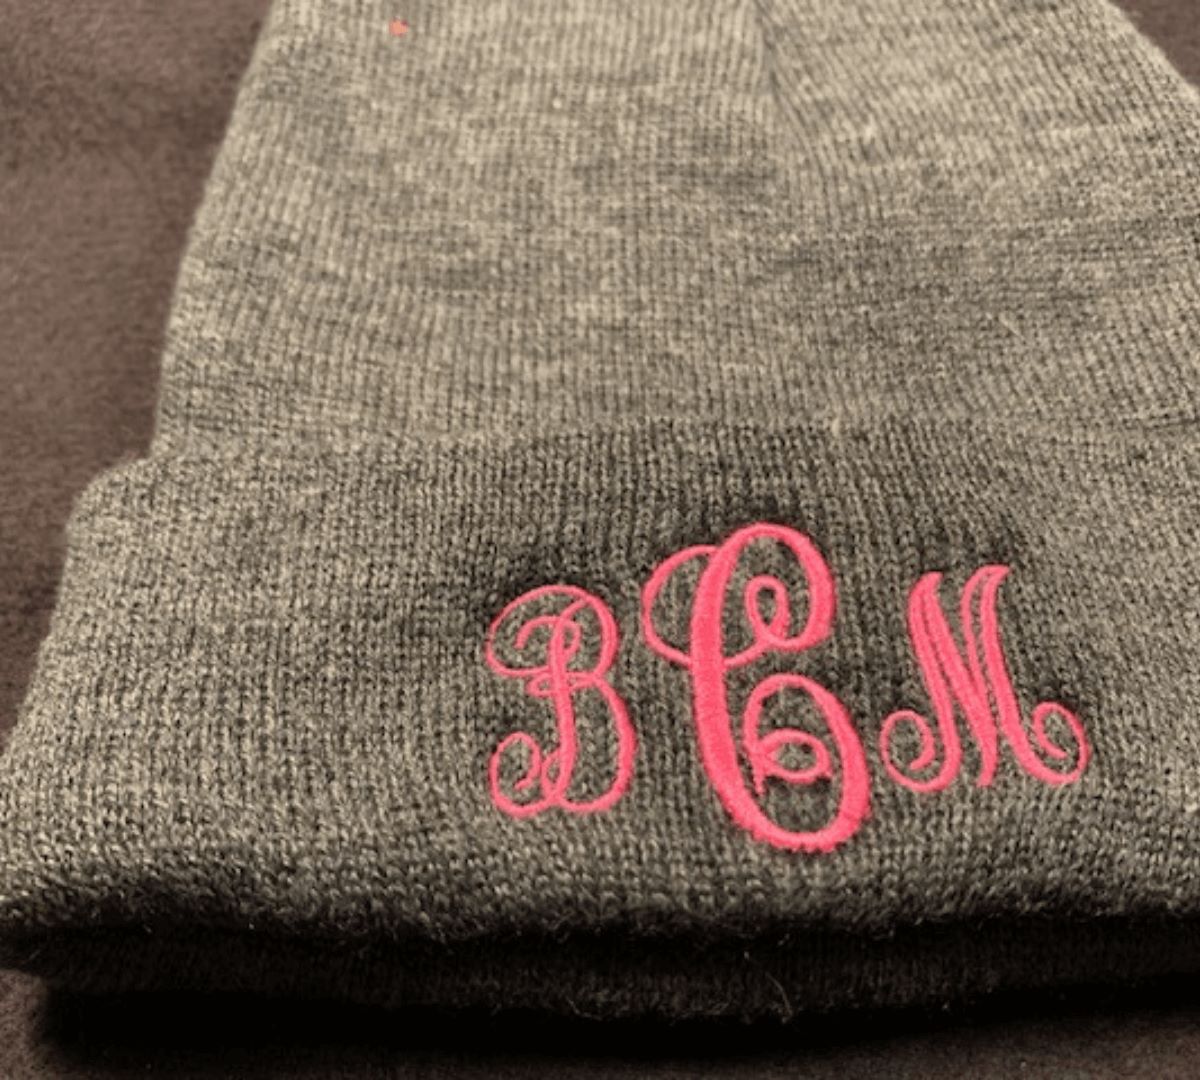
Embroidery Designs For Beanies
Designs for beanies can range from lettering to images. When choosing designs, here are some suggestions:
- Keep your designs smaller, no more than 2-2.5 inches
- Choose less dense designs
- Avoid choosing a design with fine lines as they sink into the knit fabric. If you must use thin lines, choose the triple-running stitch.
Hooping vs. Floating On Beanie Hats
This is a never-ending discussion! Hooping holds fabric more securely, but floating, for some, can be easier. Since beanies are smaller, they work fine with floating.
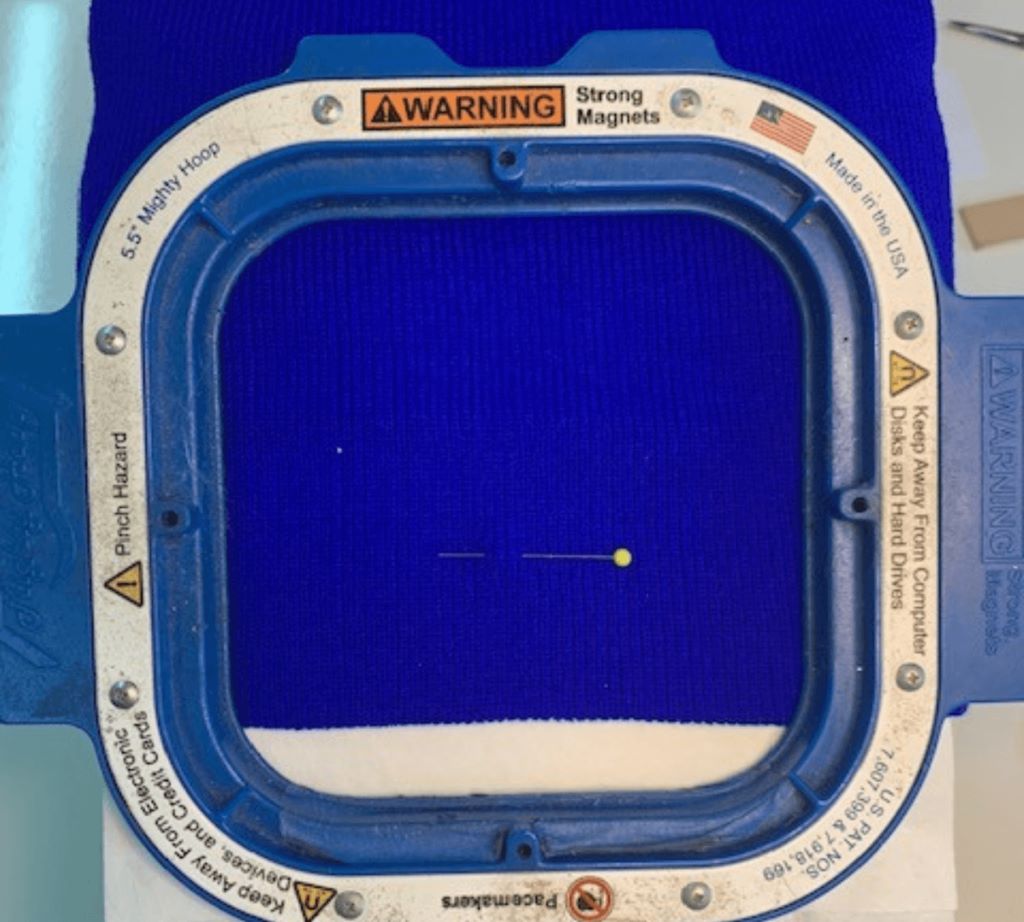
Mighty Hoops are a quick and easy way to work on beanies! With their strong magnetic hold and precise alignment, these magnetic embroidery hoops make hooping beanies and toques a breeze.
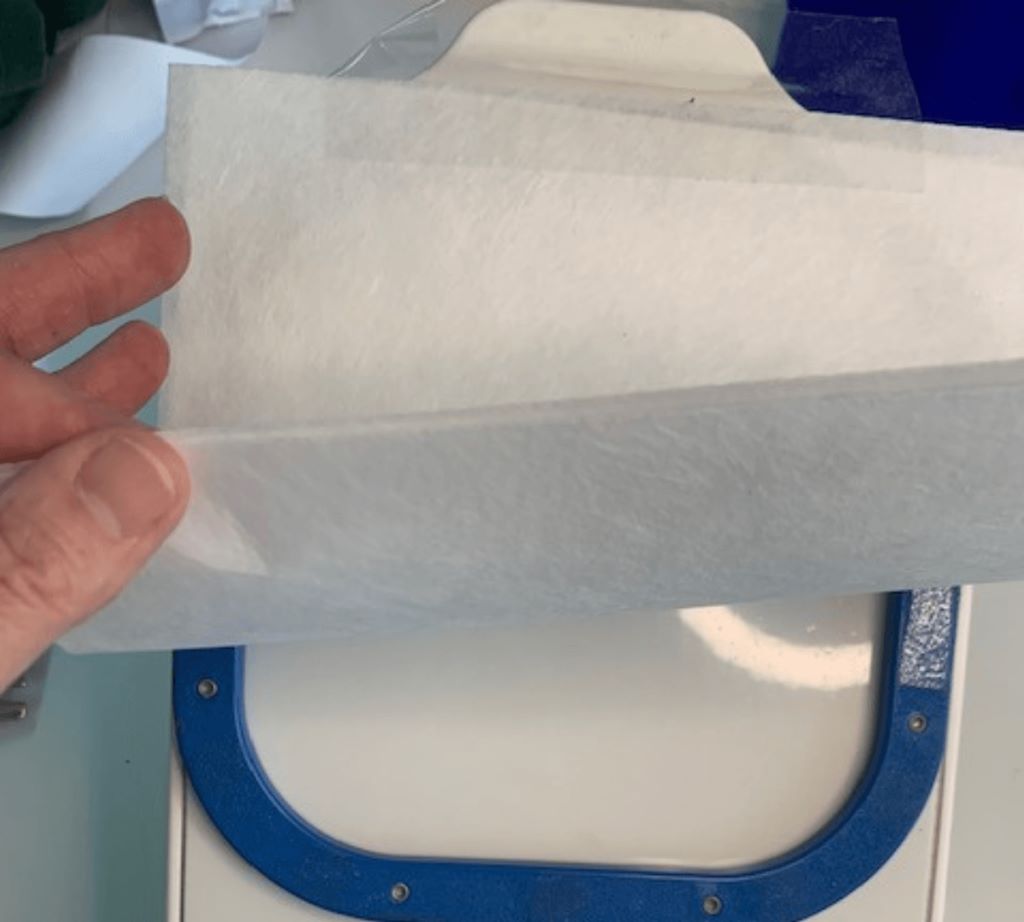
Stabilizer For Beanie Hats
Use a cutaway stabilizer, as the back side won’t be visible. But a heavier washaway stabilizer can also be effective.
Additionally, you can use a water-soluble topper to lift the stitching on top of the beanie knit.
Thread For Beanies
Generally speaking, any thread will work well, but metallics can snag on the fibers of the knit. Don’t forget to get creative with your thread colors!
How To Machine Embroider A Beanie Hat
Okay, folks, here we are, the beanie tutorial!
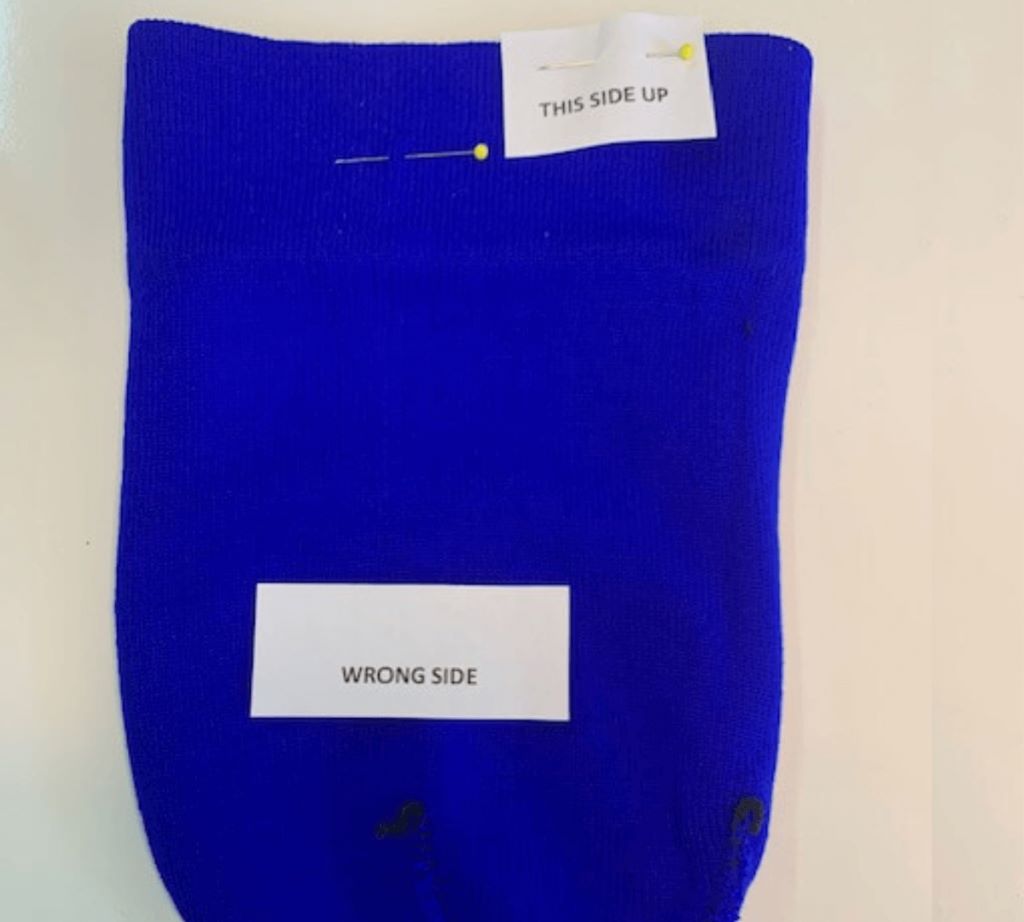
Step 1: To avoid confusion, we will indicate which side of the beanie will be visible when worn on the head.
Step 2: Mark the center where you want to embroider your design (we use a pin).
Step 3: Turn the beanie inside out.
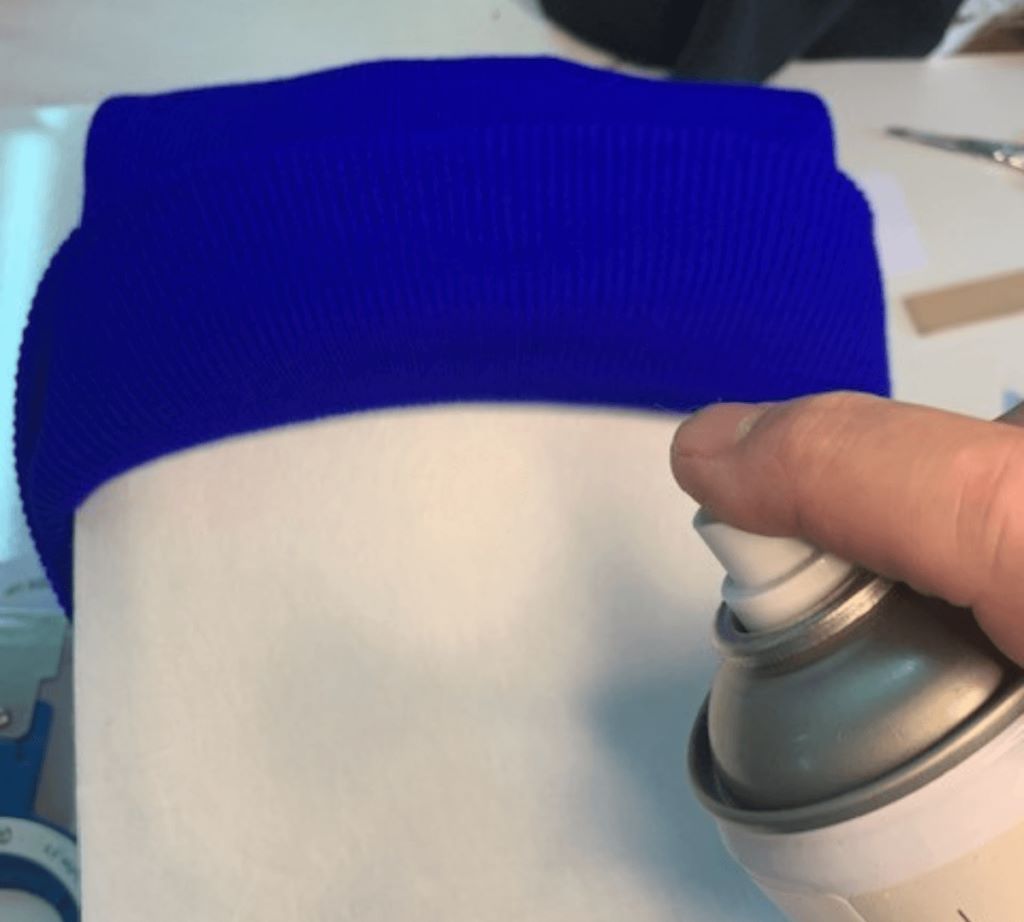
Step 4: Tape your stabilizer to your hoop to ensure it won’t move when you pull the beanie over it.

Step 5: Lightly spray some adhesive spray onto the stabilizer and adhere to the beanie.
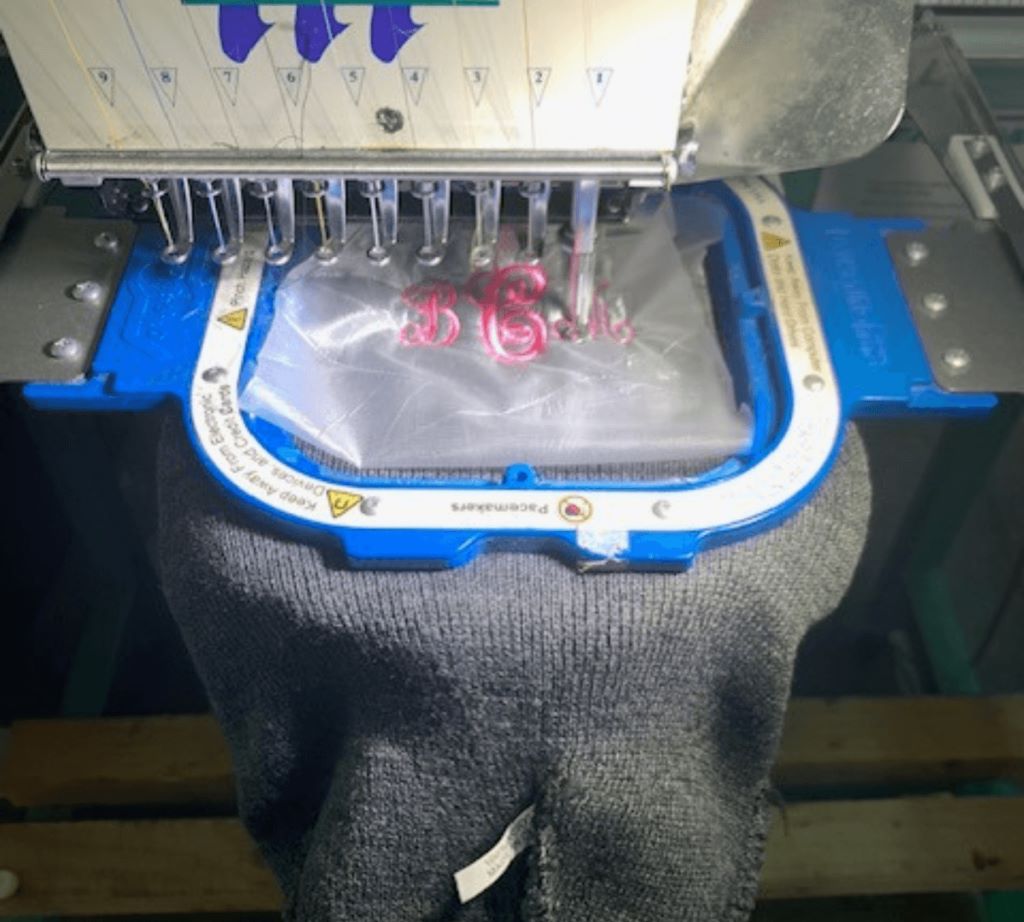
Step 6: Hoop your beanie and stabilizer. Remove the center pin if you used one.
Step 7: Place your hoop in your embroidery machine and start embroidering!
Conclusion
Beanies sound really complicated and confusing, but as you’ve just read, they are easier than you think! With a little practice, you will be a beanie master in no time.
Remember this: sew the cap inside out, aligning the pattern up to the edge of the beanie! Follow this rule to succeed every time.
PS Don’t forget to try this technique using our 30,000+ stitch-friendly embroidery designs or our amazing embroidery fonts!


Hi Mina, digitizing is definitely a long learning journey! Of course we have a blog on pull and push compensation 🙂 here it is https://embroiderylegacy.com/push-pull-compensation-embroidery-digitizing/
Danke für die hilfreichen Tipps
You’re most welcome!