Want to turn a simple bucket hat into a trendy, personalized accessory with your single-needle embroidery machine?
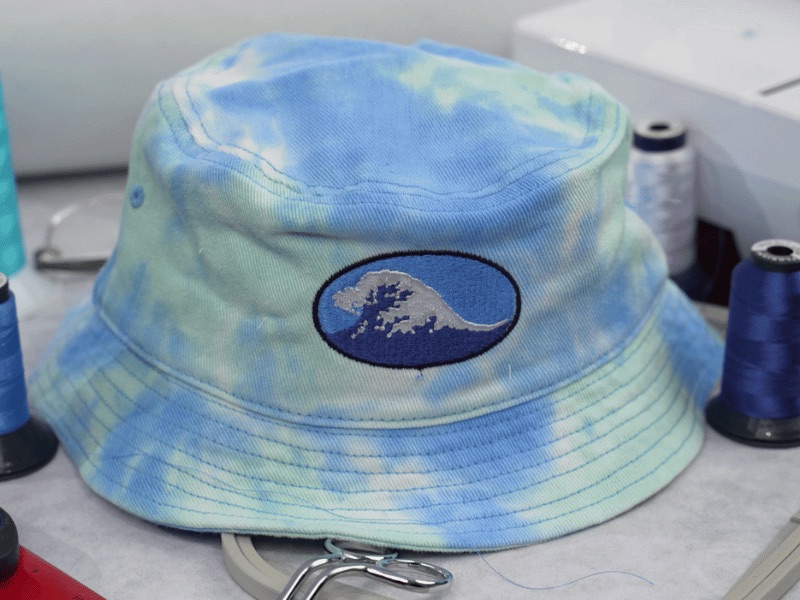
Whether you’re new to embroidery or looking for a fun, creative project, we’ve got you covered! We’ll break down the process step-by-step, from choosing the right stabilizer to perfecting your hooping technique and nailing that all-important design placement. With these beginner-friendly tips and tricks, you’ll be stitching your way to a perfectly custom bucket hat in no time!
Do you want a hands-on guide? Watch the video tutorial below while following along with the blog!
Bucket Hat Embroidering Materials:
- Bucket hat
- Embroidery hoop
- Pins & ruler
- Threads
- Scissors
- Tacky-back tear-away stabilizer
- Design template print-off
- Embroidery design – we used our “Wave” embroidery design
- Suggested but optional: add a basting stitch to your chosen embroidery design. This will ensure the hat is secure for proper placement.
Bucket Hat Embroidery Tutorial
Since we will sew on a flat surface and a bucket hat is round, we need to adjust the hooping for single-needle machines. Unlike regular flat items that are hooped, we will float the bucket hat.
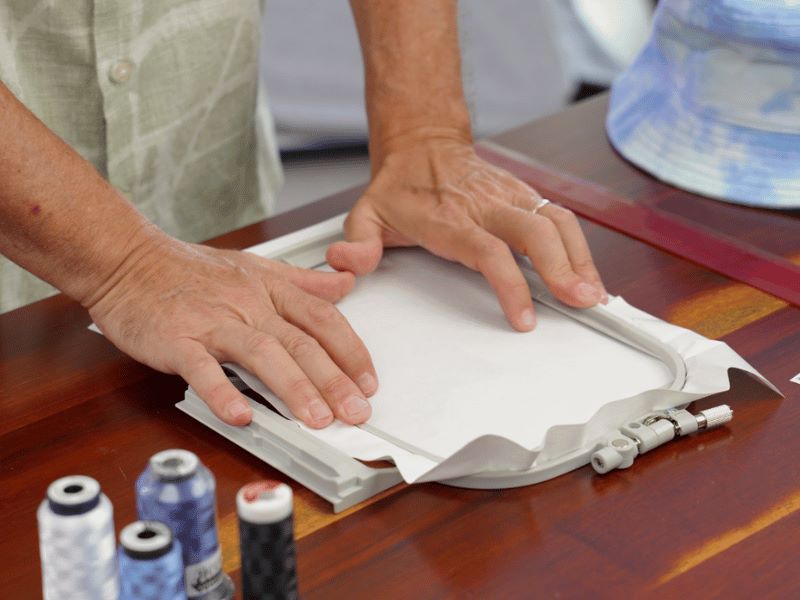
Step 1: Hoop your tacky-back tear-away stabilizer with the paper side upward, and ensure the hoop is tight
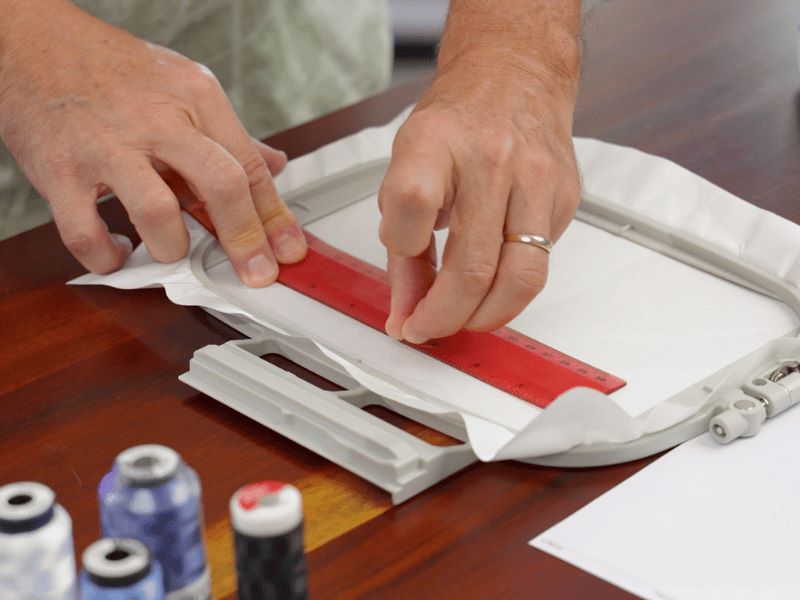
Step 2: Using a ruler, press down to create a scored line on one side of your stabilizer with a pin. Continue with all four sides until you make a square. (Make the square bigger than your chosen design file size.)
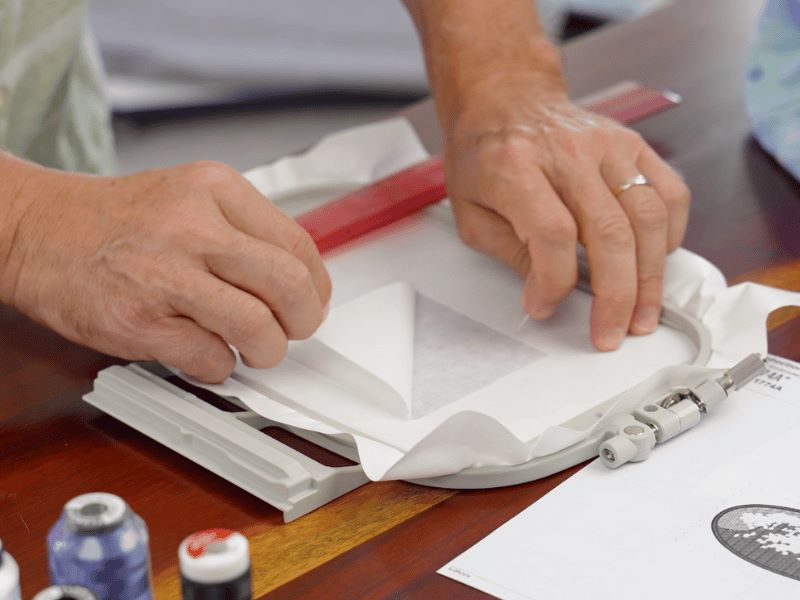
Step 3: You should now easily be able to pick up a corner and start peeling the paper off of the stabilizer.
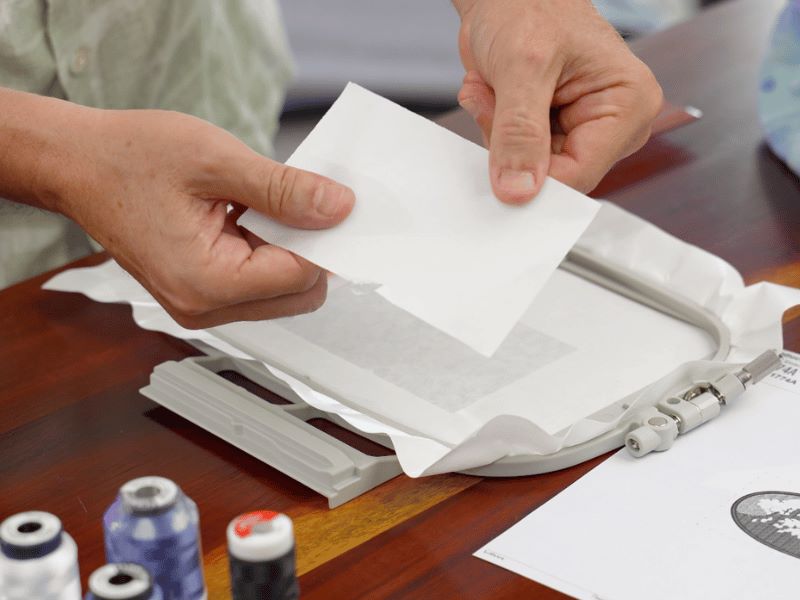
Step 4: You now have a sticky area that will hold your hat until you continue stitching.
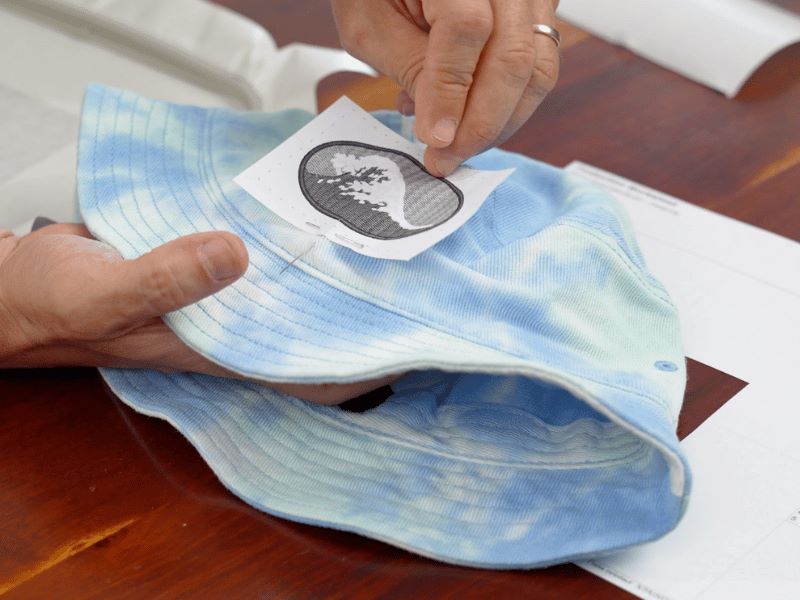
Step 5: Cut out your design template and place it on your hat properly. Pin the template in place.
The center of your bucket hat is on the opposite side of the tag and in the center of the two side seams. Try folding the hat in half to get a center line. Place a pin there to mark the center.
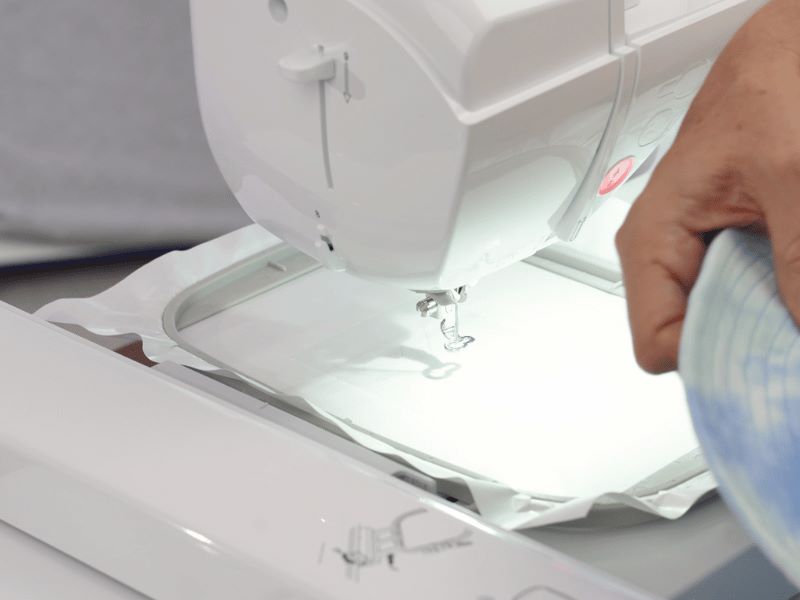
Step 6: Place your hoop with your stabilizer into your machine. Adjust the needle and find the placement on the stabilizer for the center of your design to stitch.
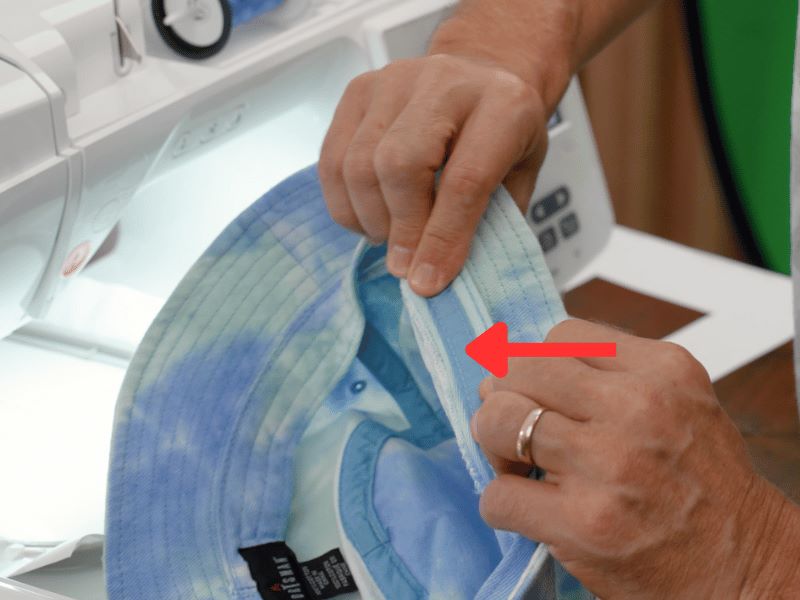
Step 7: Take your hat and folder over the inner “band” of the hat to prevent any stitching in this area.
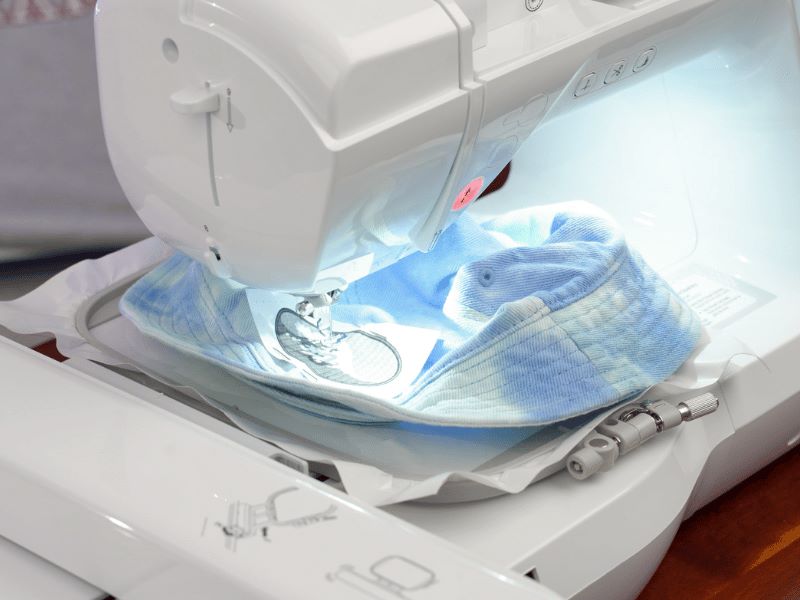
Step 8: Hold that inner band towards the brim as you slide your bucket hat under the needle on your machine. Hold the material out of the way of the space you will be embroidering on so you get a flat surface. The printed template pinned to your hat will be your placement guide.
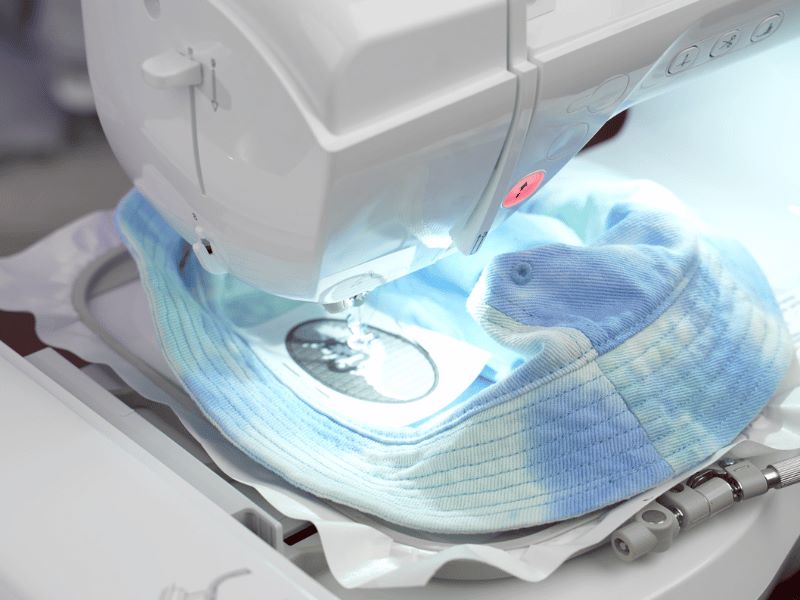
Ensure everything is as flat as possible for the best-embroidered results and that the inner “band” is still out of the way.
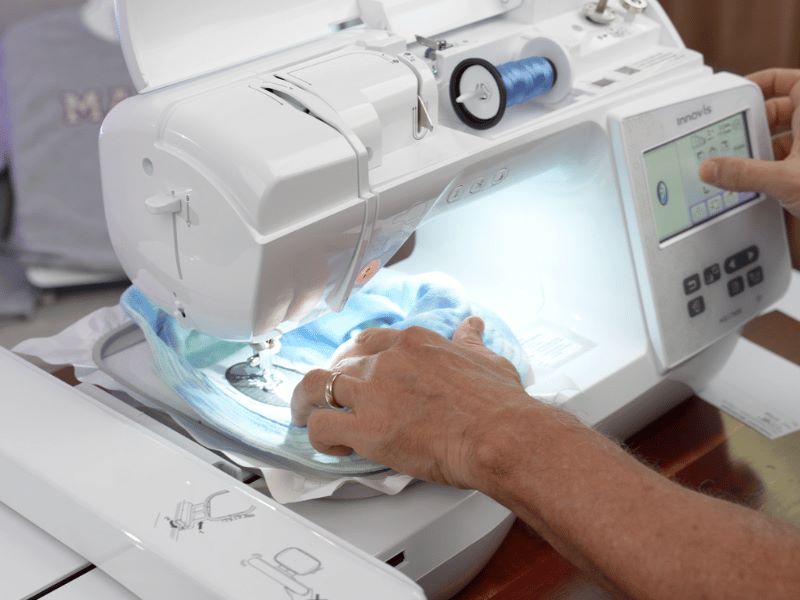
Step 9: Drop your needle down and adjust it to the center of the template.
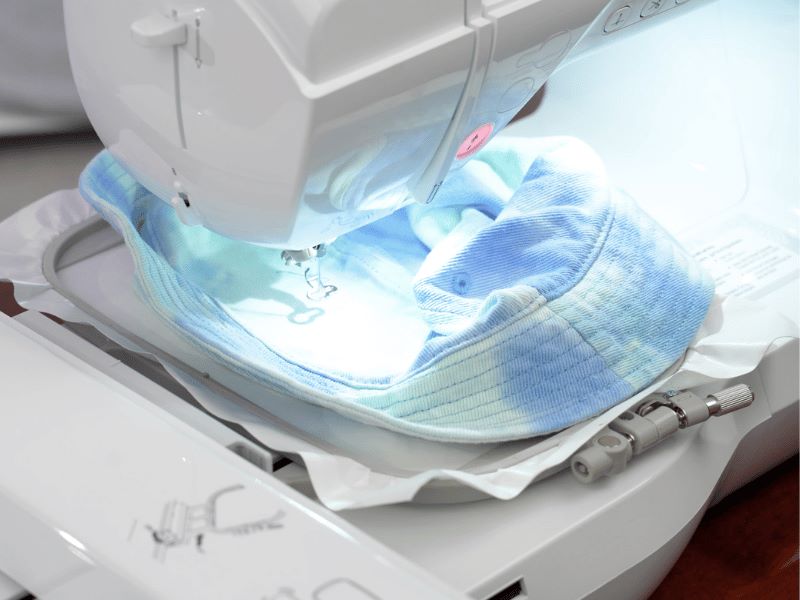
Remove the pins, paper template, and any buckles in the fabric.
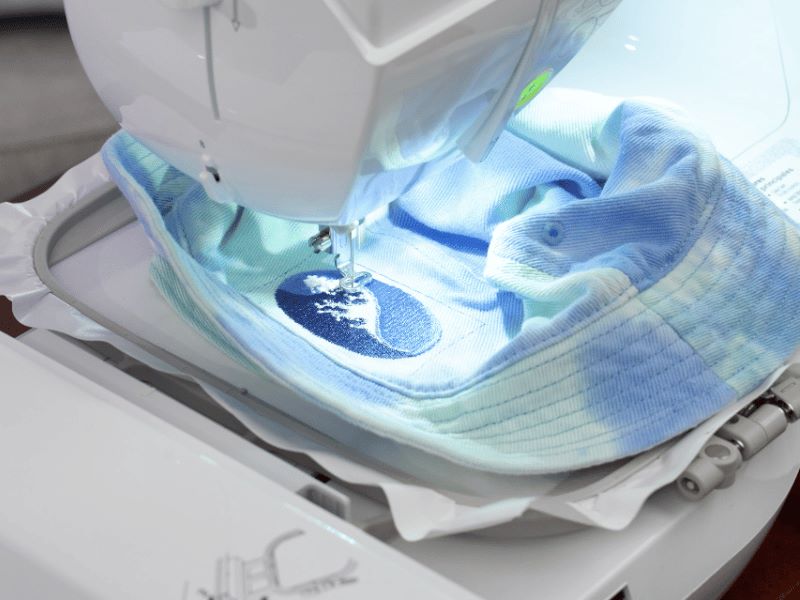
Step 10: Start stitching your basting stitch (if you choose to add it) and embroidery design.
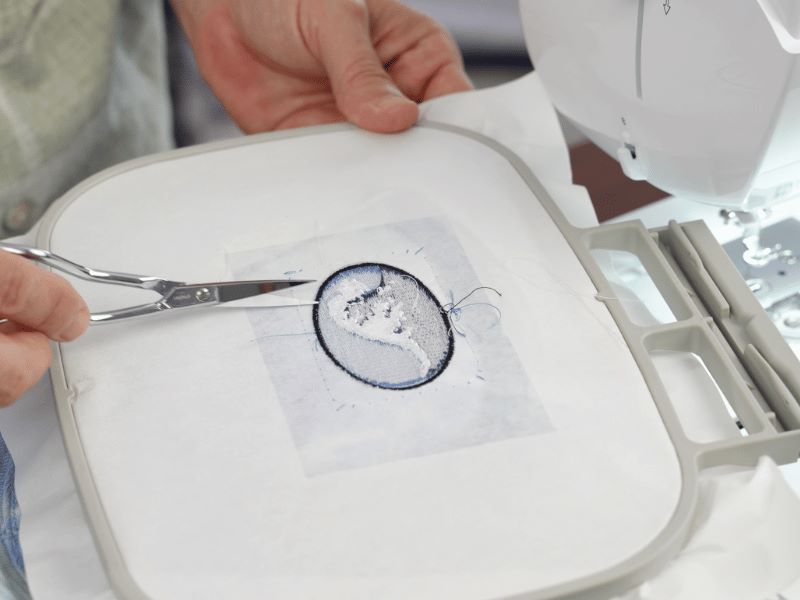
Step 11: After your design has finished stitching, remove the hoop from your machine. Turn the hoop over and remove the bobbin stitches from the basting stitch.
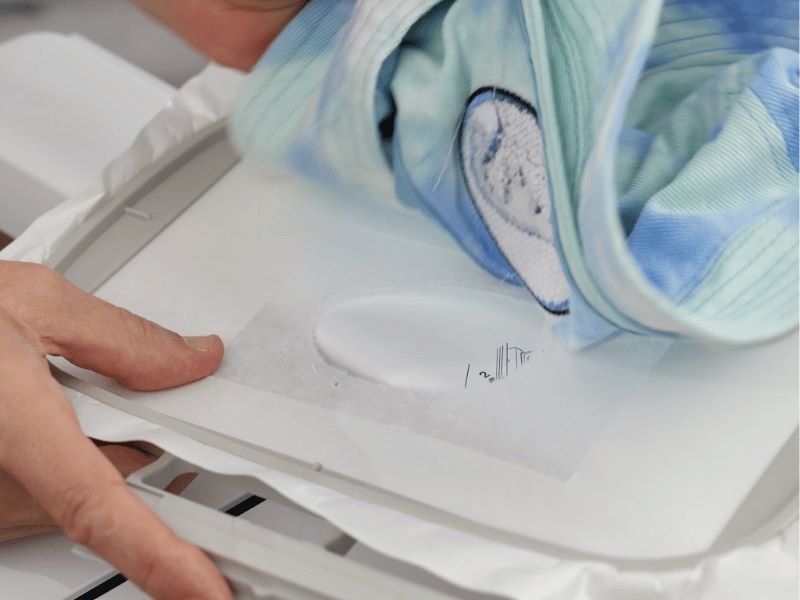
Step 12: Tear away your hat from the stabilizer.
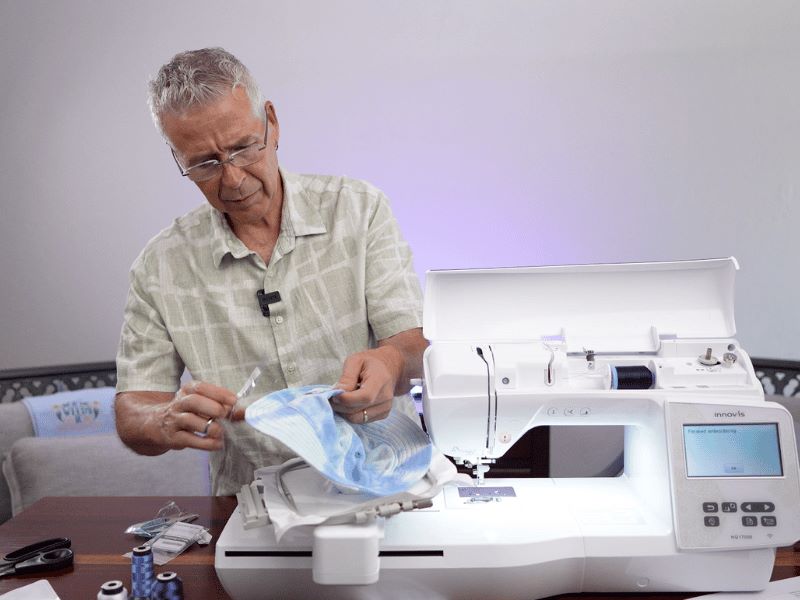
Step 13: Remove any loose threads from your design.

Your embroidered bucket hat is finished and ready to hit the beach!
Now that you know the basics of embroidering a bucket hat, you can make stylish, personalized accessories! With the right stabilizer, proper hooping, and attention to design placement, you can turn any hat into a one-of-a-kind piece. Don’t be afraid to get creative—experiment with colors, designs, and patterns to make something uniquely yours. Happy stitching!
