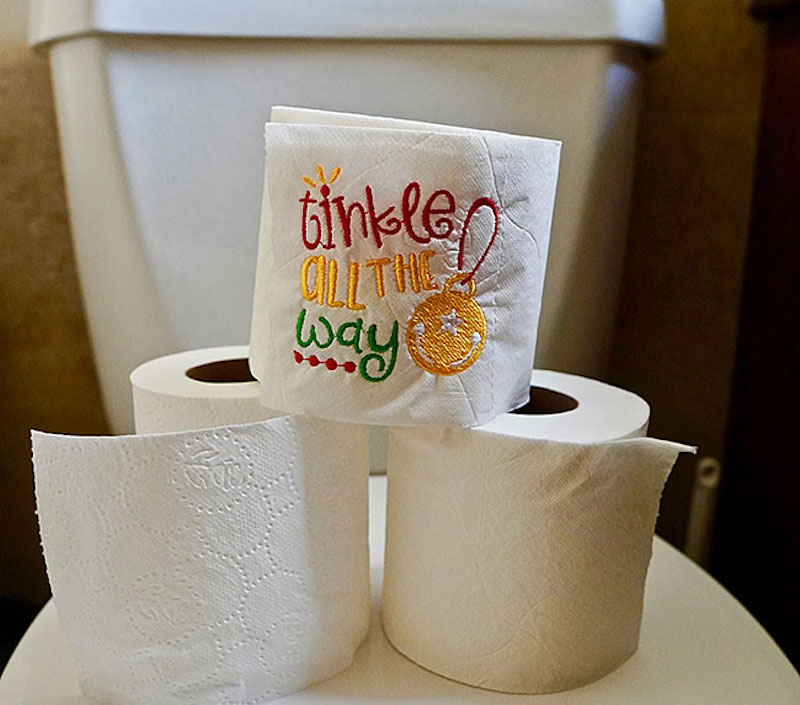
I’ve got to be honest; when I first heard of embroidering on toilet paper, I thought it was a crappy idea (yes, pun intended). It seemed like home embroiderers were grabbing random household items and stitching on them. I mean, what’s next? The carpet?
After realizing its potential, we decided to join in on the fun of embroidering toilet paper. So why would you want to embroider on toilet paper?
The method we use to embroider on TP may differ from other ways you’ve seen, but we’ve found this less likely to break! Don’t forget to scroll to the bottom for a free embroidery design for toilet paper to try this method yourself!
Why Put Embroidery on Toilet Paper
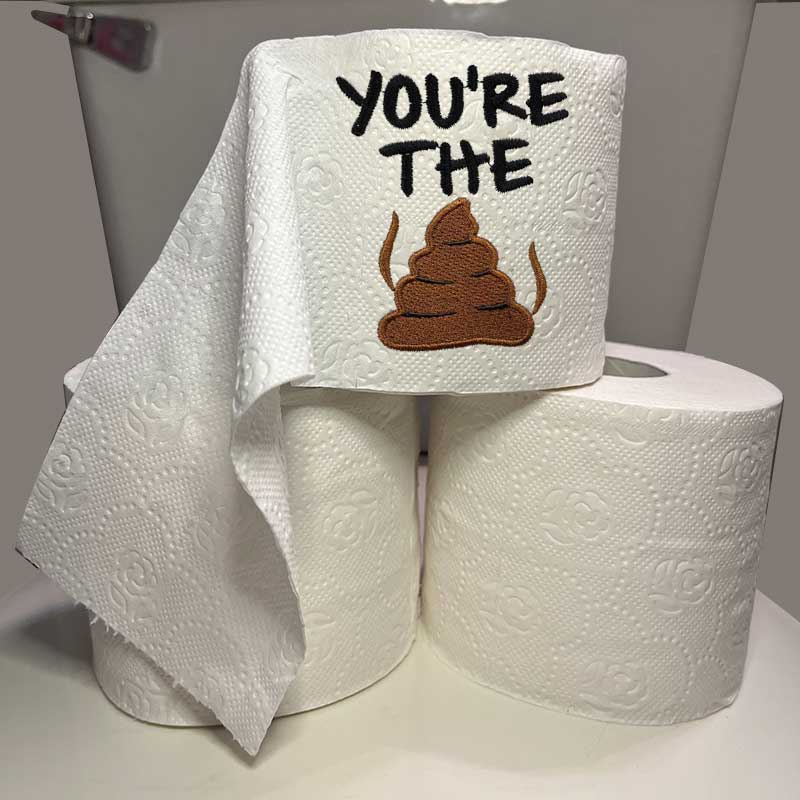
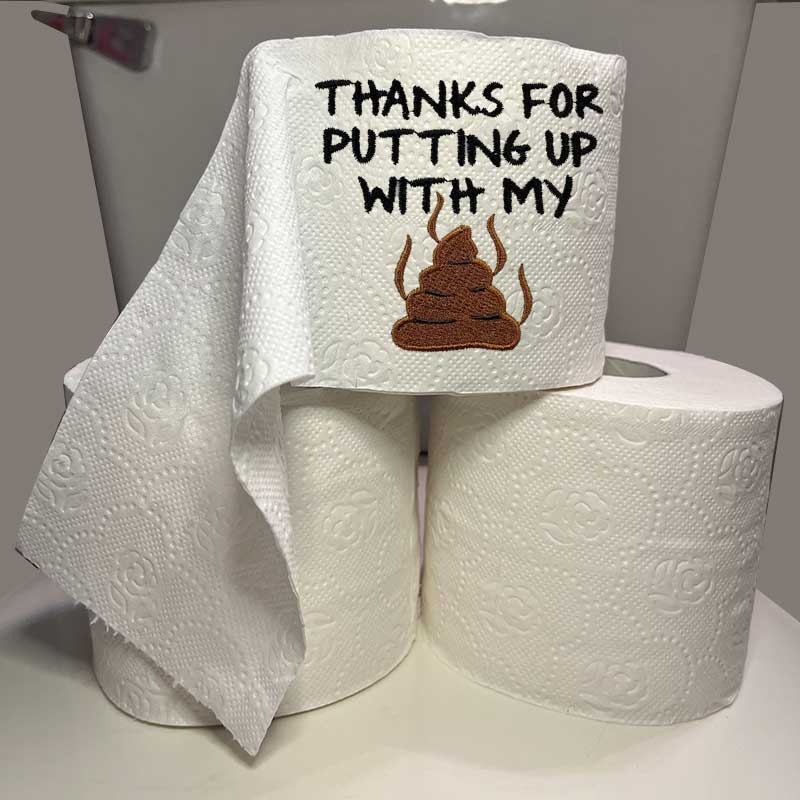
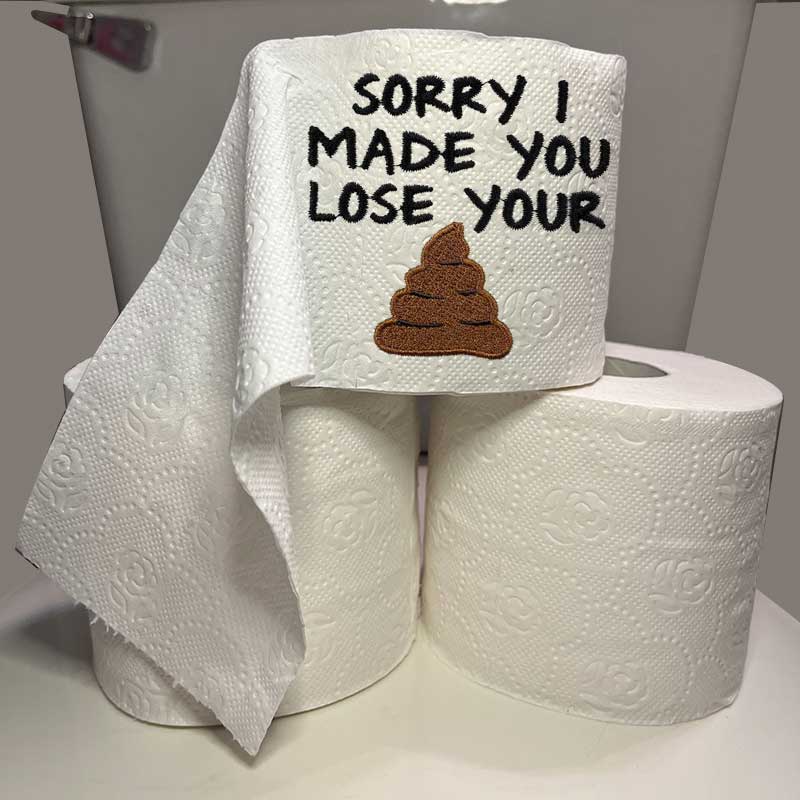
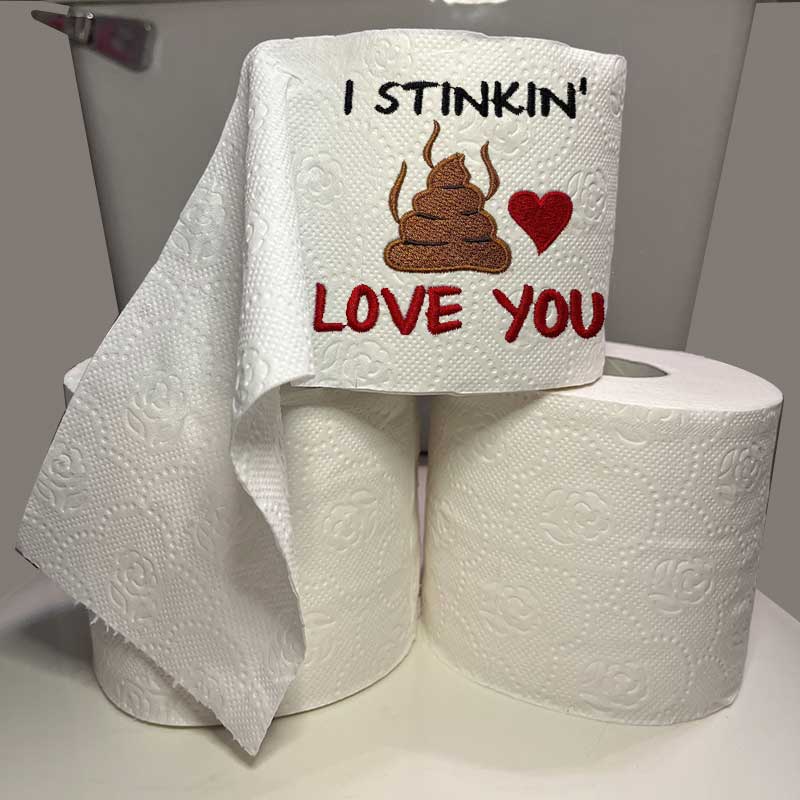
Embroidering on TP is a great way to add a personal embroidered touch to your bathroom. Whether you’re decorating for the holidays or just giving your guests something to chuckle about while going about their business, it is just plain old embroidery fun.
Embroidered toilet paper can also make an excellent gift for someone hard to buy for, especially if it’s personalized. Who can say they have a personal roll of toilet paper? You can create a personalized roll for any occasion, from a new house owner to a birthday bash; you will never be without a gift!
Did we mention it’s super easy and quick to embroider, too?
Supplies Required for Embroidering Toilet Paper
- Toilet paper (of course)
- No show mesh embroidery stabilizer
- Embroidery hoop
- Exacto knife
- Binder clips
- Felt pads
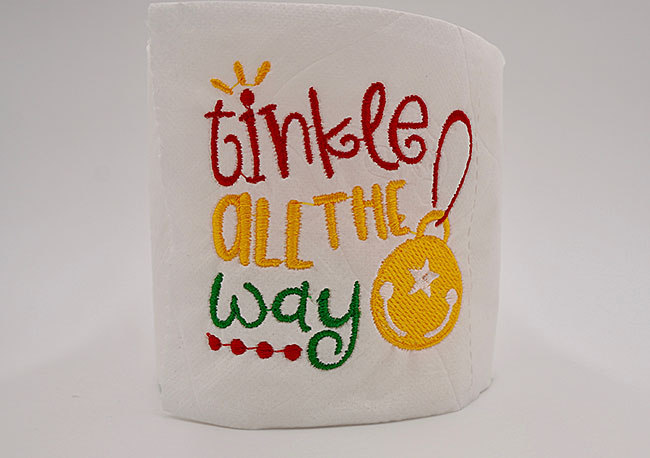
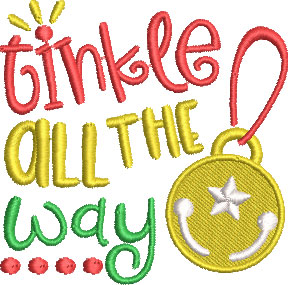
- Embroidery designs –Tinkle All The Way was used for this project
Tip: Use a higher ply of toilet paper to embroider on. Not only does it feel better to use, but it is also stronger, decreasing the likelihood that it will break while embroidering. Both ways, it’s less of a pain in your rear end (OK, seriously, I’ll stop with these jokes now).
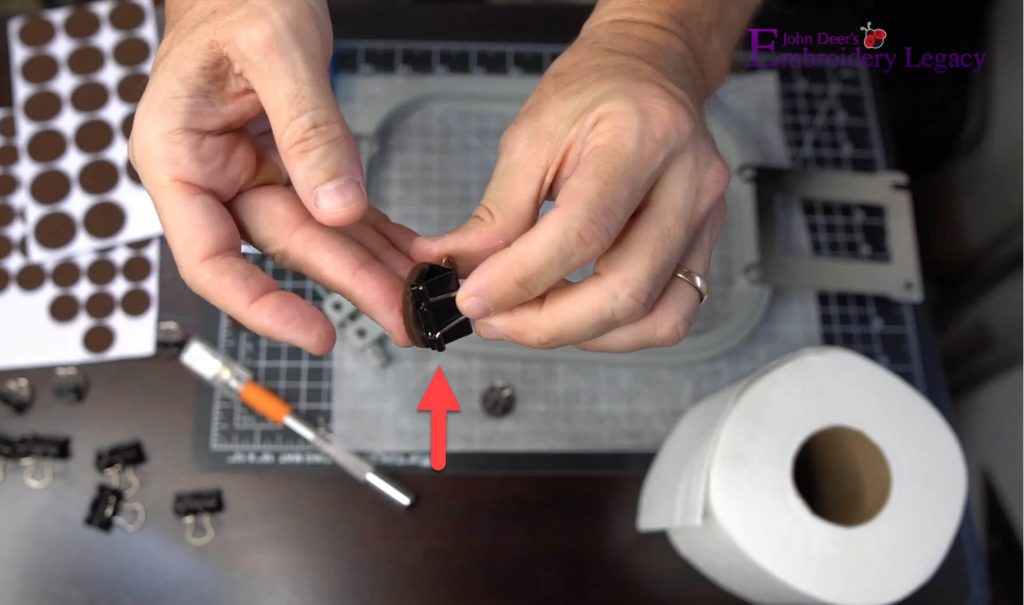
With the items above, you’ll want to add a felt pad to one side of your binder clips (you’ll need 4). This allows the toilet paper to slide on the machine’s surface rather than catch it.
Embroidering On Toilet Paper Tutorial
Step 1: Hoop your no-show stabilizer and run the placement stitch.
- Once your stabilizer is hooped, place your hoop on the machine and embroider the design placement stitches.
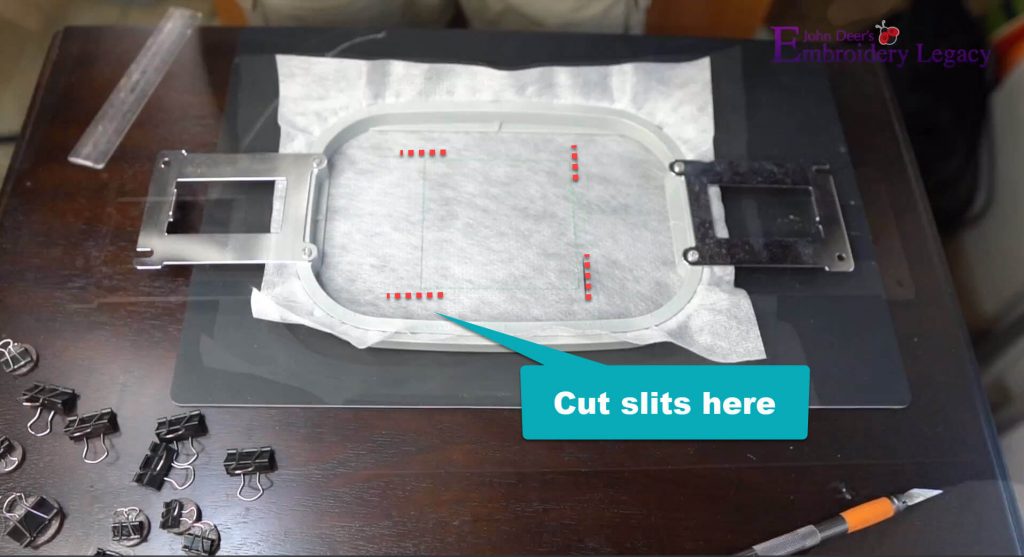
Step 2: Cut slits around the placement stitch to insert clips.
- Use your exacto knife to cut four small slits around the placement stitches, as shown below. This allows the clips to be inserted.
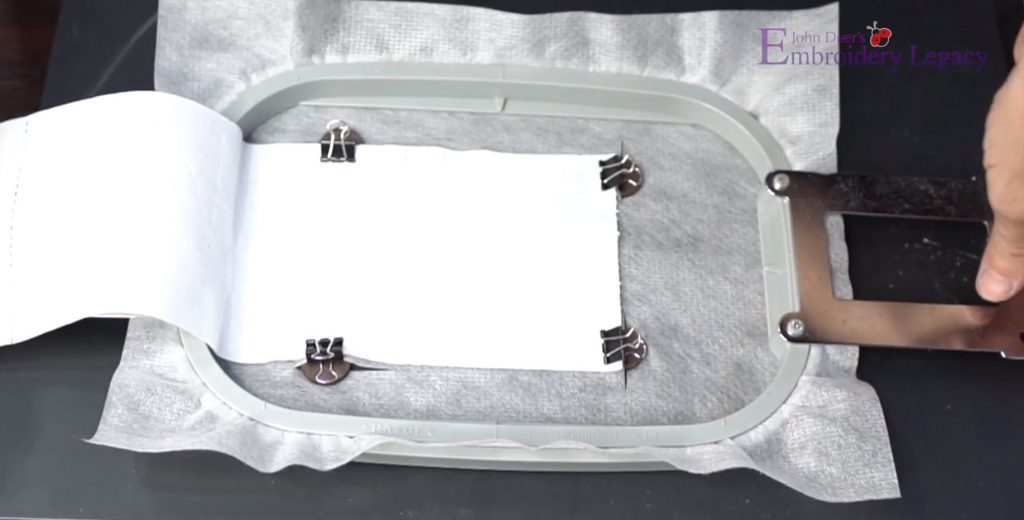
- Line the toilet paper to the placement guide stitches.
- Carefully take the clips you created and slide the felt piece underneath the slit, leaving the top binder clamp on top.
- You’ll do this four times, once for each of four of the slits you cut to hold your piece securely in place.
Step 3: Embroider your design.
- Be super careful not to tear your project when placing your hoop back on the machine.
Step 4: Remove the stabilizer and roll up your toilet paper.
- Take the hoop off your machine and carefully remove the clips.
- Remove the stabilizer from your hoop (we can’t stress enough to be careful!)
- Once you remove the hoop, take a pair of scissors and cut away the excess no-show mesh stabilizer from the back of your design.
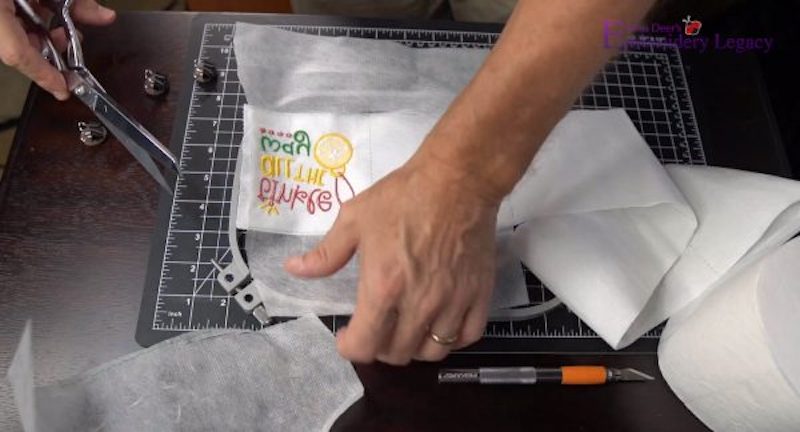
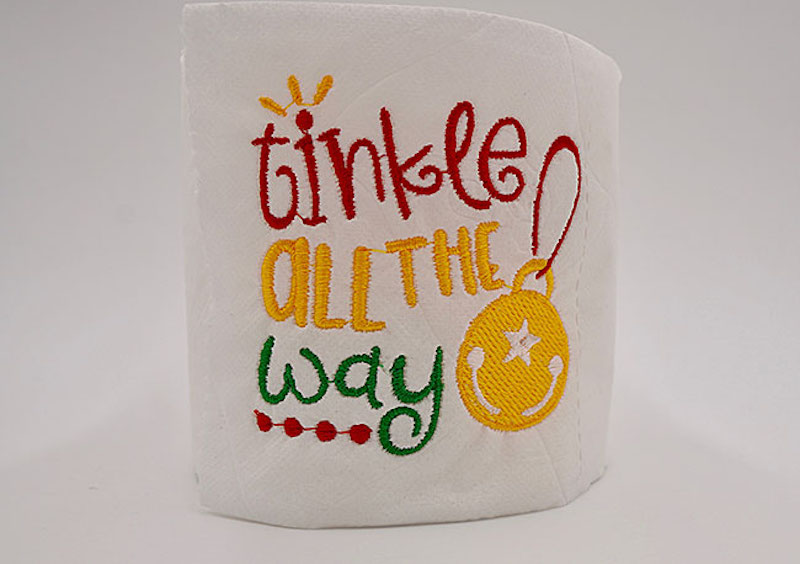
- Roll up the toilet paper and carefully clean up any loose stitches that might be showing by cutting them away with scissors.
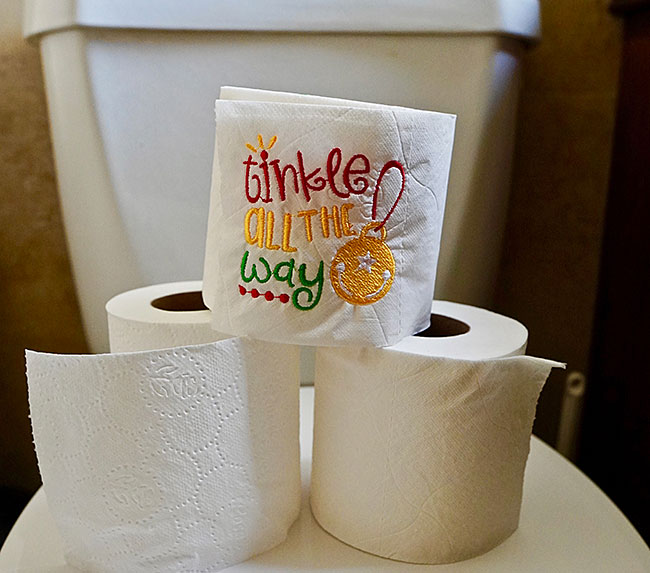
- Thats it. Congratulations, you’ve just embroidered on toilet paper!
Toilet Paper Embroidery Designs -Be Careful!
Designs that are too dense or have too high of a stitch count will create too many needle penetrations and likely cause the toilet paper to tear.
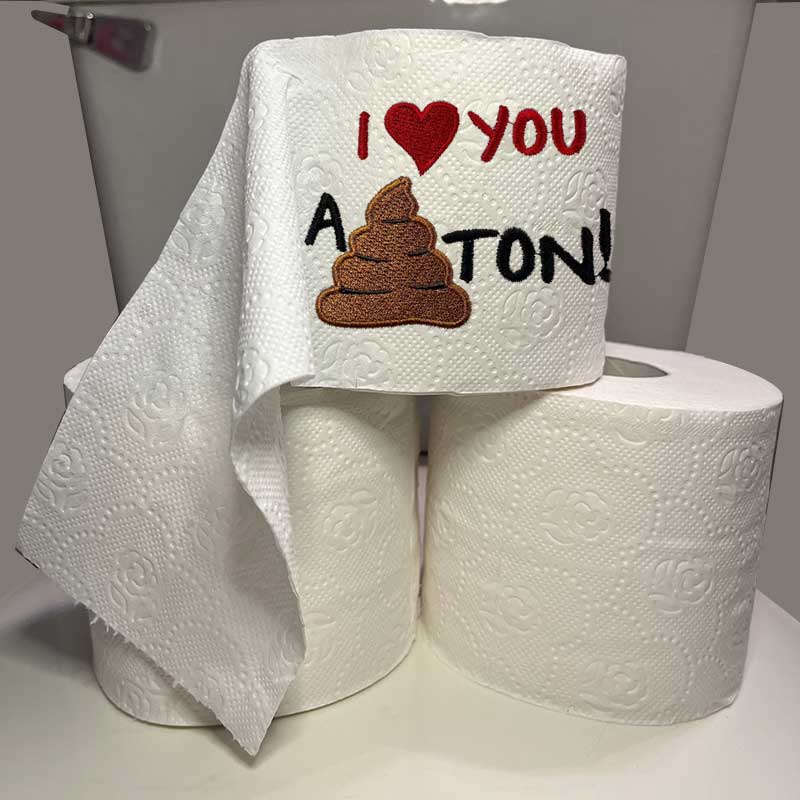
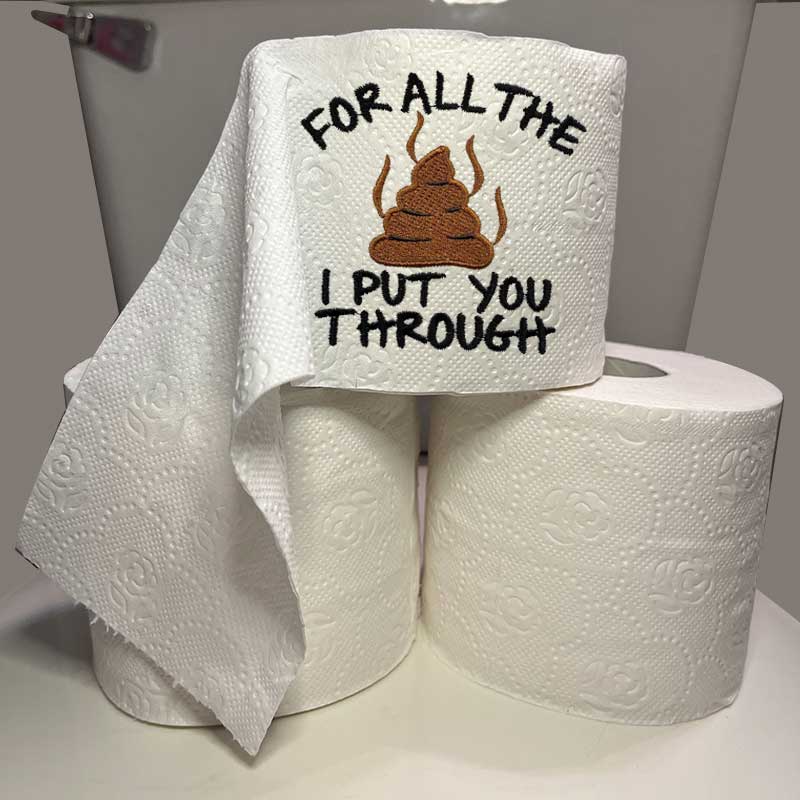
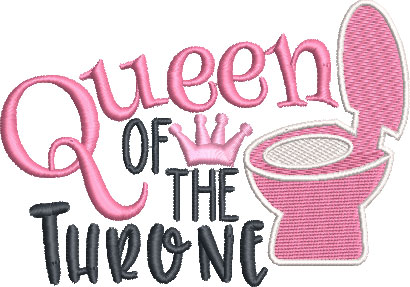
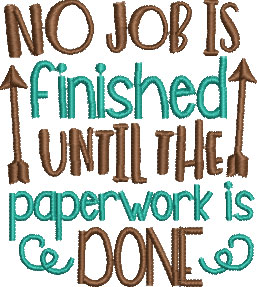
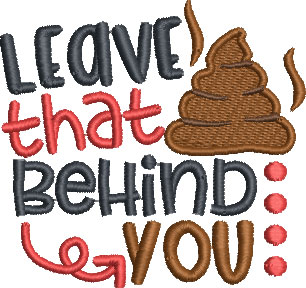
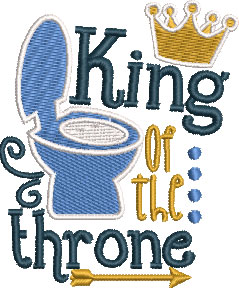
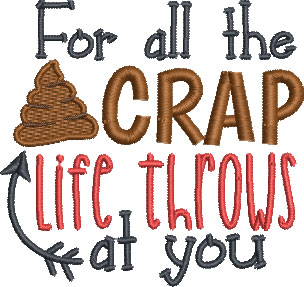
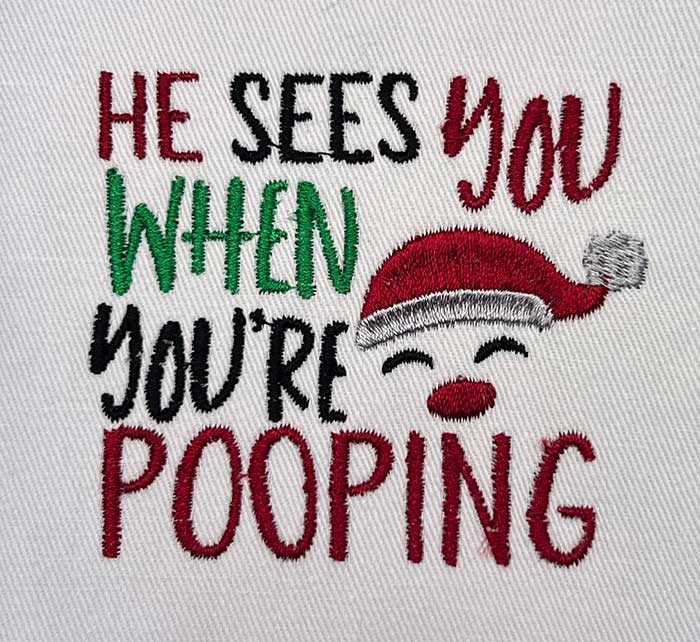
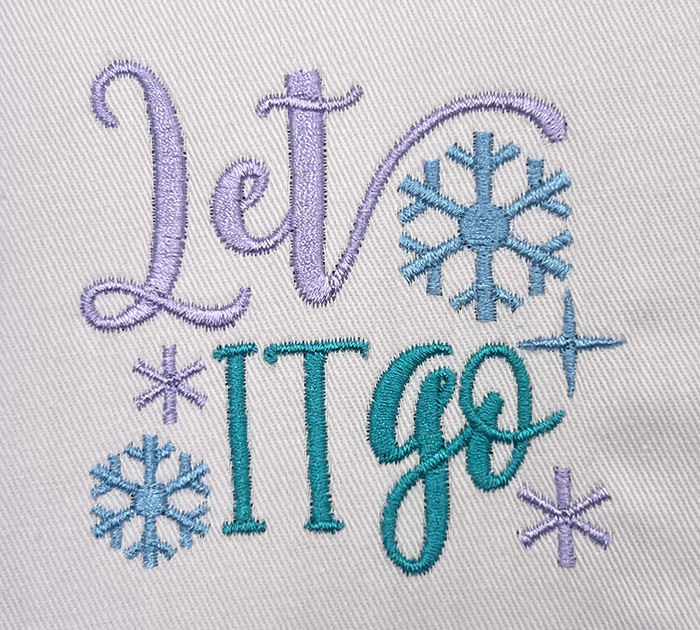
If your embroidery software allows you to modify design properties for various fabrics, choose Leather or Suede. This will help decrease the density of your design before embroidering it on toilet paper.Or, if you’re interested in easily creating your own custom designs without digitizing, check out our Design Doodler Software. This software is user-friendly and can create anything you doodle into stitches. To make your own TP designs, reduce the density of the satin and fill stitches, and be sure to use longer running stitch lengths.If you’re looking for cute machine embroidery designs to embroider on your toilet paper (without tearing), here are some fun designs that were digitized, especially with TP in mind.Free Toilet Paper Embroidery Design
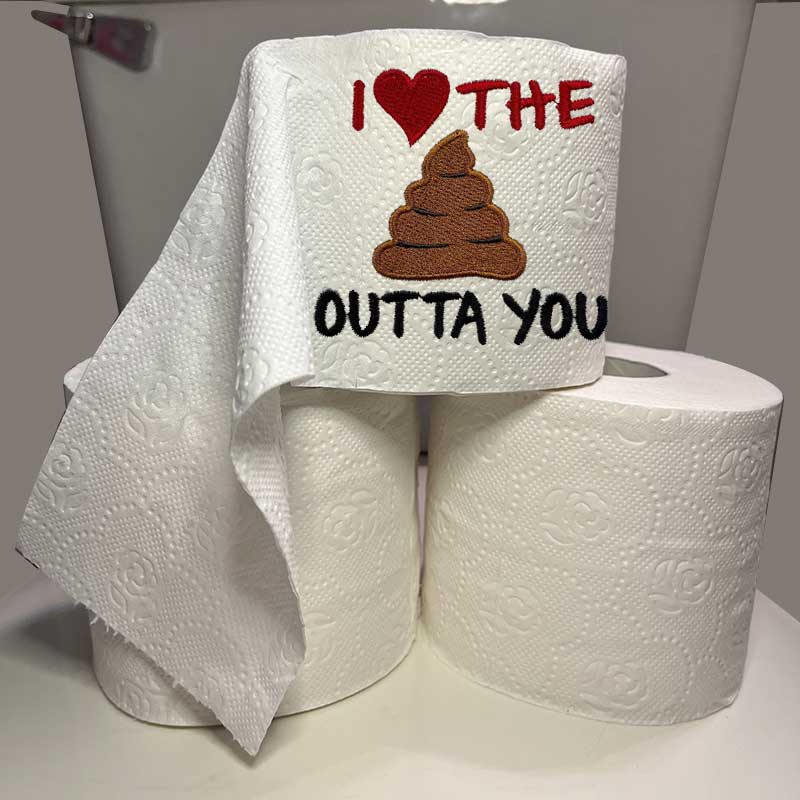
Our designs are digitized specifically for embroidering on TP (and they are stinkin’ great)! Don’t just take our word for it; try one of them for yourself!
Now that you’ve learned how to properly hoop, stabilize, and embroider your toilet paper, download your free design to create your own.
Conclusion: Embroidery On Toilet Paper Doesn’t Have To Stink!
Ok, you caught me. I had to make one more joke. I mean, come on, how often do I get to write about this stuff?
If you follow the steps listed above, you shouldn’t encounter any issues when embroidering on toilet paper, especially when using our low-density embroidery designs, as they’ve been specifically made for toilet paper projects.
Be sure to take it slow, get three-ply toilet paper, and use designs that were digitized with the proper low-density stitch settings in mind so your embroidery machine doesn’t tear your toilet paper to shreds.

















Hi John,
It is funny to see your comments about embroidery on toilet paper. When I owned my embroidery shop over 15 years ago we did just that for people. I wish I could remember what we wrote on it. I will ask my friend who worker for me. It is a great gift!
It really is just a fun way to use embroidery! You’ll have to let us know when you find out 🙂