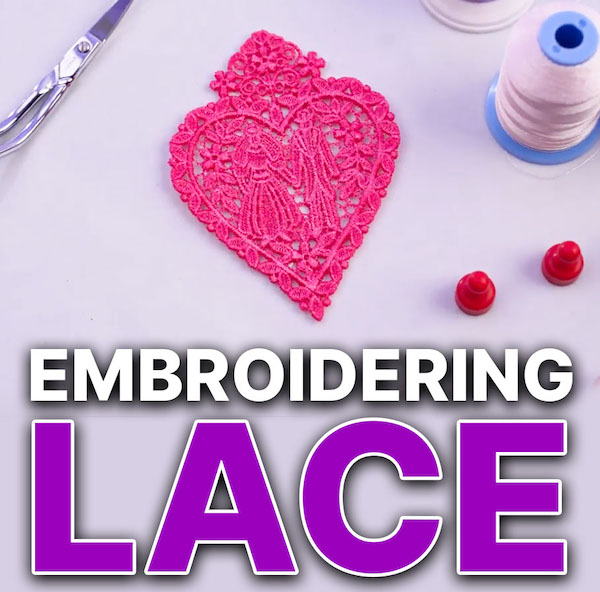
Think embroidering lace is complicated? Think again! With the right tips and tricks, you can easily add a sleek, stylish touch to any project.
This step-by-step guide will help you create beautiful lace embroidery by revealing the right materials, stabilizers, and tools for great results. Whether you’re a beginner or looking to try something new, this guide will help you master the art of lace embroidery!
Love the timeless elegance of lace? Don’t miss out on exploring our collection of stunning lace designs!
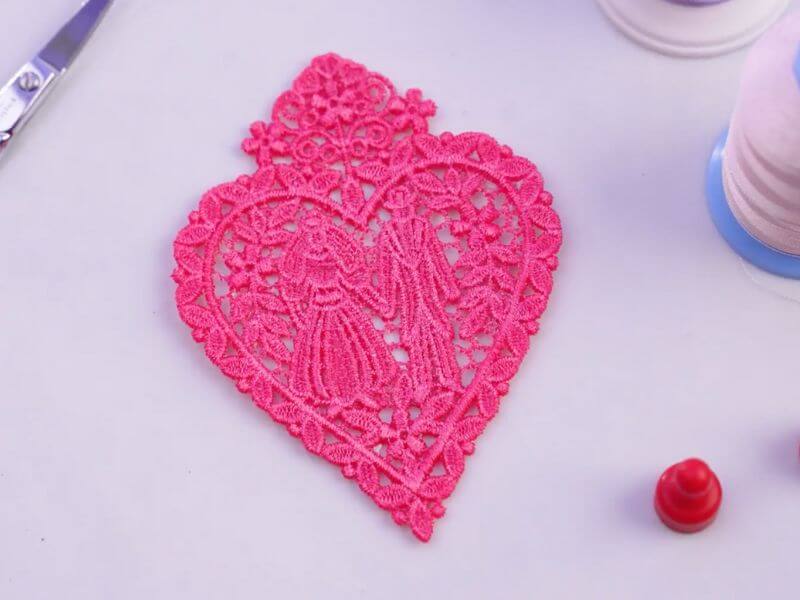
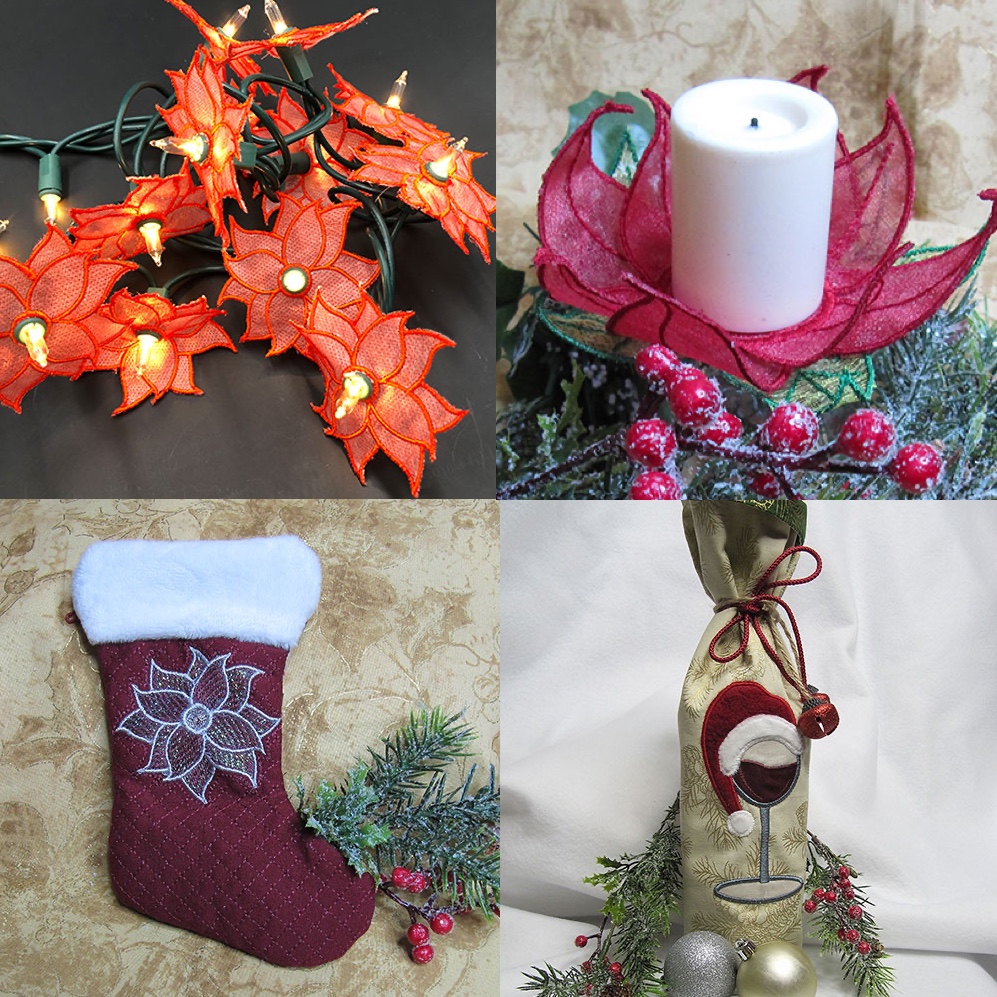
Many of our freestanding lace designs were created in the 1950s, making them true vintage! These designs add a unique and classic touch to your embroidery projects. Perfect for adding a bit of history and charm to your creations!
Enthusiasts or VIP Embroidery Legacy Design Club members receive a special embroidery cheat sheet PDF. You can save the PDF on your computer or print it as a reference beside your machine.
Login to your digitizingmadeeasy.com account and check your “Classroom” tab!
Want a hands-on guide? Watch the video tutorial below while following along with the blog!
Materials
- Appropriate Sized Hoop for Your Design
- Wet N Gone Stabilizer
- Thread (Polyester Thread, Rayon Thread, or Metallic Thread)
- T-Pins
- Foam/ Sponge (For Metallic Thread)
- Wedding Tag Embroidery Lace design
- Save 90% on high-quality embroidery designs when you join our Embroidery Legacy Design Club!
Lace Embroidery Design Tutorial
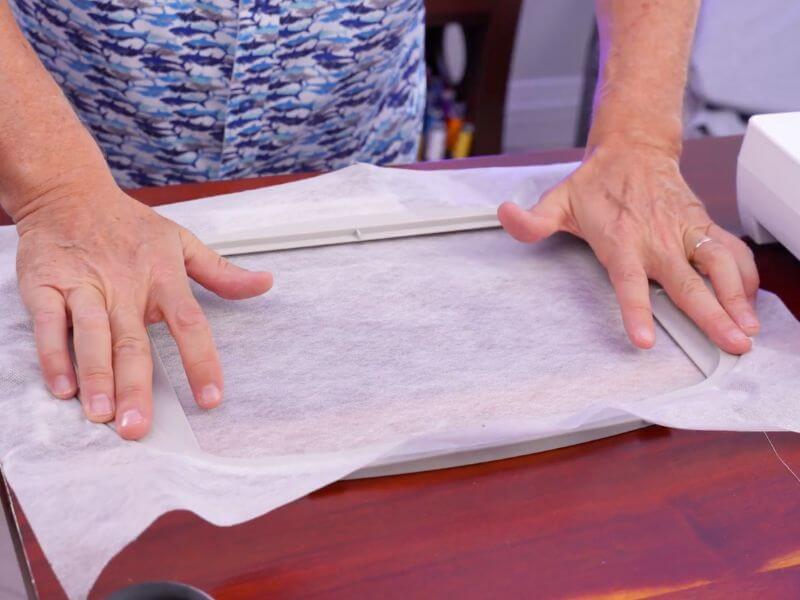
Step 1: Hoop the Wet N Gone Stabilizer and ensure the hoop is as tight as possible.
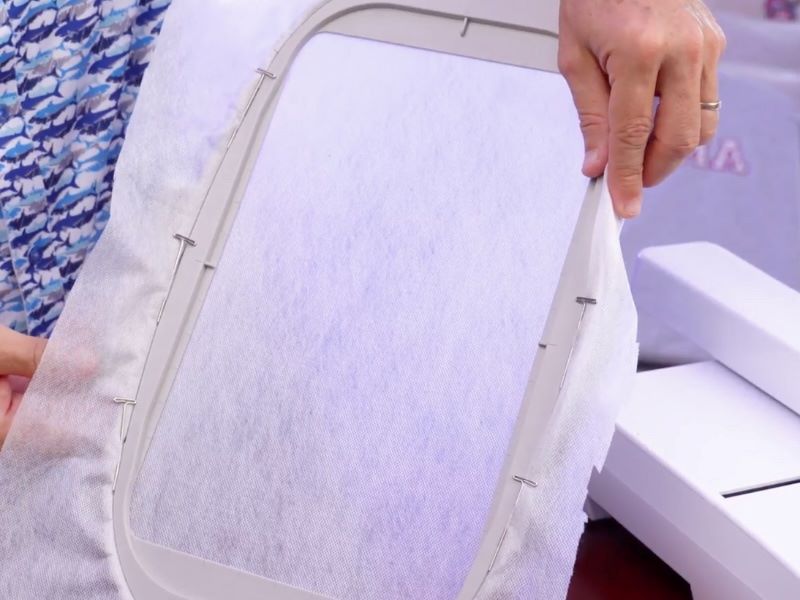
T-pins secure the stabilizer around the hoop to avoid movement while the design is stitched.
Tip: If you have a commercial machine that is a multi-head machine or tubular, you should lessen the top tension and the bobbin tension. This will help ensure that your underlay connects as the design stitches out.
Expert Tip: Slowing down the machine speed for freestanding lace designs is also recommended. This will help ensure the design stitches properly and reduce the risk of the freestanding lace falling apart.
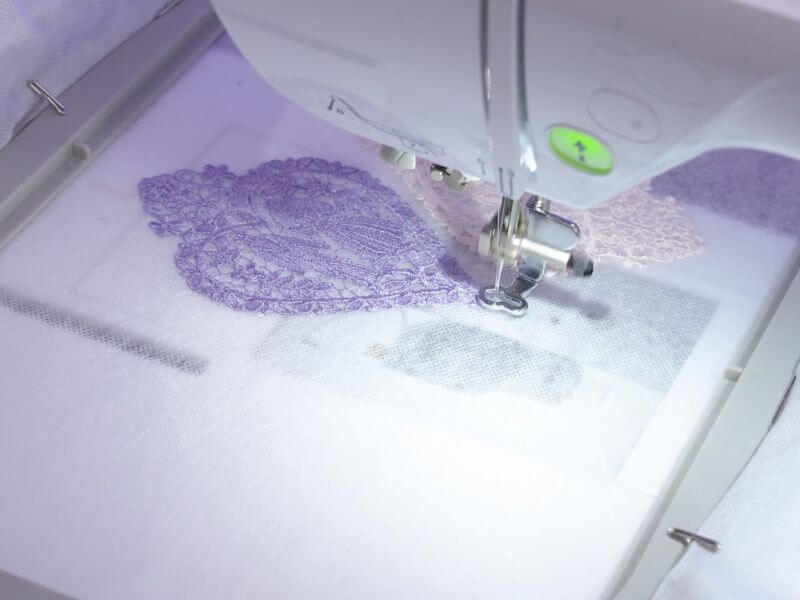
Step 2: Place the hoop in the machine and run the freestanding lace design.
Note: If you are running a metallic thread, it tends to loop while being removed from the spool, causing kinks in the thread. When these kinks pass through the eye of the needle, they will likely break.
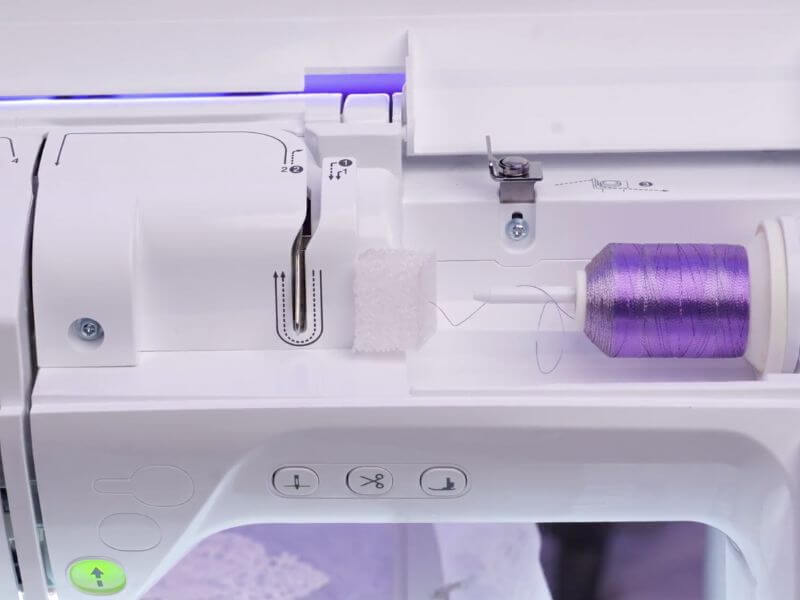
When using a multi-needle machine or a commercial machine, you can avoid these breaks by spooling the metallic thread on its side and preventing the looping as the thread leaves the spool.
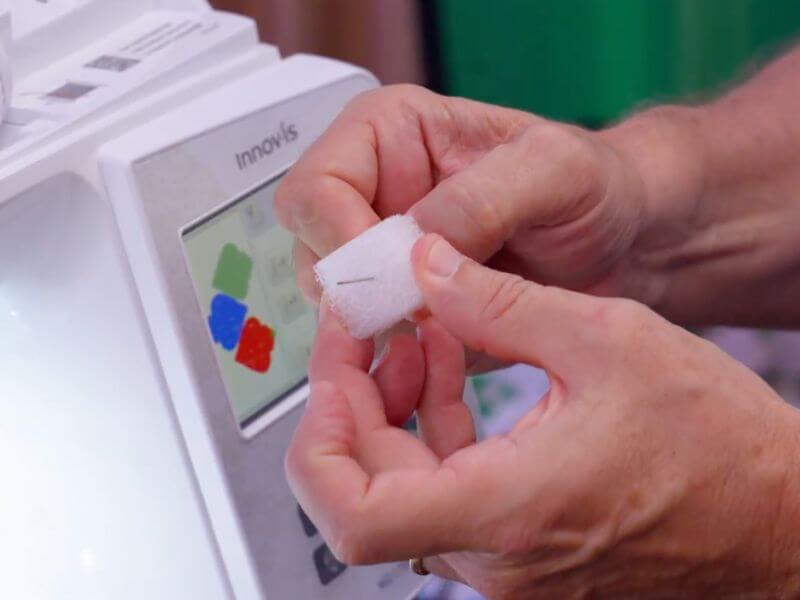
Expert Tip: On a home flat-bed machine, passing the thread through a piece of styrofoam before the thread enters the tensioners will help prevent the looping that causes kinks in the thread.
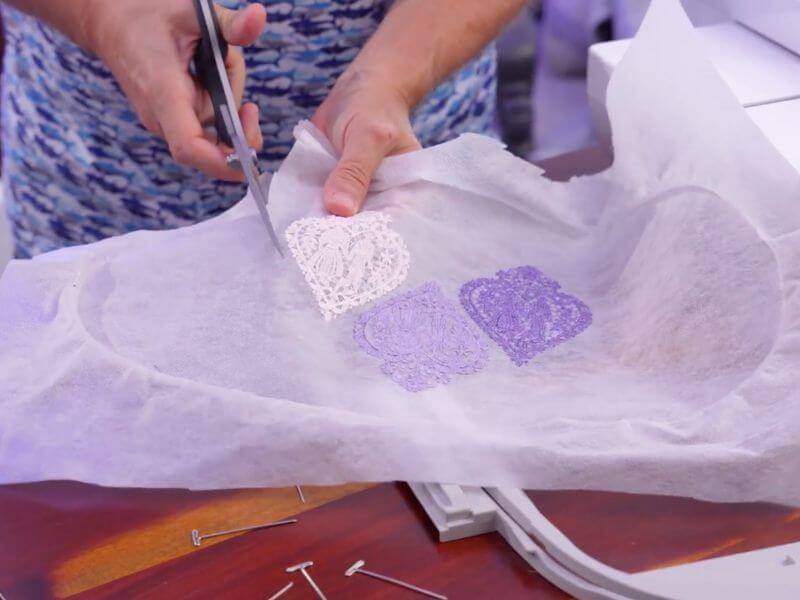
Step 3: Remove the hoop from the machine and the design from the hoop. Cut away all the excess stabilizers from around the design.
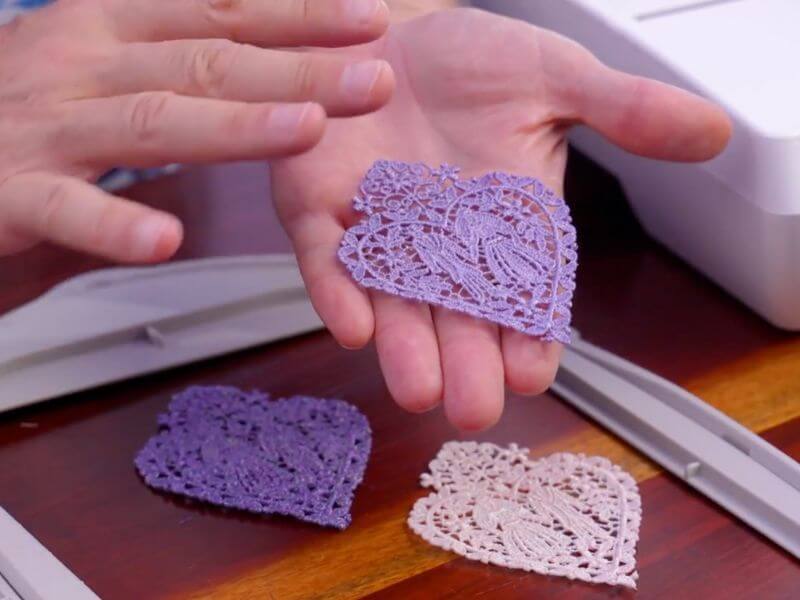
Step 4: Using hot water, wash away the remainder of the stabilizer from the design. Ensure you wash all the stabilizer away to avoid having stiff or starchy lace.
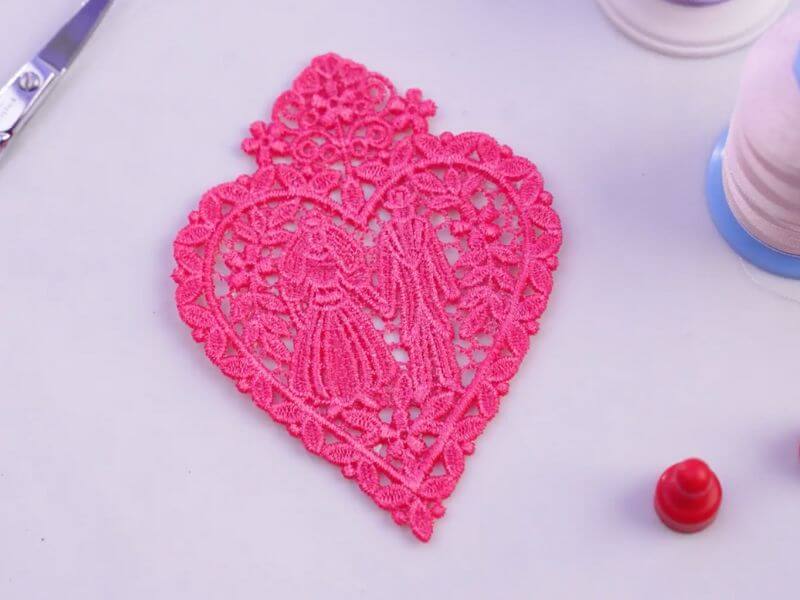
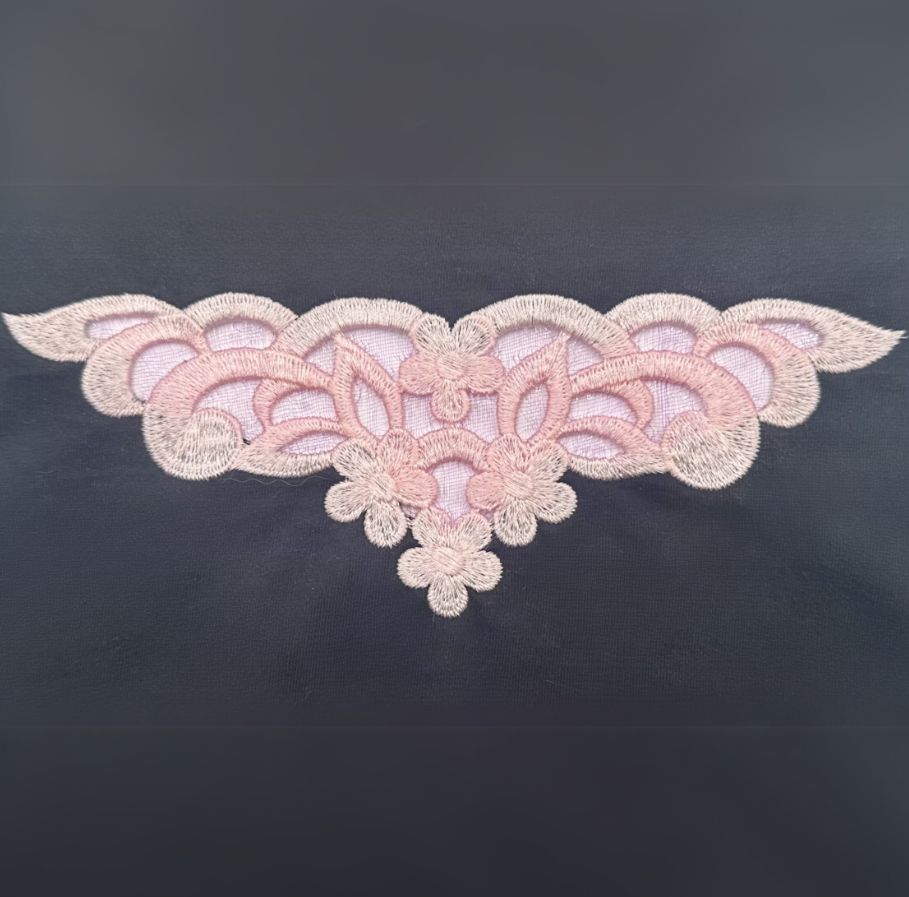
With the right tools, easy techniques, and a little practice, creating gorgeous lace embroidery is totally doable. Whether you’re upgrading garments, adding flair to home decor, or crafting freestanding lace, the results are always worth it. Now it’s your turn to dive in and bring those stunning designs to life—happy stitching!
Remember to check out all our other high-quality lace embroidery designs! Want to save up to 90% on designs? Join our amazing Embroidery Legacy Design Club for great savings. Members get free pocket page PDFs of various embroidery techniques!
