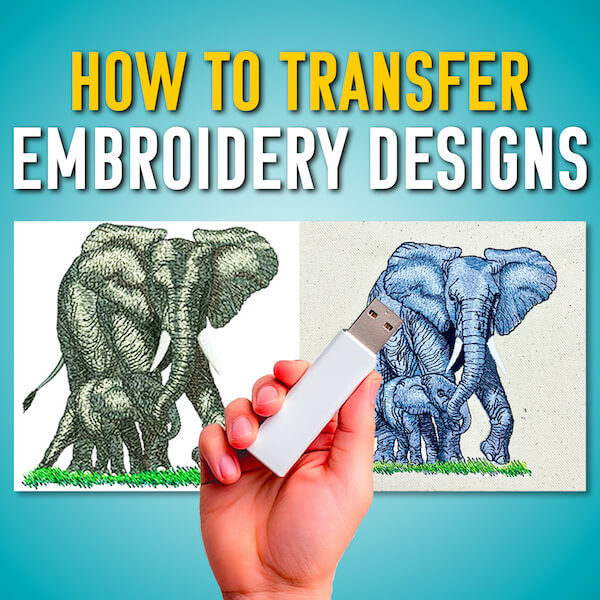
If you’re an embroidery beginner this article is for you! You’ve finally found the perfect embroidery design online and can’t wait to see how it will stitch out. However, here’s the tricky part, you don’t know how to transfer the design from your computer to the embroidery machine!
Stay calm and stitch on! Let’s discuss how you can transfer your embroidery designs from your computer to your machine in three simple steps.
Step 1: Finding Your Machine Embroidery Design
I’m sure we can all agree that finding quality embroidery designs online can be either a hit or a miss. Not all embroidery designs are the same. What looks good on your computer screen may not look good when embroidered (and no one likes bulletproof designs!).
Did you know at Embroidery Legacy we have 30,000 quality designs to choose from? From applique and mylar to true vintage lace, we have something for your next embroidery project!
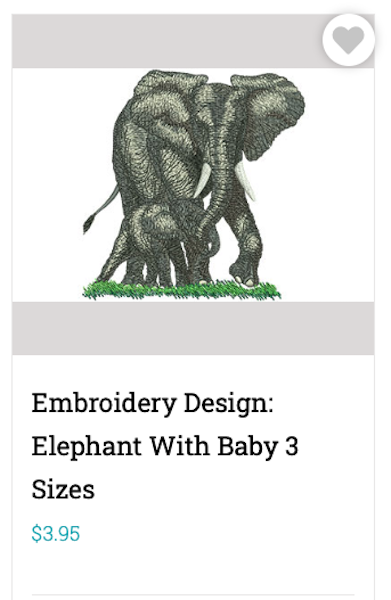
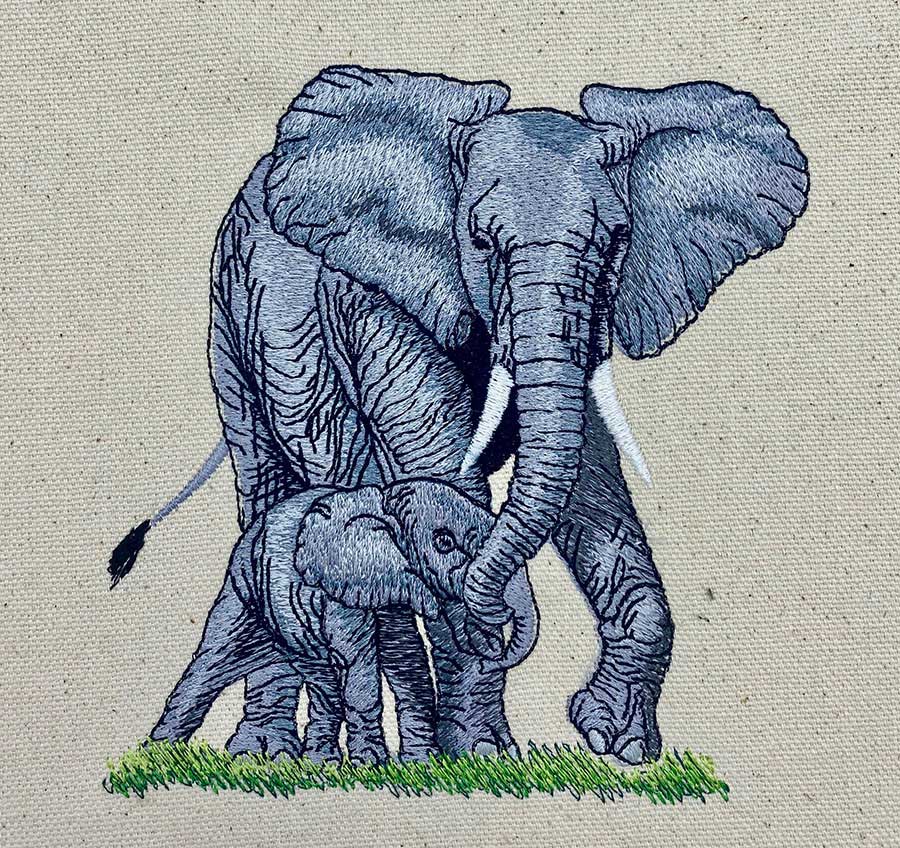
After browsing the site I’ve decided on this “Elephant with baby” embroidery file.
Now that I have my design selected I’ll simply add it to my cart and proceed to check out. After I successfully download my new embroidery design it will appear as a zip file in my downloads section.
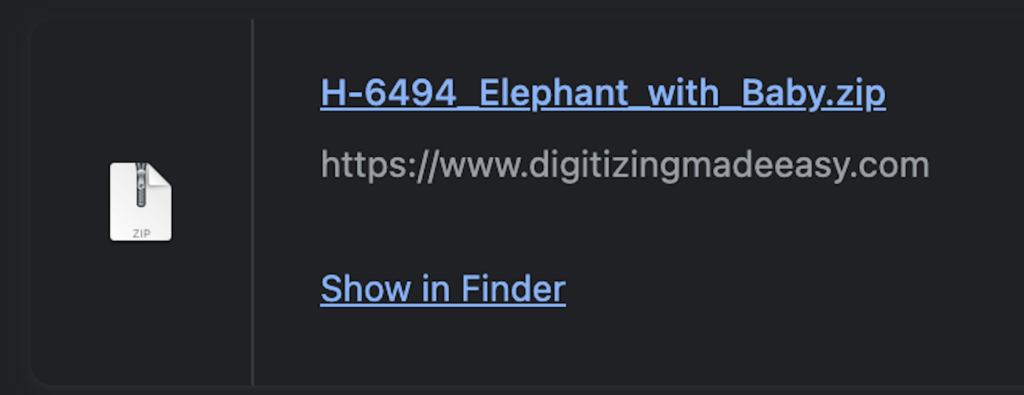
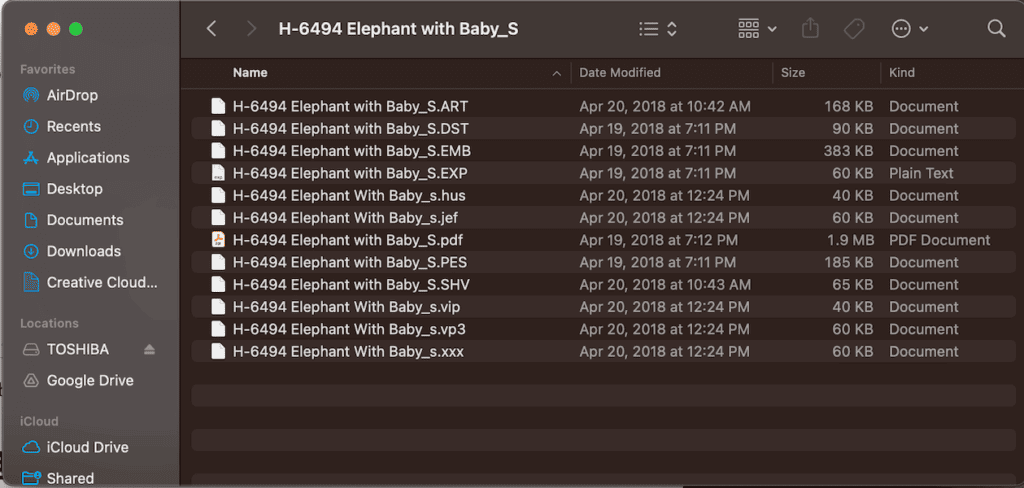
To see the different file formats included in the zip file, simply double-click the folder.
Choose the stitch file format needed for your embroidery machine brand.
Step 2: Downloading Embroidery Designs to USB Stick
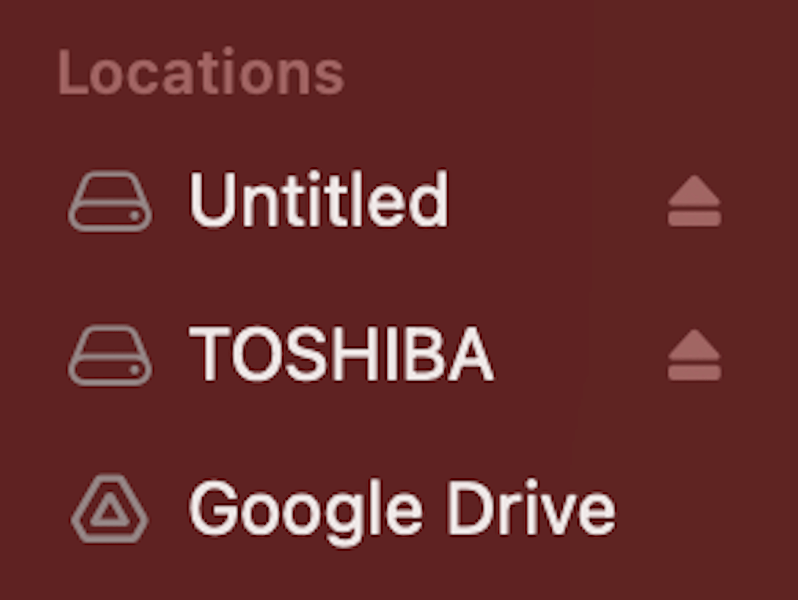
Now that we have our design downloaded to our computer we’re going to need a USB stick thumb drive. The brand/type of USB does not typically matter as long as it has enough free space on it for the design.
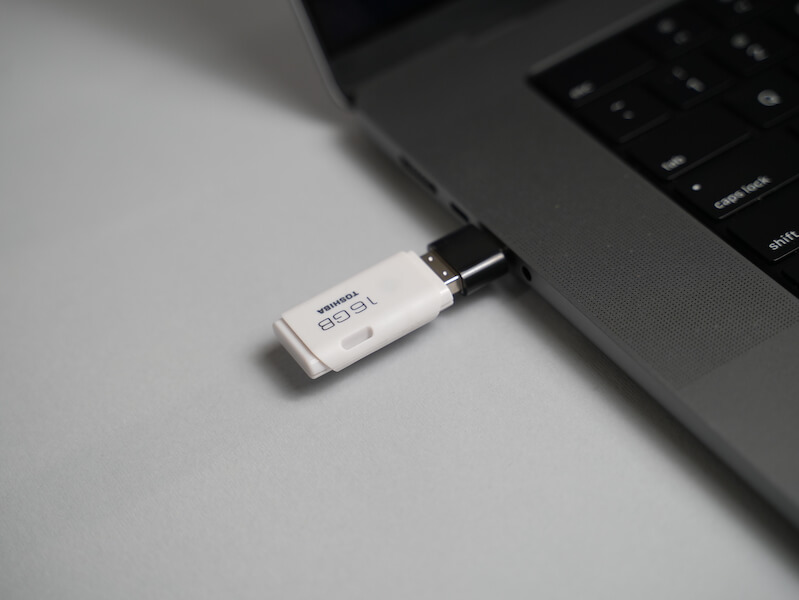
Plug your USB thumb drive into your computer via the USB port and open it. As you can see, it appeared as “TOSHIBA” on my computer
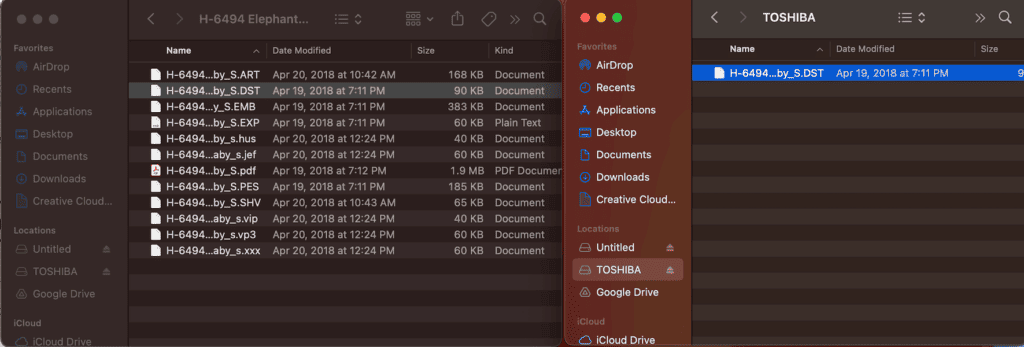
Next, you will select the design file format you need from the zip folder we downloaded. Because I’m using a Babylock machine, I’m going to select the PES file. Make sure you select the correct file type for your machine.
Click your selected file and either copy and paste it onto the USB folder or drag and drop it.
Now that our design is on our USB drive we’re ready to put it onto our machine!
Step 3: Transferring Embroidery Designs to Your Machine
We can now put the design on the embroidery machine! Ensure that you connect the USB and switch on the machine. Now look for the USB logo on your machine, here’s what the USB port looks like on mine.
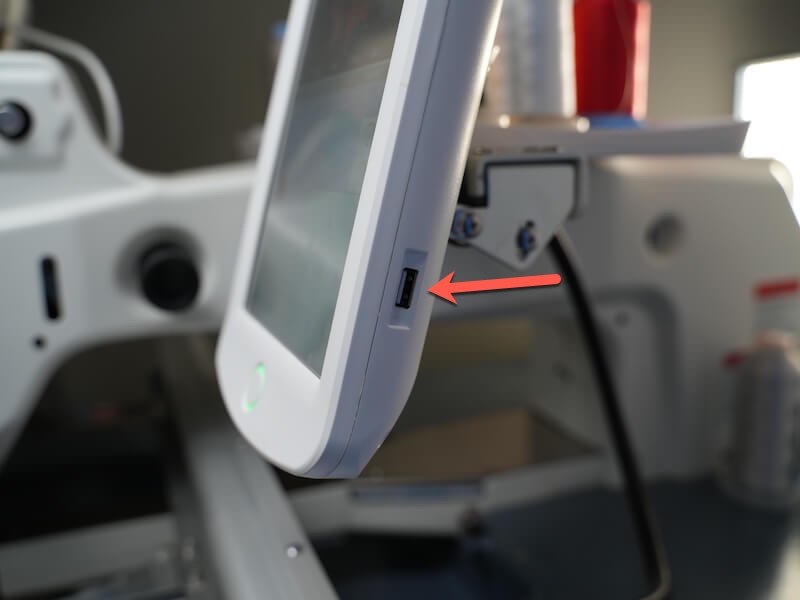
Plug the USB into the machine.
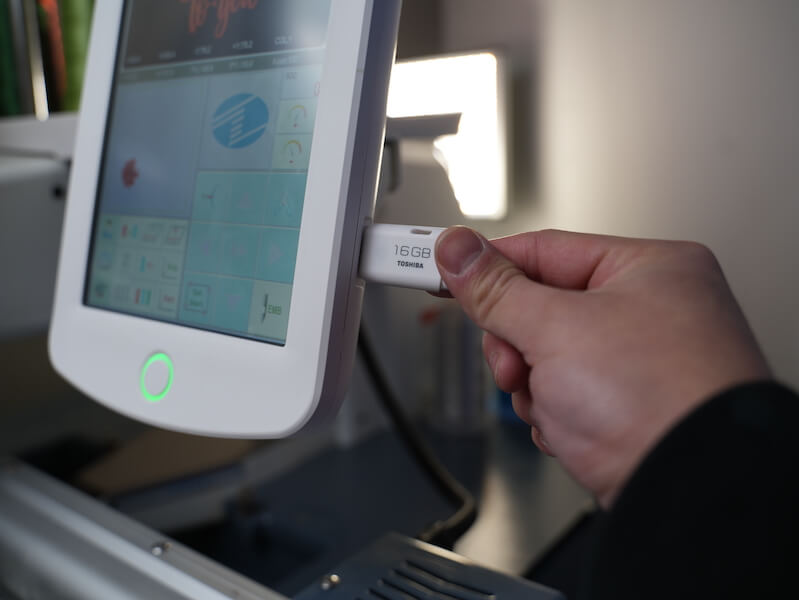
For the final step, click the USB logo on the screen of your machine.
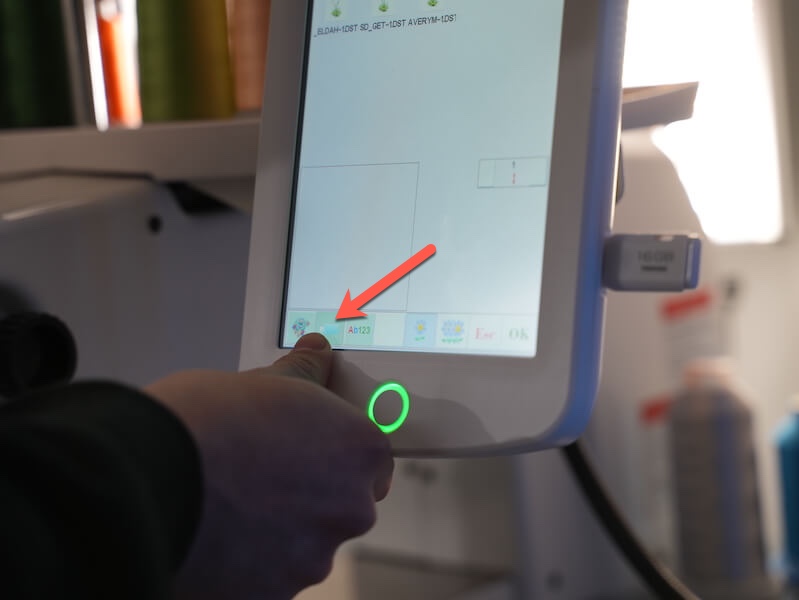
Now, you can browse through the files loaded on the USB stick. Select the design you put onto the USB, select your design colors, hooping your garment, and you’re ready to begin stitching!
How To Transfer Embroidery Designs From Computer To Machine
Want a super quick visual tutorial? Check out this short reel where I show you how easy downloading your designs to your machine truly is!
Now that we’re past the learning curve, it’s time to explore and have fun! What’s the first design on your embroider-to-do list?
Happy stitching!


I hope I can ask a question on this site. When I purchase an embroidery design and download on a jump drive at the same time, on the computer they are together. When I put jump drive in my embroidery (NQ1600E) machine, the three sizes are not together. My jump drive is saved in the order that I purchased the design from the oldest to the most recent. It seems I have to go in and out to find the right size to embroidery. I know this may be a computer question, but help will be appreciated.
Hi Gayle, we would need more information. Please email our office at contact@embroiderylegacy.com so we can further assist you
An excellent post, congratulations !!
Glad you enjoyed it 🙂
Glad to hear you’re finding the blogs useful Tiffaney 🙂 Thanks for the kind words!
Good facts, Thanks a lot.