
Ready to create something fun and totally customizable? Our latest tutorial will guide you through making a cute embroidered pocket with Design Doodler, perfect for kids or anyone who loves a personal touch!

This pocket is easy to make, customizable, and can be added to backpacks, jackets, or any other favorite item. Whether you’re crafting for a little one or just want to add some personality to your own pieces, this tutorial is a great way to learn some handy embroidery techniques while creating something super cute and practical. Let’s get stitching!
Materials for Kids Embroidered Pocket:

- One hooped shirt – placement depends on the look you desire.
- Wash away stabilizer
- Scissors
- One piece of 4×8 inch cotton fabric in a fun color
- Temporary embroidery adhesive spray
- Design Doodler
- New to the Doodler? Give the free Design Doodler demo a try, and start creating your own embroidery designs! While you won’t be able to stitch them out, it’s a great way to explore all the features and get a feel for what’s possible. Includes 5 video lessons!
- For artwork, download the two files below.
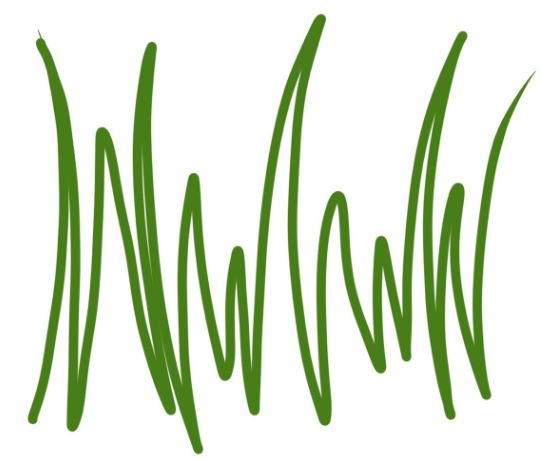
Download Grass Artwork
Please note: this project will require two separate hoopings. You will stitch the pocket design first.
Creating An Embroidered Pocket on the Design Doodler
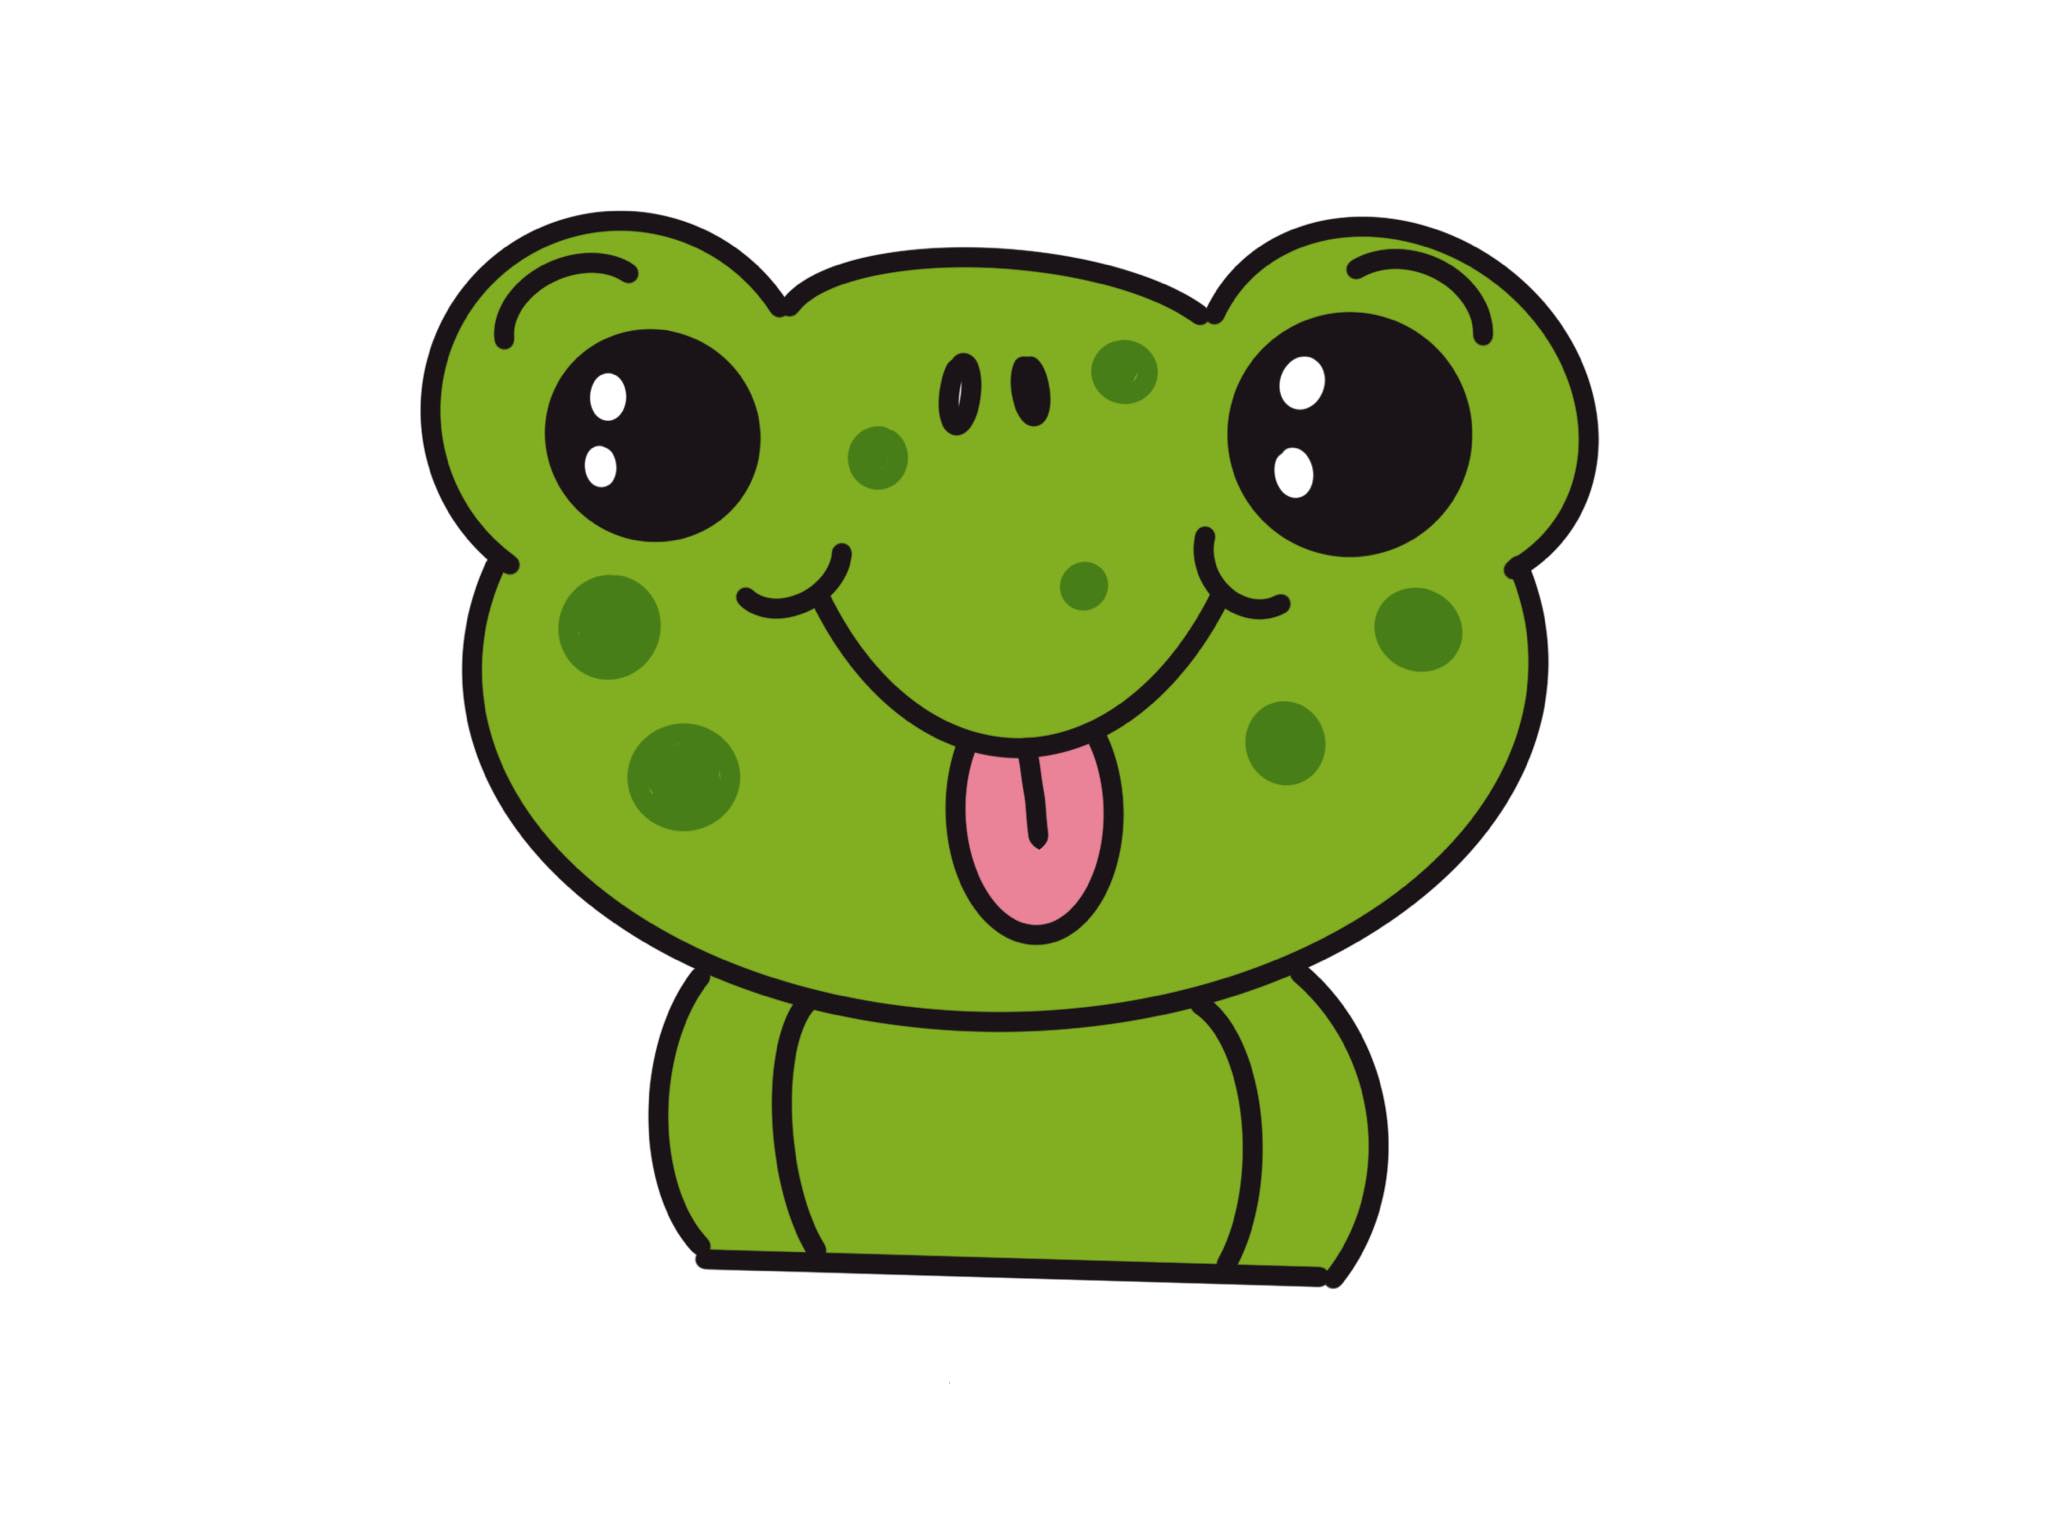
Let’s create our first piece of the design: the frog and the outer border of the pocket.

Insert artwork
- Click Backdrop Icon
- Navigate to your file location
- Find your file and open
- Adjust your artwork to 4.5 x 6.3 inches
- Adjust the opacity to a level you like

Create the frog body
- Choose your color
- Select the Fill brush
- Select the Freeform draw option
- Adjust the density. We are using a lighter density- 0.8 mm
- Stitch length: 3 mm
- Choose your Travelling Route: Edge

Create the frog’s tongue
- Choose a pink color
- Select the Fill stitch brush
- Use the Freeform option
- Set the Density to 0.4 mm
- Set Stitch length to 3 mm
- Traveling Route: Edge

Doodle your frog’s eyes
- Choose black for the fill color
- Select the Fill brush
- Choose the Circle shape
- Set your fill density to 0.4 mm

Doodle some green spots
- Choose a darker green
- Select the Fill brush
- Choose the Circle shape option
- Set density to 0.4 mm
- Stitch length 3.0 mm
- Traveling Route: Edge

Create the white highlights for the eyes
- Choose white from the color palette
- Select the fill brush
- Select a circle shape
- Density 3.0
- Satin stitch fill type
- traveling route edge

Doodle the placement line for the pocket
- Choose your color
- Select the Run stitch brush
- Choose the line option

Doodle your tack down line (this is a repeat of the above using a different color)
- Choose a color; we used green
- Select the Run stitch brush
- Choose the line option

Doodle the Satin line
- Choose a color
- Select the Steil (satin) brush
- Line option
- Width 4 mm
Save your Frog
- Select the Save icon (the disc icon)
- Navigate to the file folder you use
- Name your File
- Select the “Native” File format .jdx.
You can repeat this same process and easily save machine files for use. Simply choose your machine’s format.
It’s time to create a new design – open a new Design Doodler template.

Now, doodle the grass for the pocket
- Choose a color from the color palette
- Choose the bean run stitch tool
- Freeform option
- Open the Properties tool
- Stitch Length: 4 mm
- Bean Style: Bean
- Repeats: 7 (this makes a thick stitch)

Doodle the Frame
- Choose a contrasting color
- Select the Run Bean stitch
- Choose the square option
- Open the properties tool
- Bean style Bean
- Repeats: 5
- You can easily resize your box to 2.5 inches in the properties tool

Save your design using the steps you used to save your frog design above.
Embroidering A Pocket

Hoop a piece of wash-away stabilizer.

Fold the 4×8 inch fabric in half.

Lightly spray the stabilizer and place the fabric square in the center.

Place your hoop in your machine and stitch the pocket by running the first design.

After your design has finished stitching, remove it from the hoop and trim the excess stabilizer from the back.
Next, embroider your shirt using the first frog design you created.

Hoop a t-shirt in the placement you desire. We chose to center it in the chest.
Insert into the machine and stitch through the frog design and placement line.

Using a light temporary embroidery spray, place your completed pocket centered on the placement line (the box around your grass is smaller than the almost squared placement line on the shirt).

Return your hoop to your machine and stitch the tack down line.

Remove it from the machine after your design has finished stitching and trim closely.

Return it to the machine and stitch the satin border.

And there you have it—a cute, personalized embroidered pocket ready to add charm to any item! Whether you made this for a child’s backpack, your own jacket, or as a gift, you’ve just created something unique and meaningful. With the versatility of the Design Doodler software, you can customize this project to fit any style or occasion.
If you haven’t yet, don’t miss out—try a free demo of the Design Doodler software to see how easy it is to create your own personalized designs!
If you create this project, we’d love for you to share it with us in our Facebook Embroidery Design Doodler Software Official Group.
Until next time, happy doodling!


 | Embroidery Legacy")
 | Embroidery Legacy")


