Who’s in the mood for a Valentine’s Day project that makes a great quick and easy gift? This embroidered heart pouch is made with love and lasts longer than roses or chocolate!
Today we have a very easy fold-up heart pouch for all your valuables that is very easy to create: no snaps, no fuss, no muss.
Why Create This Folded Heart Pouch
This project can be created with materials already in your embroidery stash. Use up what you already have to create something unique and personalized for your Valentine this Valentine’s Day.
You can fill this lovely folded heart pouch with chocolate, coins, movie tickets, or “I love you because notes” for your loved one this Valentine’s season. They’ll know it was made from the heart while still giving good reason to spend that extra time in your sewing room!
Let’s begin!
Supplies Needed To Embroider A Fold-Up Pouch
- Vinyl or leather
-
- 10×10 inch piece to fit our hoop
- 1.5X0.5 inch single piece (acts as a tab holder)
- Felt or other material 10×10 inch.
- Tear away stabilizer
- Temporary embroidery spray
- Embroidery thread
- Scissors
- Painter’s tape
- Embroidery machine
- Sewing machine – minimum sewing is required & can be done by a beginner
Quick & Easy Folded Heart Pouch Tutorial
Step 1: Hoop a piece of tear-away stabilizer
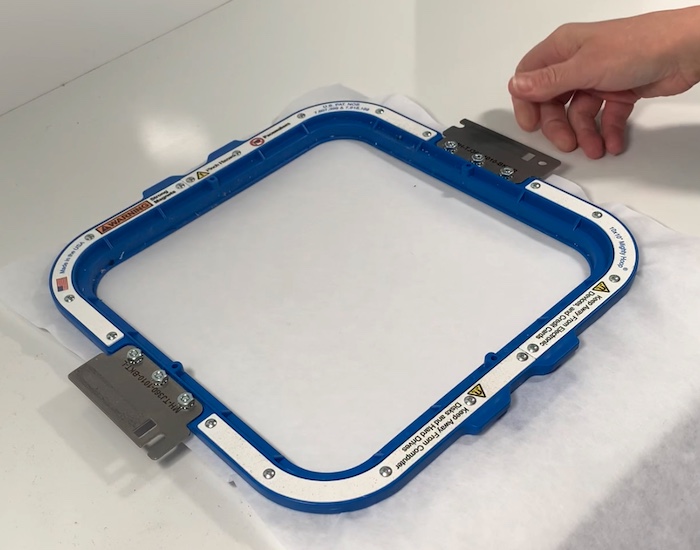
Step 2: Place your hoop in your embroidery machine and stitch through the first object (the placement line)
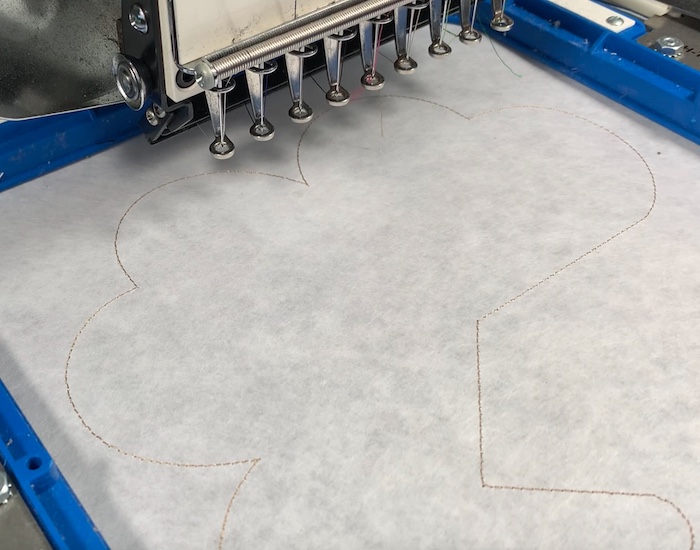
Step 3: Place a piece of vinyl or leather large enough to cover the placement line with a .5-inch border (we used 10X10 inches)
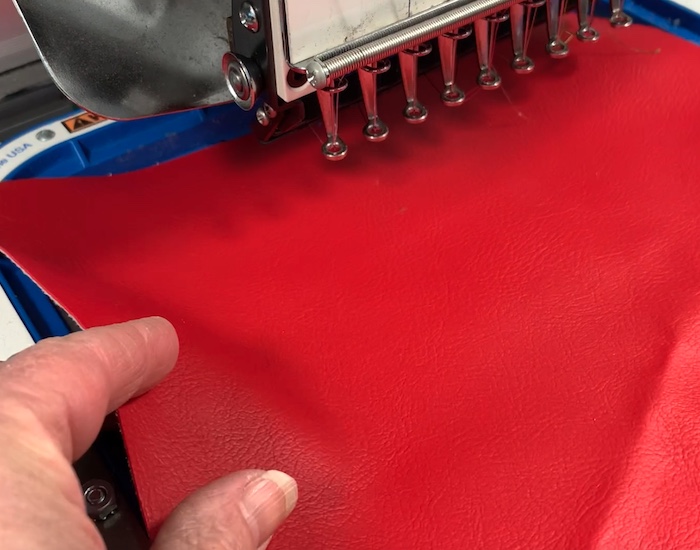
Step 4: Put your hoop back on the machine. Stitch the heart embellishments and the placement lines for the tab holder (they are two small diagonal lines)

Step 5: Remove your hoop from the machine
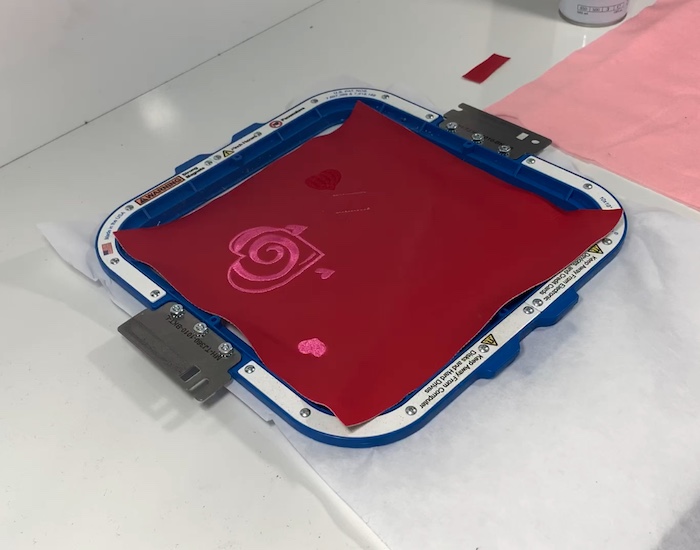
Step 6: Spray fabric adhesive to one side of your felt material. Place it on the BACK side of the heart covering all areas (the back of your hoop). Use painter’s tape to secure the felt to the back of the hoop.
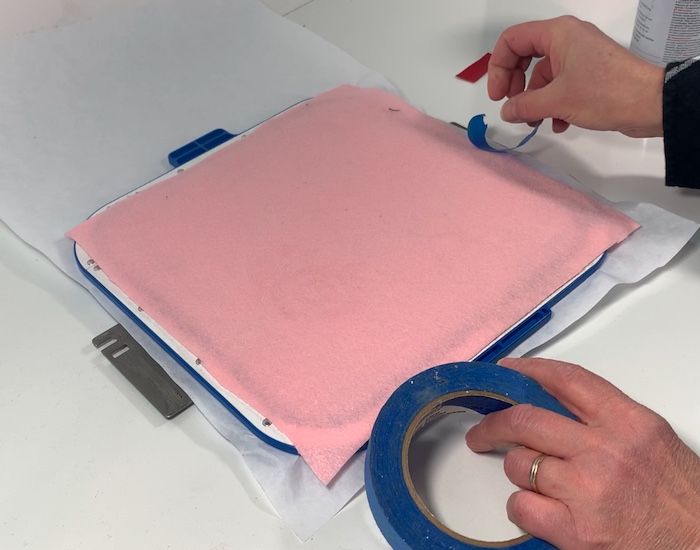
Step 7: Turn the hoop right side up. Place the 1.5X0.5 inch piece of leather or vinyl in the middle of the diagonal stitched lines. Use two small pieces of painter’s tape to secure it.
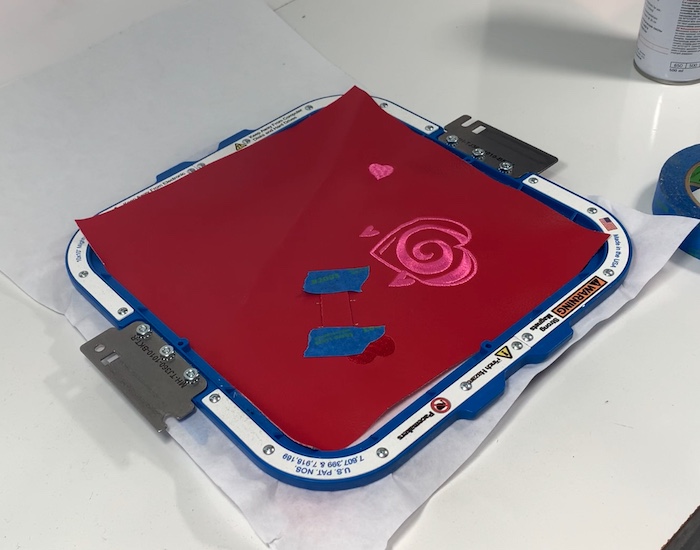
Step 8: Return your hoop to the machine and stitch until the design is finished

Step 9: Remove the material from your hoop and tear away the stabilizer BEFORE you trim
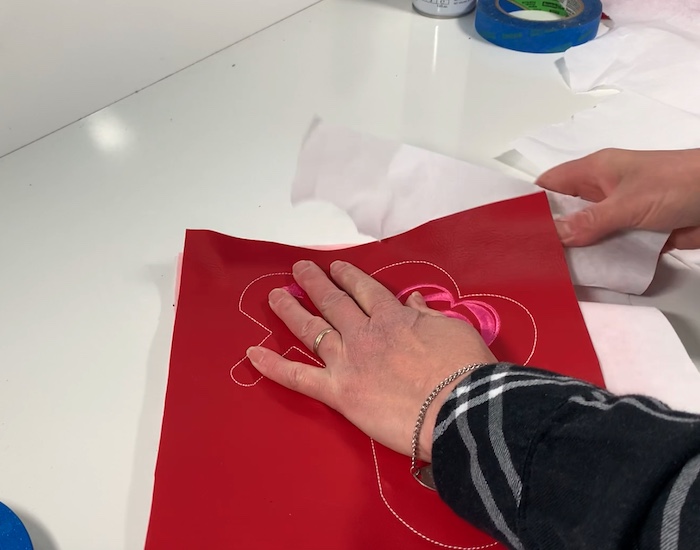
Step 10: Using scissors, cut the loose bits of fabric on the end of the tab holder strap.
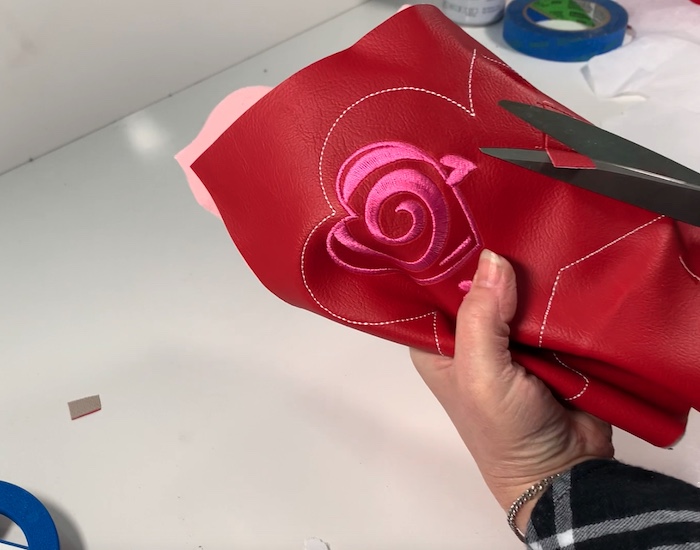
Step 11: Trim about .25 inches close to the stitched outline of the final project.
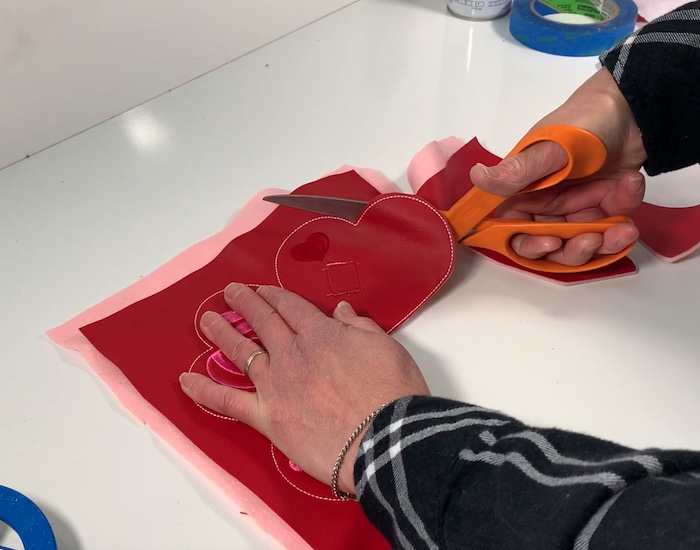
Step 12: Fold the heart in half so both sides of the heart line up. Using painter’s tape, secure the edges of the top of the heart together.
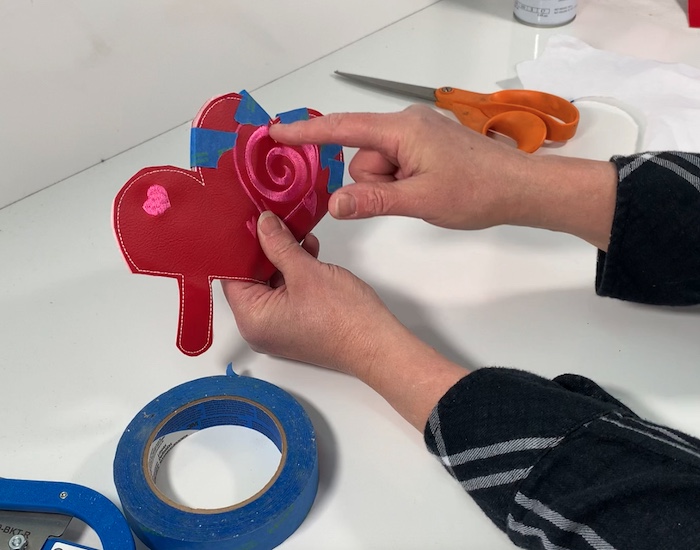
Step 13: Bring it to your sewing machine and sew the top half of the heart together
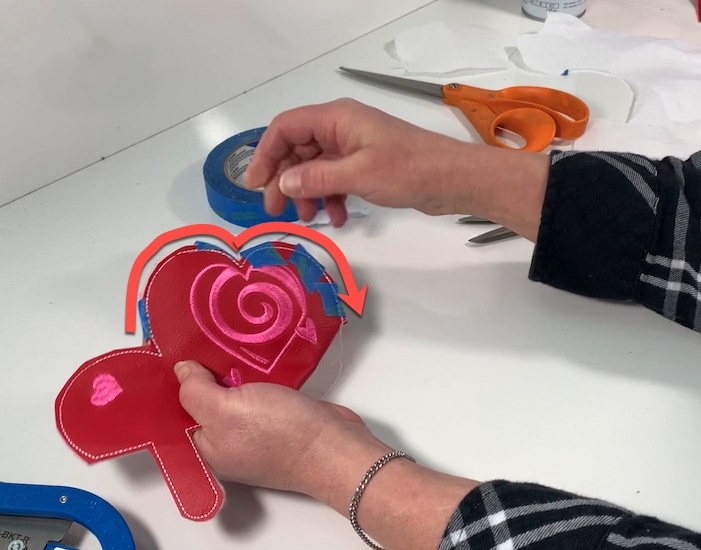
Step 14: Remove the tape and extra stabilizer
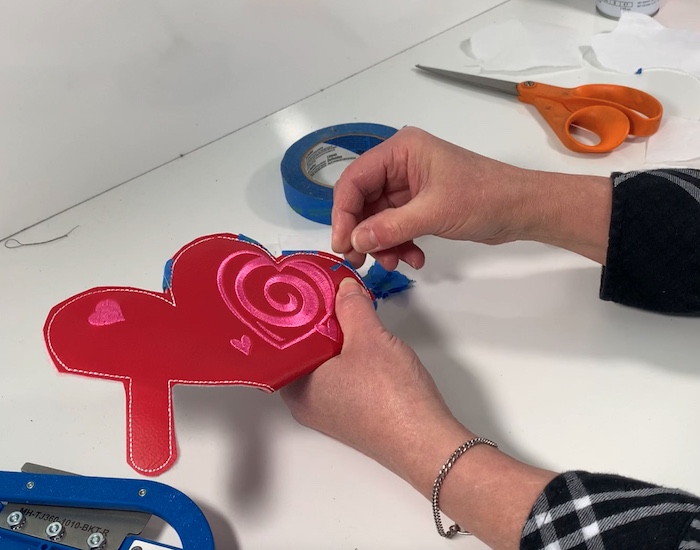
Step 15: Trim your heart, be sure to trim close to your tab, so it slides in and out easily.
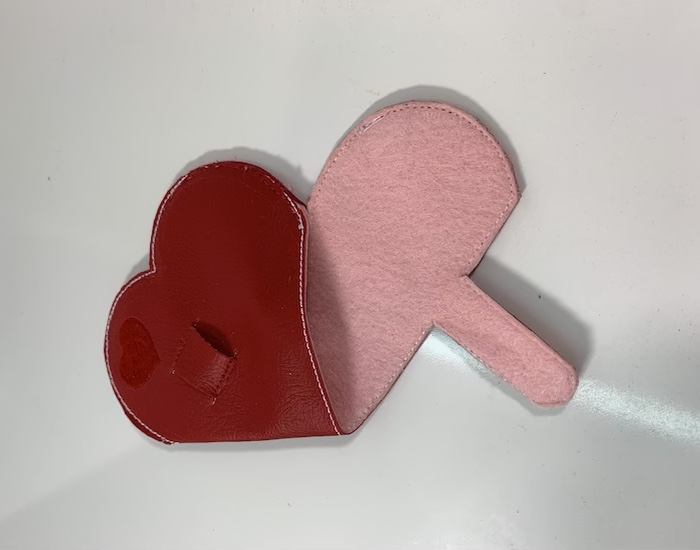
You’re done!
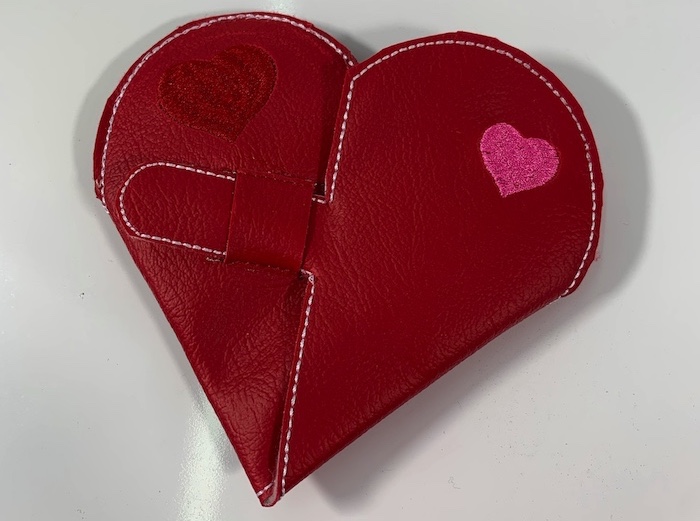
Conclusion: Create Your Fast And Easy Folded Heart Pouch
With this quick and easy project, you’ll be able to give a gift to all your loved ones this Valentine’s Day. Don’t forget to fill it with chocolate or an “I love you because note” for a special touch.




I love the purse. Where get I outline patern for my machine?
Hi Nettie, it was listed under the “supplies needed,” but you can also find it here https://embroiderylegacy.com/product/embroidery-design-folded-heart-pouch/