If you’ve used embroidery digitizing software before, you probably already know the basic tools:
- runs
- satins
- fills
- editing points
- stitch directions
- and sequence controls.
Where software can make a difference is in how quickly you can get from artwork to a design that’s ready to stitch.
That’s what I want to focus on here.
Embroidery Legacy Digitizing Software speeds up repetitive tasks without taking control away from you. Some help you prepare artwork. Others improve pathing, editing, creative fills, or fabric-specific settings.
Here are 25 features worth knowing.
Want to understand the theory behind the tools as well? Start with our Free Embroidery Digitizing 101 Course. Learning what underlay, density, stitch direction, pathing, and compensation actually do will help you make much better decisions no matter what software you’re using.
Want to see these features in action?
In this video, I will walk you through all 25 unique Embroidery Legacy Software features. Show you how they work and when to use them inside a real digitizing workflow. You’ll learn how the tools can help with artwork preparation, editing, pathing, stitch effects, and more.
Start With Better Artwork and a Cleaner Workspace
A good digitized design begins before you place your first stitch. Setting up your artwork correctly from the start can save you a lot of time later.
1. Import and Prepare Your Artwork
You can import artwork, resize it, rotate it, adjust its opacity, and position it before you begin digitizing.
The software supports both raster artwork and vector artwork such as SVG files.
Why does that matter?
Your artwork is your road map. If its size, angle, or placement is wrong when you begin, you’re building the embroidery from the wrong starting point.
New to digitizing? Our guide to preparing artwork for embroidery digitizing explains how to get your artwork ready before you start.
2. Streamlined Navigation
When you’re working on a detailed design, zooming and panning make it easier to move around the screen.
Embroidery Legacy Digitizing Software provides several ways to navigate:- mouse-wheel zoom
- preset zoom levels
- panning
- and Auto Pan
The goal is simple: get to the part of the design you need without interrupting your digitizing rhythm.
3. An Uncluttered Workspace
Digitizing is visual. You need to see the design you’re creating.
Open the panels when you need them, hide them when you don’t, and move or resize them to give your design more working space.
That’s especially useful when you’re editing small details or following artwork closely.
4. The Widget Tool
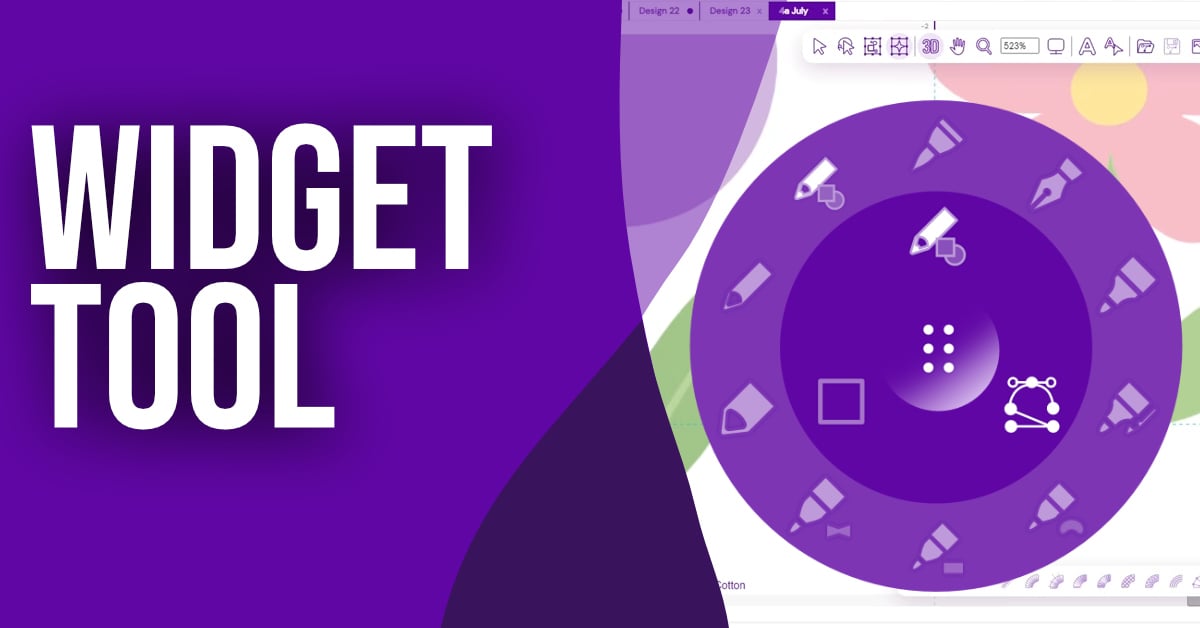
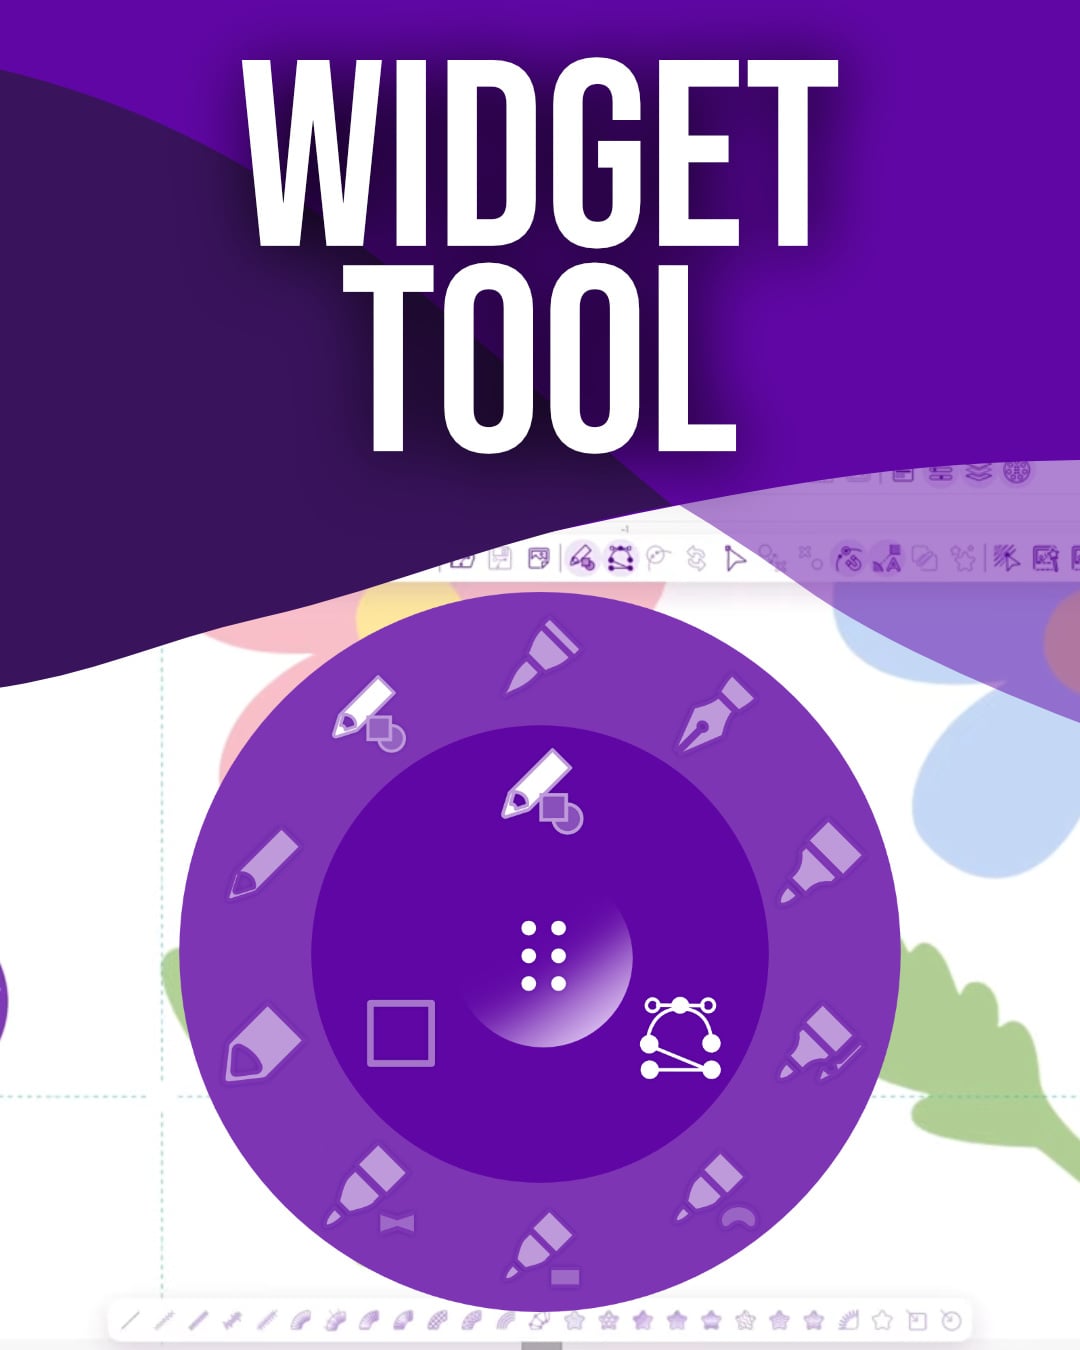
The Widget brings common digitizing tools into one location.
You can access artwork, run, satin, and fill tools along with the properties that apply to them. You also have different drawing methods, including traditional input, Fast Draw, and Free Draw.
That means less time hunting through menus and more time working on the actual design.
5. Artwork Tool and Convert Bar
One of my favorite workflow ideas is separating drawing the shape from deciding what stitch it should become.
You can create an object first as artwork and then convert it into a run, satin, fill, Auto Satin, or another available stitch type.
That gives you room to change your mind without redrawing the whole object.
Edit Without Starting Over
Digitizing isn’t a straight line from point A to point B. As you digitize, you may need to stop, review your work, and make a few changes along the way.
Good editing tools make those corrections much less painful.
6. Snap to Anchor
Have you ever ended an object before you meant to?
Snap to Anchor lets you go back to the previous point and keep working without starting over.
Small mistake. Small correction.
That’s how it should be.
7. Corner Manipulation
Corners can behave differently depending on their shape and stitch direction.
The software allows you to change corner styles
- Sharp
- Beveled
- and rounded treatments
And then fine-tune how individual corners are generated.
This is more than an artwork decision. In embroidery, stitch direction and object shape affect how stitches physically form.
8. Rounded Corner Editing
You can also select a corner and adjust its radius directly.
Select multiple corners at once to round them evenly across the shape.
9. SVG Import and Conversion
SVG files are especially useful because they use vector shapes that you can easily edit.
You can import an SVG, adjust the pieces, and convert them into embroidery objects without tracing everything by hand.
That doesn’t mean every SVG is automatically a finished embroidery design. You still need to decide what stitch types, directions, sequence, and settings make sense.
But it can remove a lot of unnecessary redrawing.
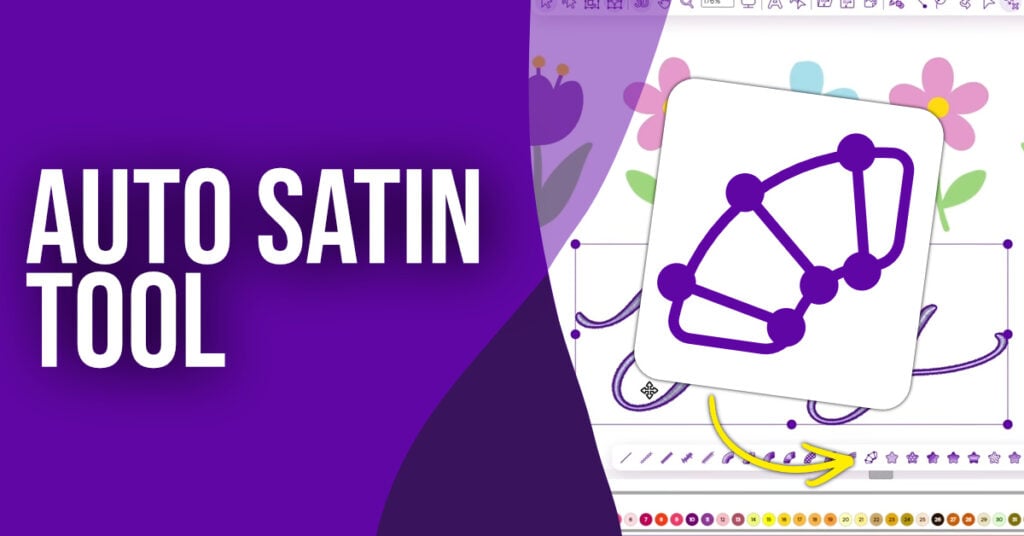
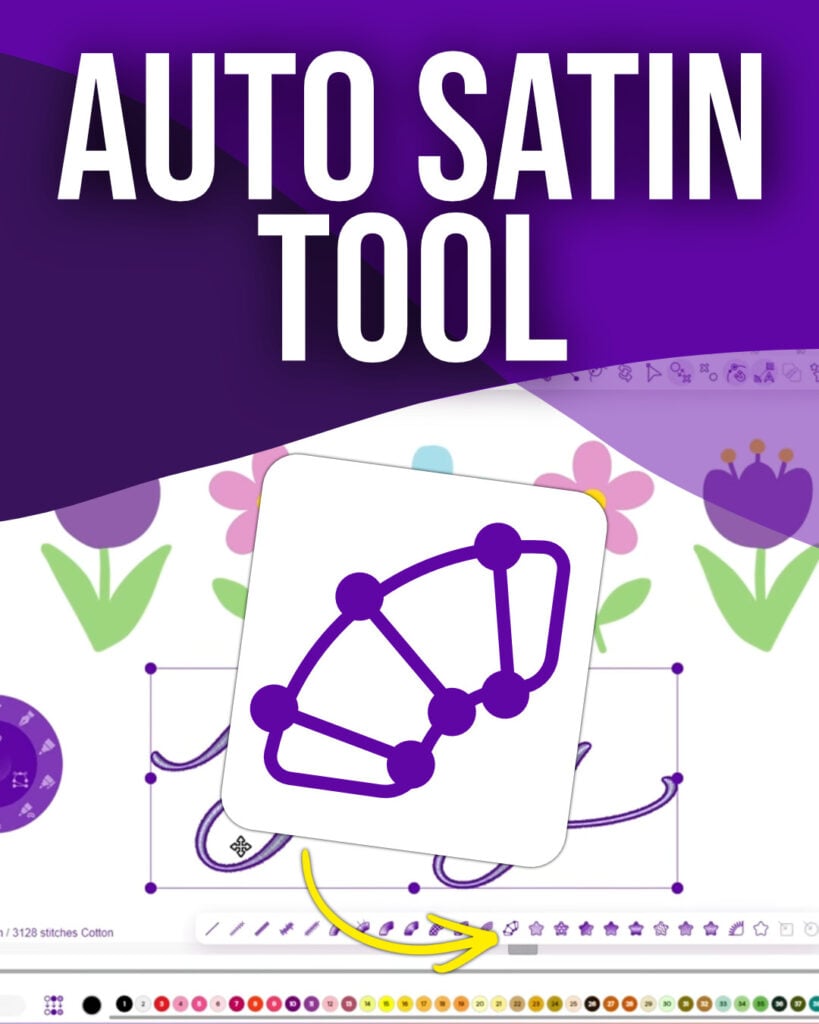
10. Auto Satin
Auto Satin can convert suitable artwork into satin stitches automatically.
The important part is what happens next: you can still edit the result.
After conversion, you can refine the inclination points, stitch direction, split lines, object shape, and other properties.
That’s an important distinction with automation. An automatic result can give you a faster starting point without taking away your ability to correct it.
11. Split Line Editing
Split lines help control how a more complicated satin object divides and changes direction.
You can reposition those lines to alter both how the satin sews and how it looks.
This is where digitizing stops being just tracing artwork. You’re controlling the flow of the thread.
12. Advanced Object Editing
Converted embroidery objects remain editable.
You can adjust anchor points, inclination points, object outlines, stitch directions, and start or stop positions.
So if an automatic conversion gets you 90% of the way there, you don’t have to accept the last 10%. You can go in and make the embroidery behave the way you want.
Make Appliqué, Sequencing, and Pathing More Efficient
Some of the biggest time savings in digitizing happen when you stop looking at each object individually and start thinking about how the entire design will run on the machine.
That’s called pathing.
Good pathing plans how the needle travels through a design so you aren’t adding unnecessary jumps, trims, starts, and stops.
13. Appliqué Tool
The Appliqué Tool creates the main steps for an appliqué, including placement, tackdown, and finishing stitches.
Properties can then be edited when needed.
This turns a process that normally requires several separate objects into a much quicker starting workflow.
14. Design Notes
You can store notes with the native design file.
Design Notes let you save instructions, colors, fabric details, and other helpful information with the file.
The bigger your design library becomes, the more valuable good notes can be.
15. Arrange and Color Sort
A design made from many separate objects can quickly produce more color changes than necessary.
Arrange tools let you reorganize objects, and Color Sort can bring matching colors together when the design allows it.
The goal isn’t simply to make the sequence look tidy on screen. It also helps the embroidery run more logically.
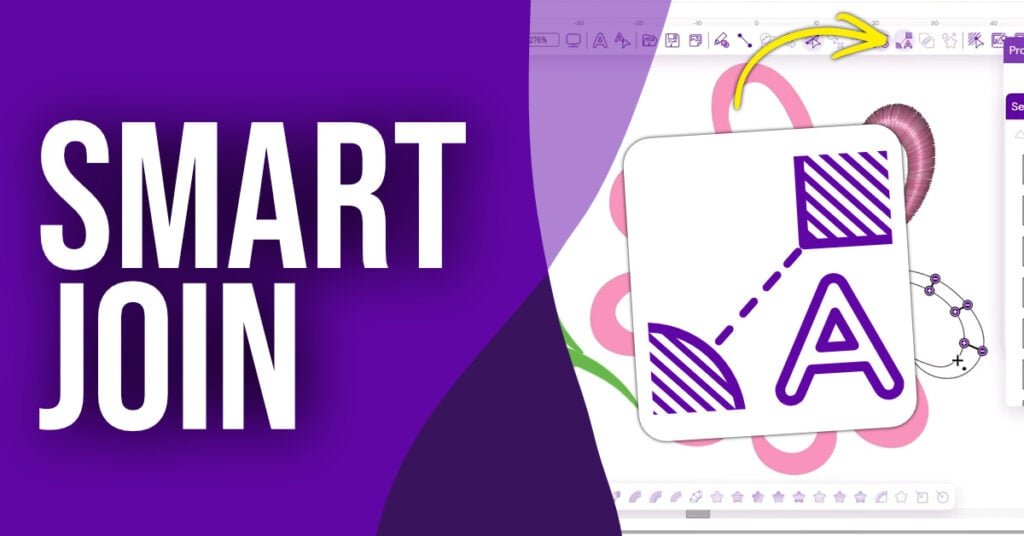
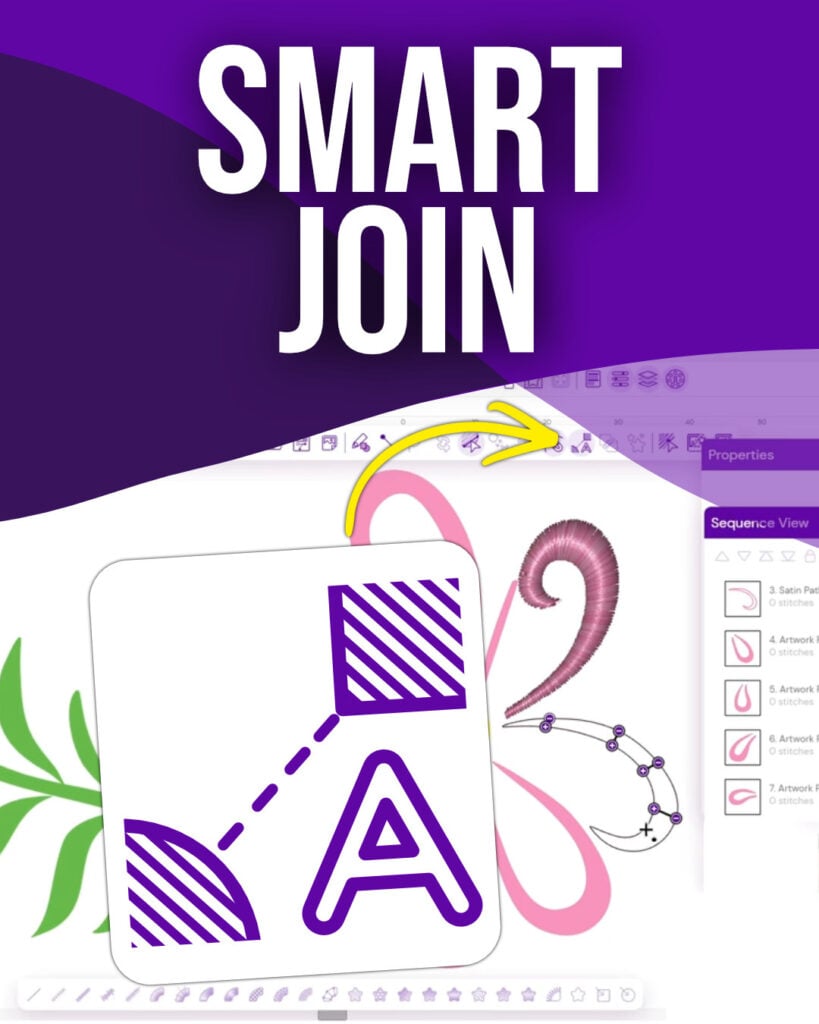
16. Smart Join
Smart Join looks for efficient connection points between nearby objects.
When appropriate, it can adjust start and stop positions to help reduce unnecessary jumps, trims, tie-ins, and tie-outs.
Why should you care about a few extra trims?
Because production efficiency is part of good digitizing. Every unnecessary stop interrupts the machine’s flow.
You can learn more about the theory behind this in our guide to embroidery digitizing pathing.
17. Digitize Before and After
Forgetting an object doesn’t mean you should have to rebuild the entire sewing order.
Use Digitize Before or Digitize After to place a new object in the right spot in the design sequence.
Anyone who has noticed one missing piece after digitizing twenty other objects can appreciate this one.
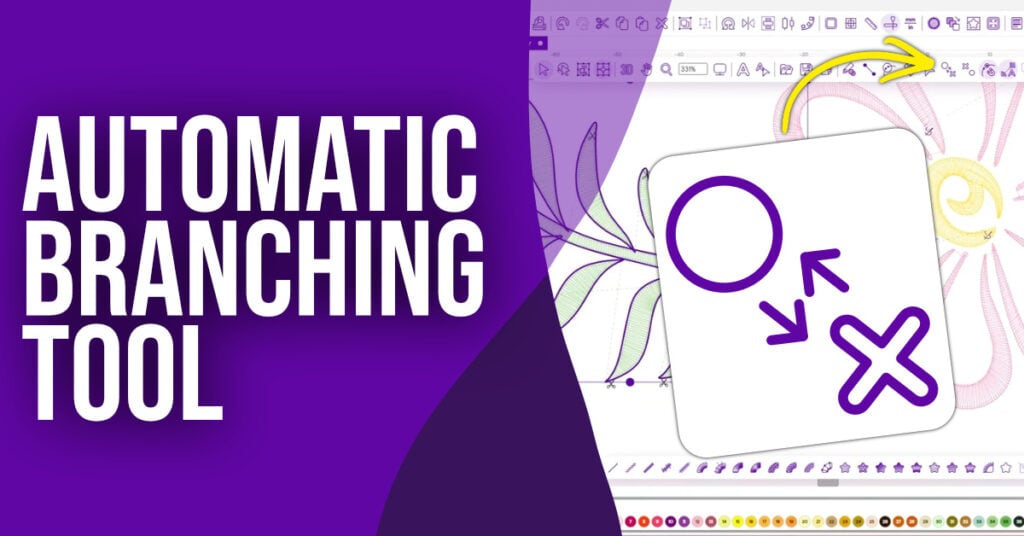
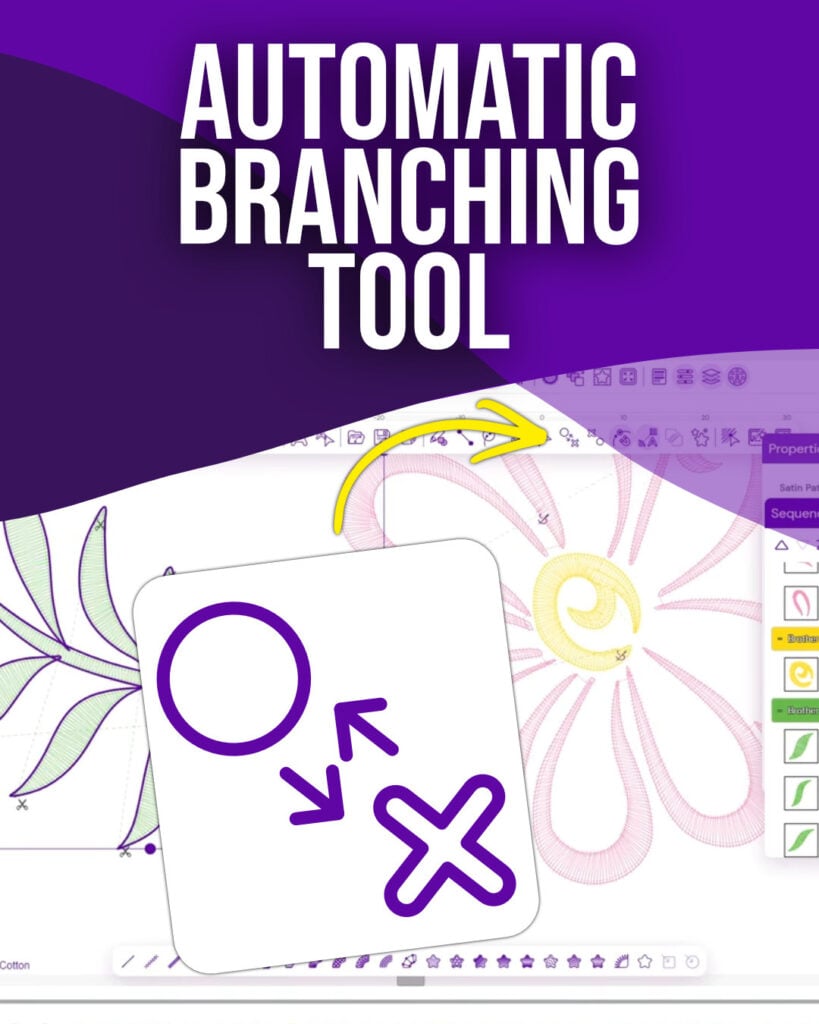
18. Auto-Branch
Sometimes several separate objects create a series of jumps and trims between them.
Auto-Branch can connect appropriate objects into a more efficient sewing path.
Automation can help, but the machine still has to move through every part of the design you create.
A good digitizer thinks about that route instead of treating every shape like an isolated piece of artwork.
Create More Than Standard Fills
Once the basic construction is right, you can start having some fun with the stitches themselves.
Embroidery is not ink. The thread has direction, texture, shine, and physical movement, which means fill stitch patterns can become part of the artwork.
19. Fill, Motif, and Fancy Fills
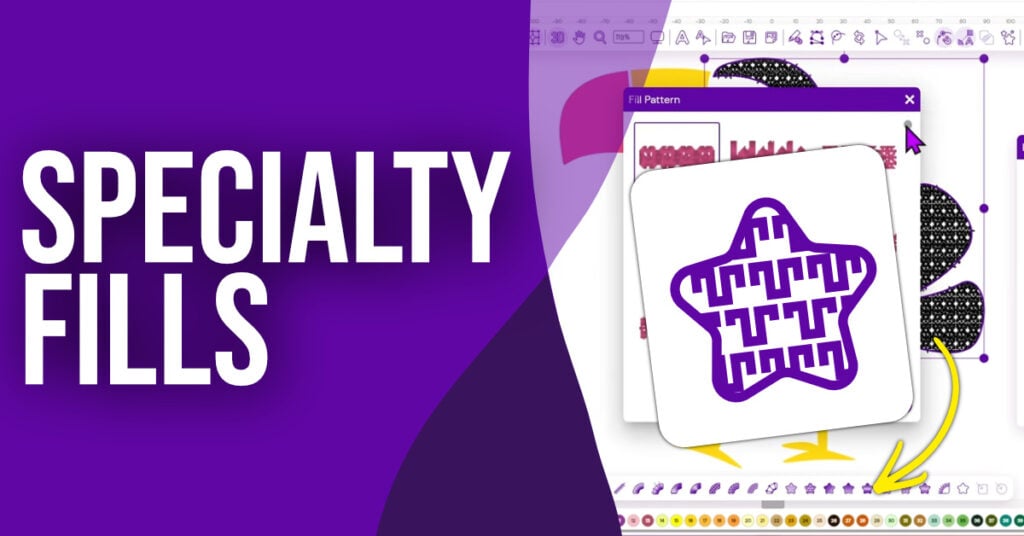
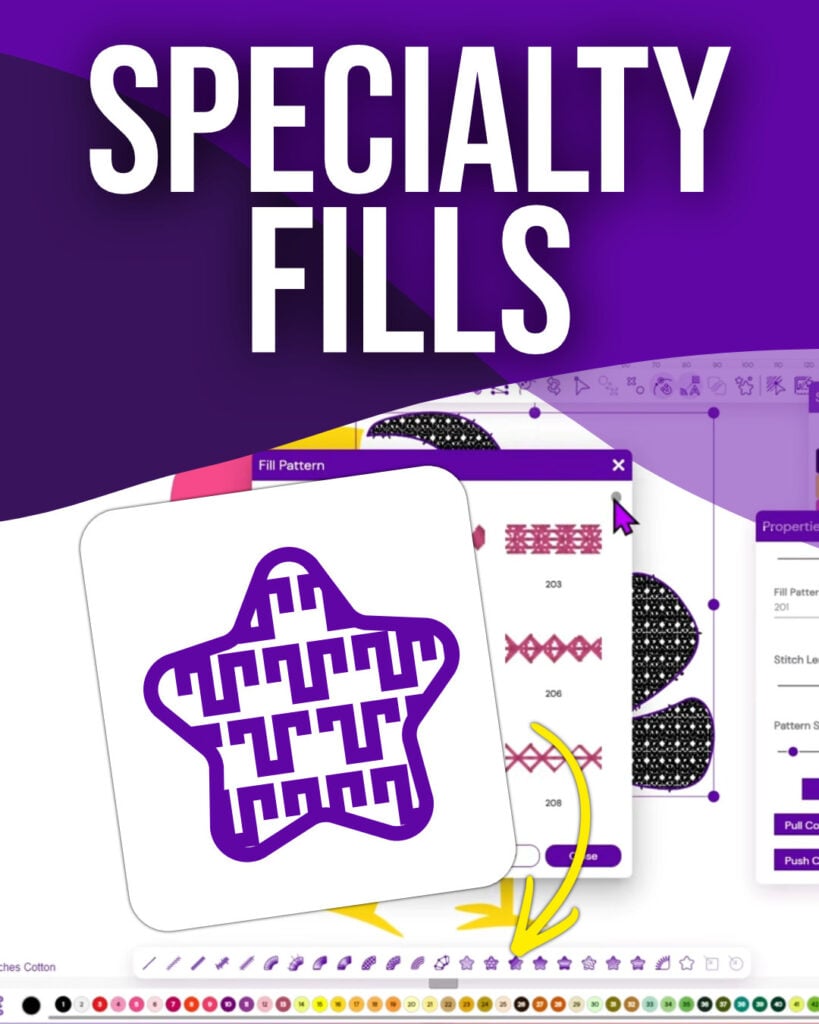
Fill objects can use standard fill patterns, motifs, and Fancy Fills.
You can also adjust properties such as density and stitch length.
The useful part here isn’t simply having a large library of patterns. Previewing different stitch treatments lets you decide which one best supports the design.
20. Gradient and Blend Fills
Gradient fills let you vary stitch density across an object.
You can control how the gradient increases or decreases and can create two-color blend effects.
This helps you create shading and depth instead of using one flat fill of stitches.
21. Wave Fills
A Wave Fill allows stitches to follow a custom direction or curve instead of a standard straight fill angle.
You can create standard waves, gradient waves, and two-color wave blends.
The stitch direction itself becomes part of the visual effect.
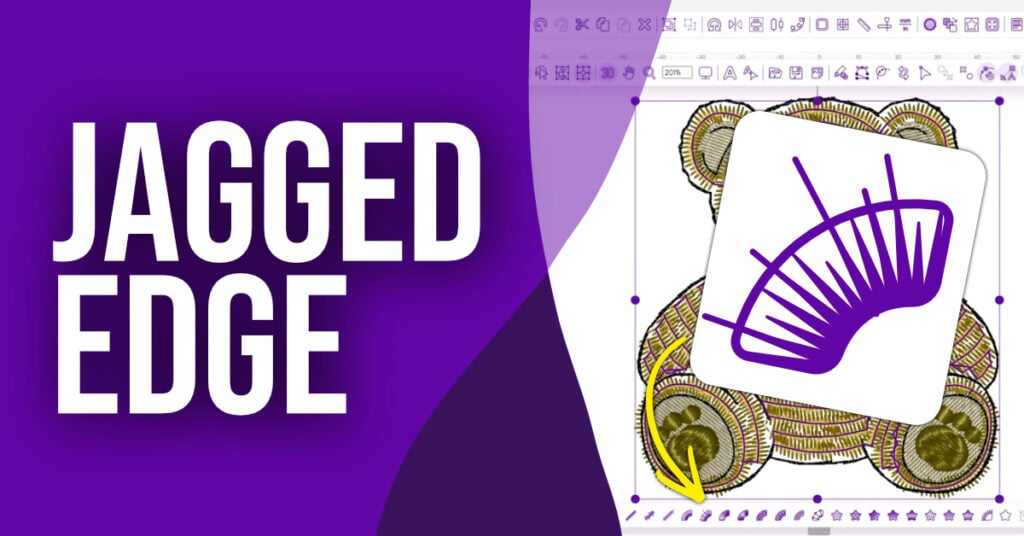
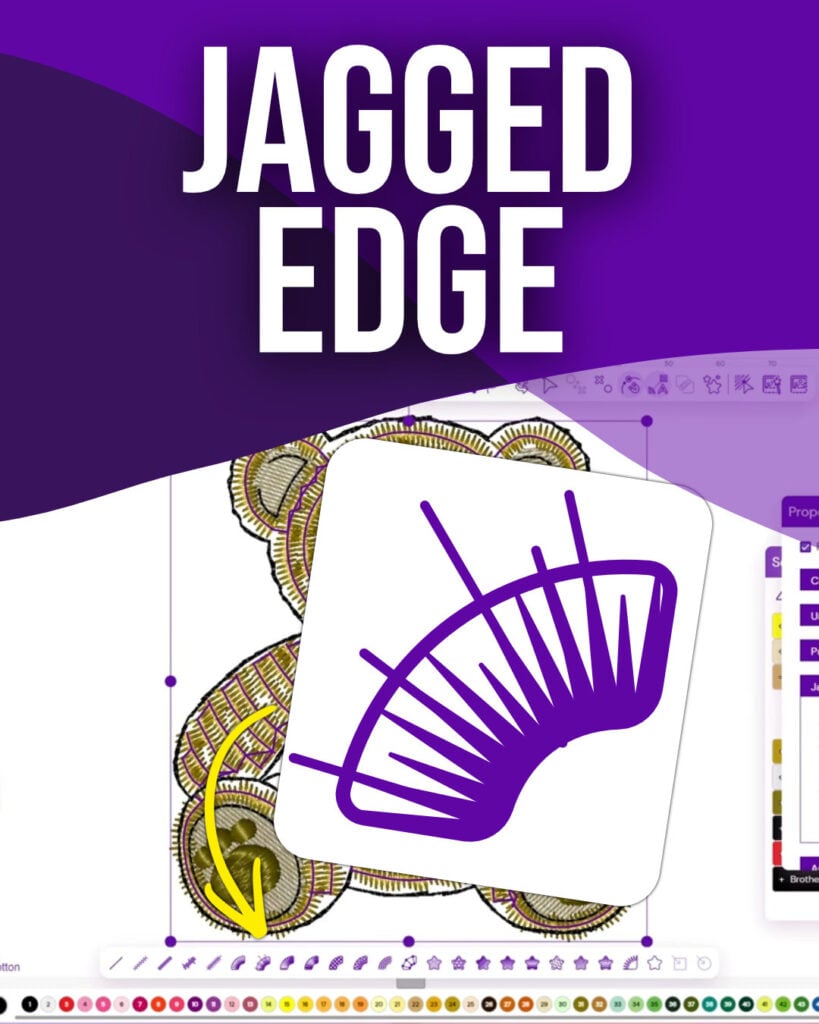
22. Jagged Edge
Jagged Edge creates irregular stitch edges that can help simulate textures such as fur.
Add the effect to one or both sides of the object, then fine-tune the uneven edges as needed.
That’s a perfect example of where software should save you time on repetitive work.
Add Precision and Adapt the Design to Its Final Use
The last few tools solve three different problems:
- precise object placement
- using embroidery artwork in other production methods
- and changing stitch properties for different fabrics.
23. Snap-To Tools
Several snapping options help you position points more precisely.
Snap to Grid lets objects follow chosen grid measurements.
Snap to Guidelines helps align artwork to reference lines.
Snap to Objects lets new points connect directly to existing objects.
These tools are helpful when working with small lettering, logos, or shapes that need precise alignment.
24. High-Quality PNG Export
Embroidery Legacy Digitizing Software can export embroidery artwork as a high-resolution PNG at 300 or 600 DPI.
Use the 3D embroidery view to create embroidery-style graphics for DTF or DTG printing.
This lets you use the look of embroidery without sewing a high-stitch-count design onto every item.
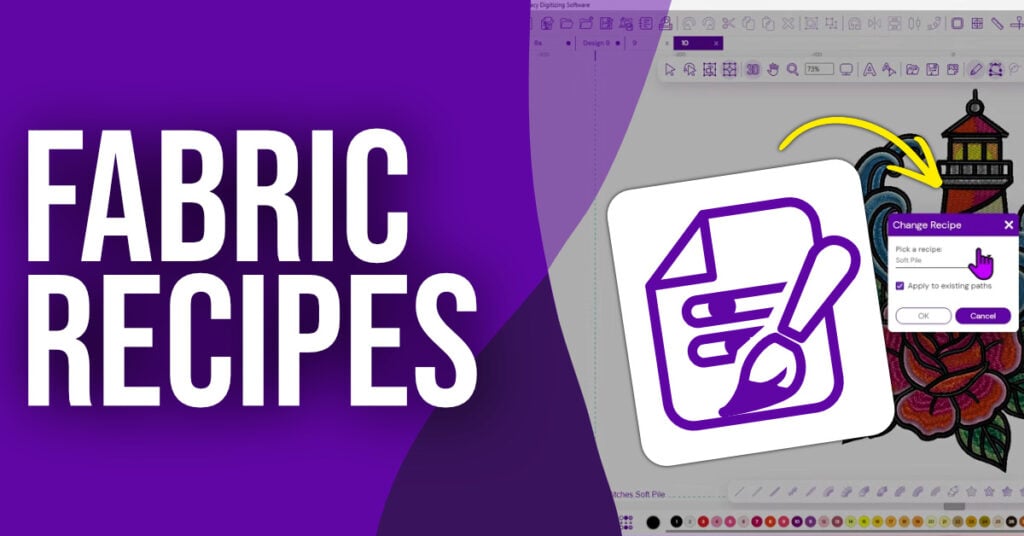
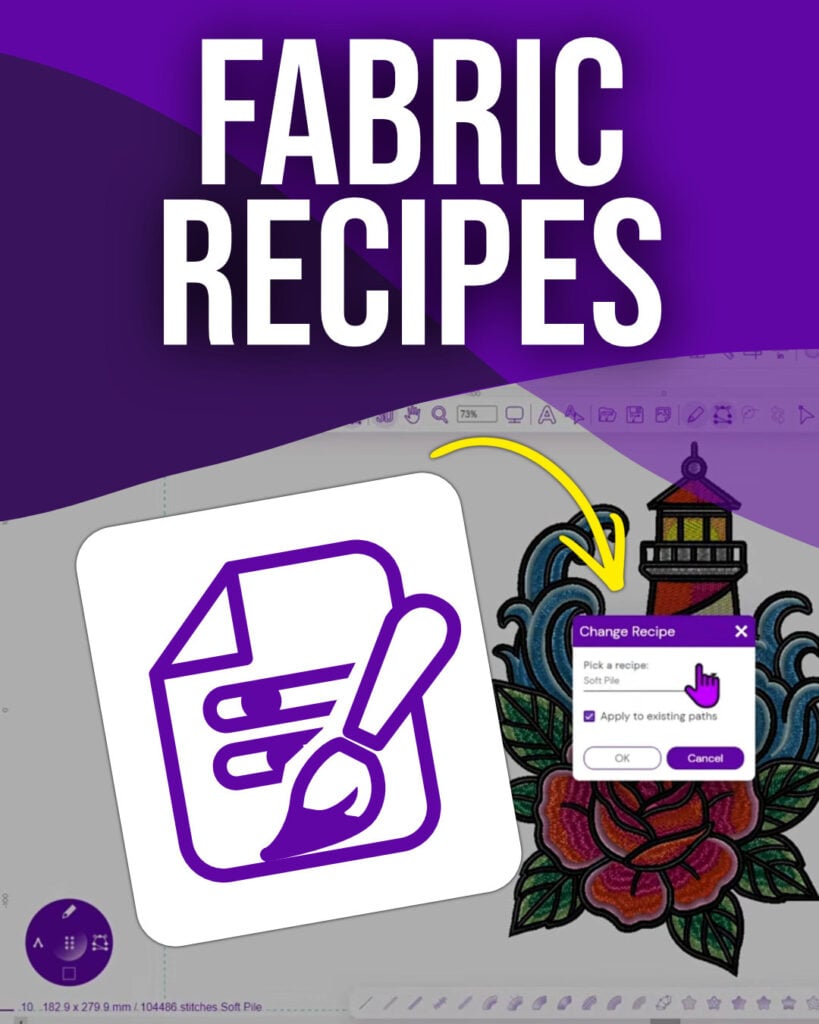
25. Fabric Recipes
Embroidery Fabric Recipes apply groups of settings intended for different fabric situations.
Depending on the recipe, properties such as underlay, density, pull compensation, and other stitch settings can change.
You can also change recipes partway through a design. An object stitched directly on fabric may need different settings than one stitched over existing embroidery.
But there’s an important lesson here:
A fabric recipe doesn’t replace digitizing theory.
Think of it like a cooking recipe. A recipe gives you a good starting point, but knowing how the ingredients work helps you make changes when needed.
The same is true with embroidery.
Automation Works Best When You Understand What It’s Automating
Tools like:- Auto Satin
- Smart Join
- Auto-Branch
- artwork conversion
- and Fabric Recipes
Can save you time on repetitive tasks.
But embroidery software doesn’t change the physical rules of embroidery.- Thread still pulls on fabric
- Density still affects how much thread you’re putting into an area
- Underlay still builds a foundation
- Stitch direction still influences the finished appearance
- Pathing still controls how your embroidery machine travels through the design
That’s why learning digitizing theory matters.
The software should help you apply those principles more efficiently—not keep you from learning them.
And no matter how good the preview looks, remember one of the most important rules I teach:
The proof is in the stitching.
Stitch your design, look at what actually happened on the fabric, and make your final adjustments from there.
If you’d like to build that foundation, start with our Free Embroidery Digitizing 101 Course. It teaches the basics of stitch types, underlay, density, registration, and pathing to help you make better digitizing decisions.
Want to try the tools covered in this article? Explore Embroidery Legacy Digitizing Software.
FAQ: Embroidery Digitizing Software Features
Can Embroidery Legacy Digitizing Software import SVG files?
Yes. SVG artwork can be imported as editable vector artwork. Individual shapes can be separated or combined and then converted into embroidery objects, which can reduce the amount of manual redrawing required.
You still need to make digitizing decisions such as stitch type, direction, sequence, pathing, and appropriate settings.
Does Auto Satin mean I don’t have to edit satin stitches?
No. Auto Satin can create an initial satin object from suitable artwork, but the resulting embroidery remains editable.
You can adjust the stitch direction, shape, split lines, and other settings to improve the result.
What is the difference between Smart Join and Auto-Branch?
Both features can help improve the way objects connect, but they solve slightly different workflow problems.
Smart Join helps adjust start and stop locations so appropriate objects connect efficiently. Auto-Branch connects separate objects into a smoother sewing path with fewer jumps and trims.
Neither replaces understanding good pathing.
What are Fabric Recipes in embroidery digitizing software?
Fabric Recipes are groups of embroidery properties intended for different fabric conditions. They can adjust density, underlay, and pull compensation to better match the fabric.
They are a workflow aid, not a guarantee that every design will stitch perfectly without testing.
Can embroidery designs be exported as PNG images?
Yes. Embroidery Legacy Digitizing Software currently supports high-resolution PNG export at 300 and 600 DPI.
The exported graphic can use the software’s 3D embroidery rendering for applications such as DTF or DTG production.
Do automatic digitizing tools replace learning embroidery theory?
No.
Automatic tools can save time, but good embroidery still depends on fabric, thread, tension, density, underlay, stitch direction, compensation, and pathing.
The final design should always be judged by how it actually stitches.