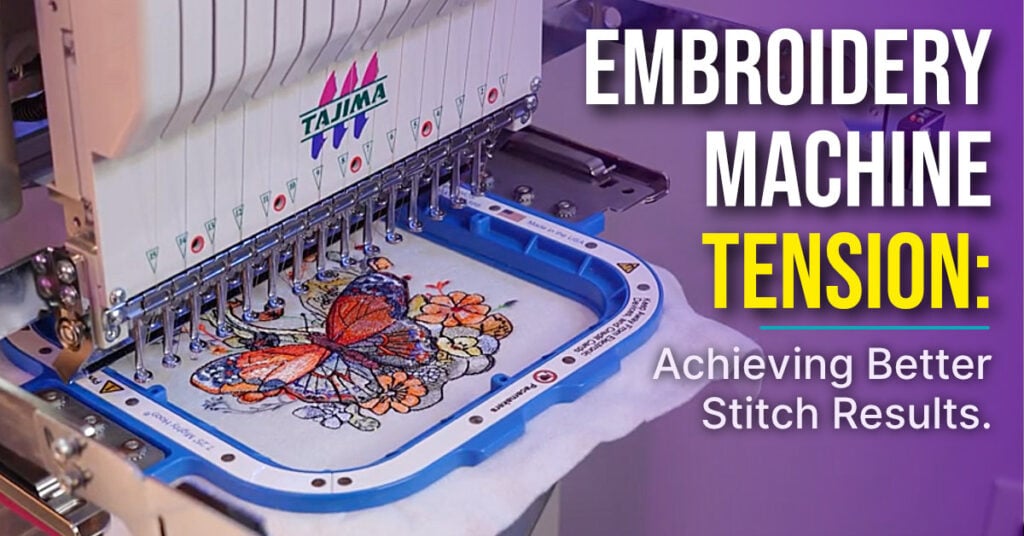
Beautiful embroidery starts with more than just the right design or thread. One of the biggest factors affecting your results is embroidery machine tension. When your tension is balanced, your stitches look clean, your lettering stays sharp, and your designs sew out the way they were intended.
Many embroiderers think embroidery machine tension is simply a machine setting, but it’s really the balance between your upper thread and bobbin thread. When those threads lock together in the center of the fabric, they create smooth, even stitches that look great on both the front and back of your embroidery.
The good news is that you don’t need to memorize the perfect tension setting. Once you understand what balanced stitches look like and what influences them, you’ll know how to evaluate your embroidery and make small adjustments with confidence.
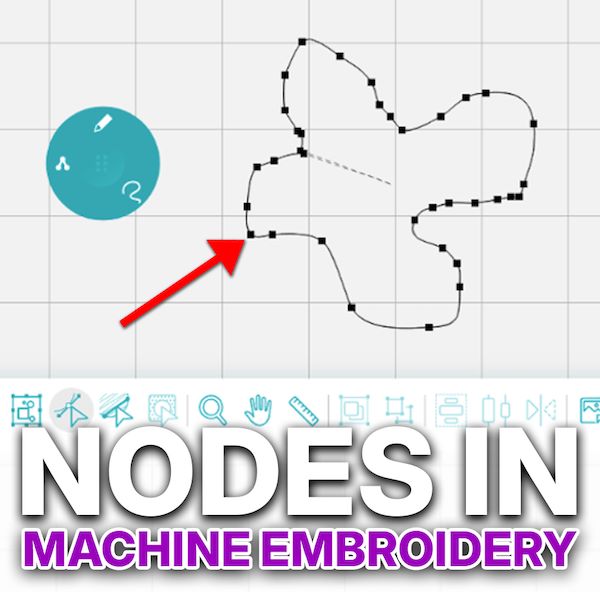
Machine embroidery is the process of using a specialized embroidery machine to stitch designs, lettering, and patterns onto fabric. If you’re new to machine embroidery, understanding the basics will make it much easier to see how settings like embroidery machine tension affect stitch quality and your overall results.
What Is Embroidery Machine Tension?
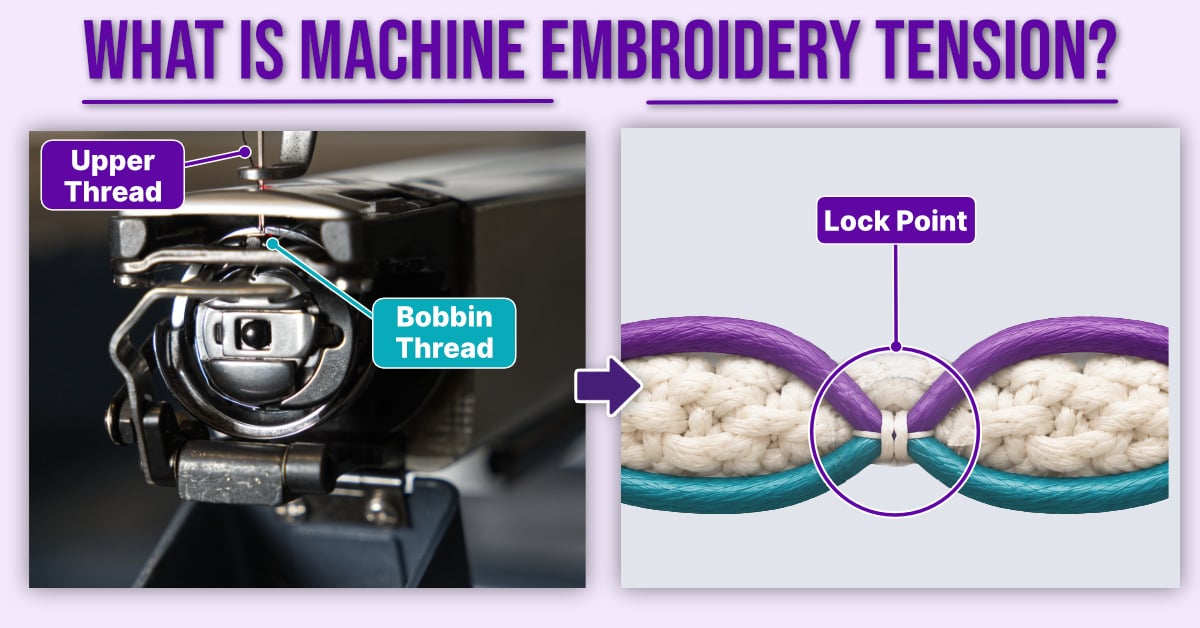
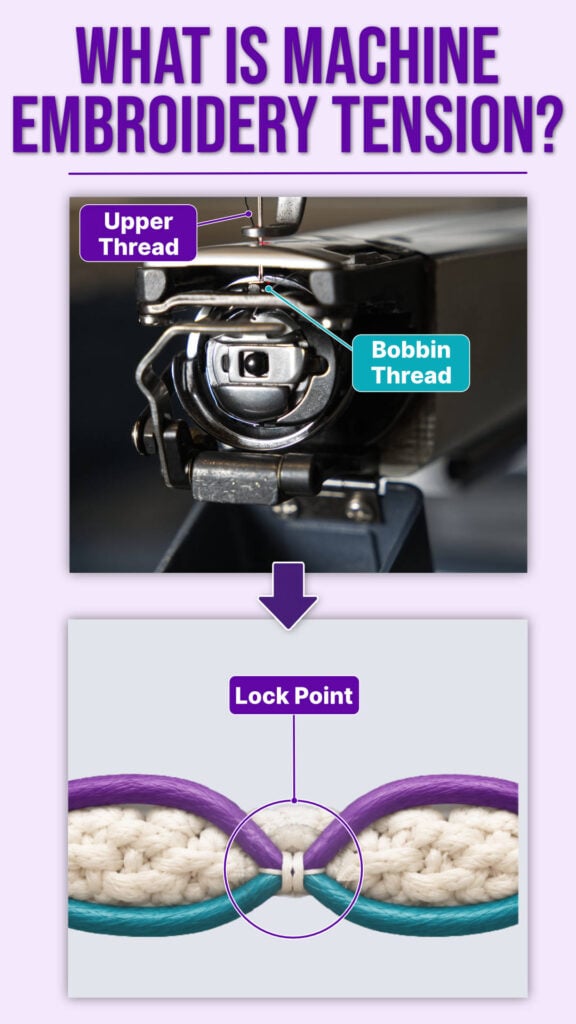
Think of your upper thread and bobbin thread as a team. When they work together evenly, your embroidery design stitches exactly as it was intended. If one thread pulls harder than the other, the stitch becomes unbalanced, affecting the appearance, quality, and durability of your embroidery.
The key thing to remember is that you’re not trying to achieve a specific tension number on your machine. You’re trying to achieve balanced stitches. That’s why experienced embroiderers evaluate the stitches themselves rather than relying only on the machine’s tension settings.
You can start by learning what a balanced stitch looks like. Once you can recognize it, adjusting your embroidery machine thread tension becomes much easier. For a visual demonstration, watch the video below before making any adjustments.
Why Embroidery Machine Tension Matters
Embroidery machine tension does more than keep your stitches balanced – it affects the overall quality, appearance, and durability of every design you create. When the upper thread and bobbin thread work together correctly, your embroidery machine can produce clean, consistent stitches that match the original design. Balanced tension isn’t controlled by your tension dial alone. Thread quality, embroidery machine bobbin tension, needle selection, stabilizer, hooping, fabric, and machine maintenance all work together to produce the best results.
Balanced tension helps create:- Smooth satin stitches with crisp edges
- Clean, easy-to-read lettering
- Better stitch coverage and definition
- Stronger, longer-lasting embroidery
- Fewer thread breaks and less wasted thread
Even the best embroidery design can produce poor results if the tension isn’t balanced. Before adjusting your machine, it’s important to understand that tension works alongside your thread, needle, stabilizer, and fabric. When all of these elements work together, you’ll achieve more professional-looking embroidery with fewer adjustments.
Whether you’re embroidering a simple monogram or a detailed design with thousands of stitches, balanced embroidery machine tension gives every project the best chance of success.
What Does Good Embroidery Machine Tension Look Like?
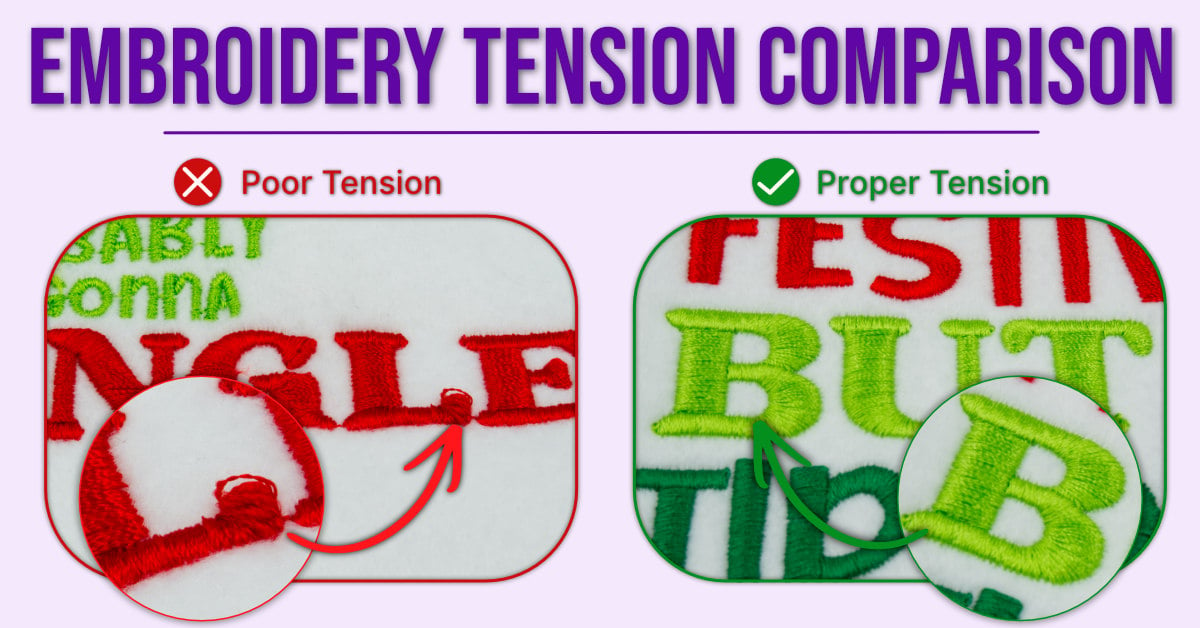
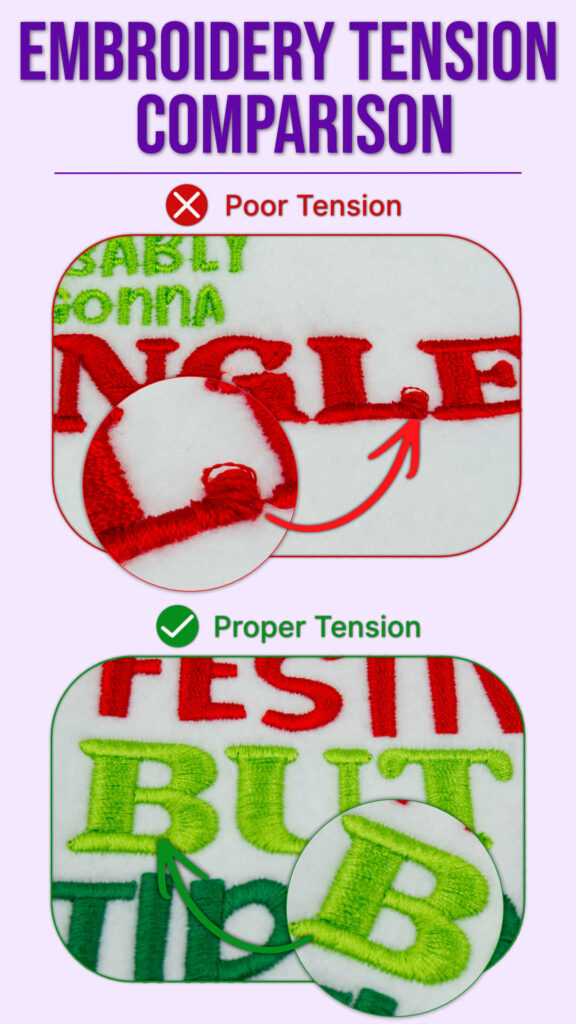
Instead of focusing on the tension number displayed on your machine, learn to recognize what a balanced stitch looks like. Experienced embroiderers judge tension by examining the stitches – not the settings.
A properly balanced stitch follows what’s commonly known as the 3:1 tension rule. When you turn your embroidery over, you should see:
- Top thread along one edge
- Bobbin thread through the center
- Top thread along the opposite edge
Each section should appear roughly equal in width. This tells you the upper thread and bobbin thread are locking together inside the fabric, where they should.
If the bobbin thread becomes too visible or the top thread wraps too far around the back, the tension is no longer balanced. Learning to recognize these signs makes troubleshooting much easier and helps you make small, accurate adjustments instead of guessing.
What Affects Your Embroidery Machine Tension?
Embroidery machine tension doesn’t depend on just one setting. Several factors work together to determine how your stitches form, which is why the same tension setting won’t always produce the same results. These same principles apply whether you’re using a single-needle or multi-needle embroidery machine.
Thread Quality
Not all embroidery threads behave the same way. Different brands, thread weights, and fiber types can affect how smoothly the thread flows through your machine. Using high-quality machine embroidery thread helps produce more consistent stitch quality and reduces unnecessary thread breaks.
Stabilizer and Fabric
Your stabilizer supports the fabric while the machine stitches. If the stabilizer isn’t suited to the fabric or design, the stitches may pull, shift, or sink into the fabric, making the tension appear incorrect. Choosing the right stabilizer is just as important as adjusting the tension itself.
Needle
A worn or incorrect needle can affect stitch formation, making tension problems appear worse than they really are. Using the correct machine embroidery needle helps create cleaner stitches and more consistent embroidery results.
Fabric and Hooping
Every fabric responds differently to embroidery. Lightweight cotton, denim, fleece, and knit fabrics all require proper support.
Correct embroidery hooping is equally important. A securely hooped project allows the machine to produce even stitches and accurate tension.
Machine Maintenance
Lint and thread build-up can affect stitch quality over time. Cleaning your embroidery machine regularly helps maintain consistent performance and reduces unnecessary tension issues. While you’re checking your machine, make sure your embroidery machine bobbin tension is correctly set before making significant changes to the upper thread tension.
Single-Needle vs. Multi-Needle Machines
The principles of balanced tension are the same for every embroidery machine, but the way you check tension differs.
On a single-needle embroidery machine, you’ll usually adjust the upper thread tension first.
On a multi-needle embroidery machine, the upper thread and bobbin tension work together to produce balanced stitches across all needles.
Understanding these factors helps you troubleshoot more effectively and prevents you from adjusting the tension when another part of the embroidery setup needs attention.
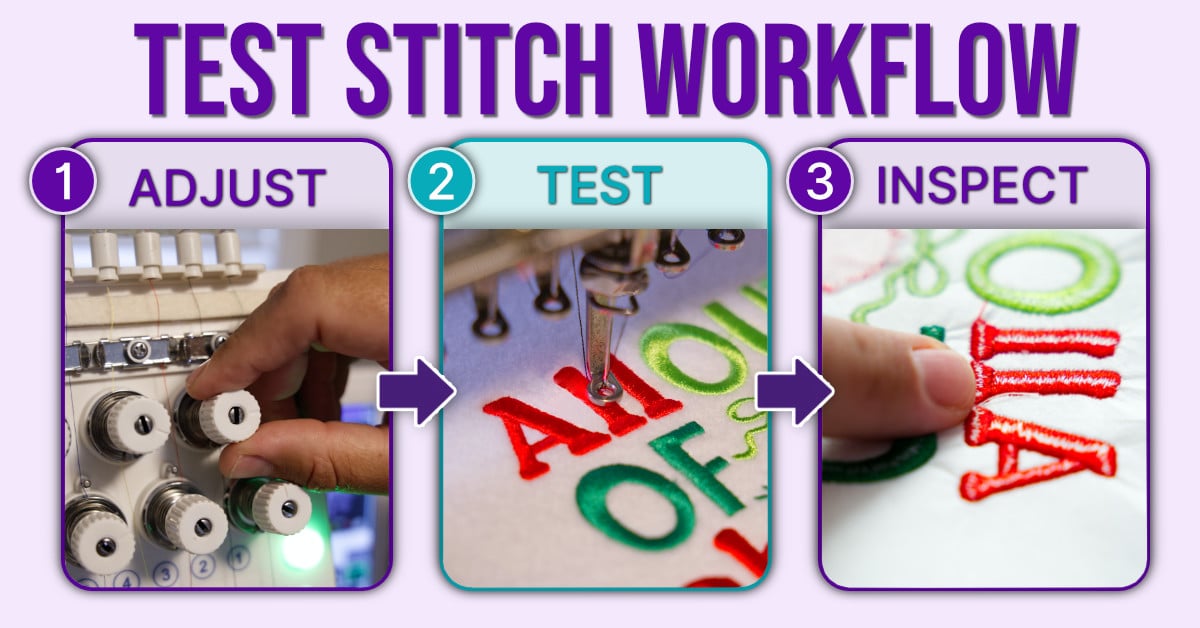
How to Test Embroidery Machine Tension
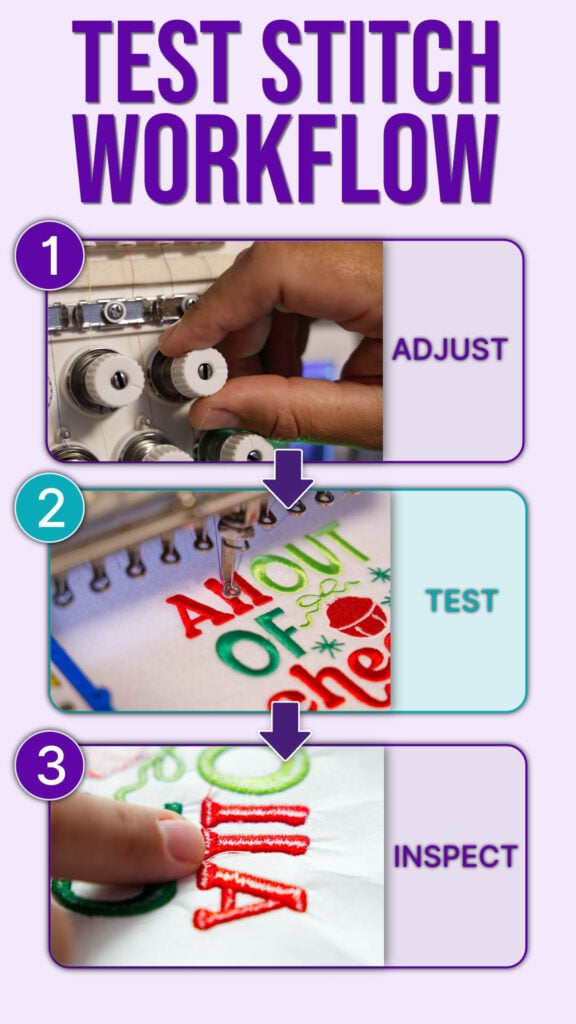
Testing your embroidery machine tension before starting a project only takes a few minutes and can save you time, thread, and fabric.
Gather Your Materials
Use the same fabric, stabilizer, thread, bobbin thread, and needle that you’ll use for your project. Changing any of these can affect your embroidery machine tension.
Stitch a Simple Test Design
Stitch a simple satin column or the letter “I.” A small test design makes it easier to evaluate your stitches.
Check the Back of the Embroidery
Turn your sample over and compare it to the 3:1 tension rule. The bobbin thread should appear in the center, with the upper thread evenly balanced on both sides.
If the upper thread wraps too far around the back, your embroidery machine thread tension may need adjusting. If the bobbin thread shows on the front of the design, check your upper thread before adjusting your embroidery machine bobbin tension.
Some embroiderers use an embroidery tension gauge, but for most home embroiderers, learning to recognize a balanced stitch is usually all that’s needed.
How to Improve Embroidery Machine Tension
Every embroidery machine is different, so avoid chasing a specific tension number. Instead, let the stitches guide your decisions.
If your tension is too tight, you may notice bobbin thread appearing on the front of your embroidery or frequent thread breaks.
If your embroidery machine thread tension is too loose, the top thread may wrap too far around the back of the stitching, creating loose or uneven stitches.
Before making significant adjustments, check that your embroidery machine bobbin tension, threading, needle, and stabilizer are all correct.
Always make small adjustments and test again before changing anything else. Patience produces far better results than guesswork.
Embroidery Machine Thread Tension
Most embroidery tension adjustments are made to the upper thread, not the bobbin. If your stitches look unbalanced, adjust the upper thread in small increments and test after each change. Small adjustments are usually all that’s needed to restore clean and balanced stitches.
Embroidery Machine Bobbin Tension
Your embroidery machine bobbin tension provides a consistent foundation for balanced stitches and rarely needs adjusting. If tension problems occur; first check your threading, needle, thread, and stabilizer before making changes to the bobbin case.
Common Embroidery Machine Tension Problems
Most tension issues are easy to correct once you understand what the stitches are telling you.
| Problem | Possible Cause | Solution |
|---|---|---|
| Bobbin thread showing on top | Upper tension too tight | Reduce the upper tension slightly and test again. |
| Loose stitches | Upper tension too loose | Increase the upper tension gradually. |
| Thread breaks | Tight tension or worn needle | Replace the needle, rethread the machine, and test again. |
| Uneven satin stitches | Poor hooping or incorrect stabilizer | Review your setup before adjusting the tension further. |
If you’re still experiencing problems after making small adjustments, don’t assume the tension is at fault. Check your thread quality, stabilizer, needle, hooping, and machine maintenance before making further changes.
Good Habits That Improve Embroidery Results
Good embroidery doesn’t happen by accident. Developing a few simple habits will help you achieve more consistent stitch quality over time.
- Test your tension before starting an important project.
- Replace your embroidery needle regularly.
- Use quality embroidery thread.
- Match the stabilizer to your fabric.
- Keep small test samples for future reference.
- Clean your embroidery machine to prevent lint build-up.
- Ensure your designs have quality embroidery digitizing.
- If you’re using a multi-needle embroidery machine, include each needle in your regular tension checks to maintain consistent stitch quality.
These habits take only a few minutes, but they can save hours of troubleshooting and help you produce cleaner embroidery with every project.
Frequently Asked Questions
What is embroidery machine tension?
Embroidery machine tension is the balance between the upper thread and bobbin thread. When both threads lock together in the center of the fabric, they produce clean, balanced stitches.
How do you adjust embroidery machine tension?
Adjust the upper thread tension in small increments, stitch a test design, and examine the back of the embroidery until you achieve a balanced 3:1 tension ratio.
How do you test embroidery machine tension?
Stitch a simple test design using the same fabric, stabilizer, thread, and needle you’ll use for your project. Then examine the back of the stitching to check whether the threads are balanced.
Why is my bobbin thread showing on top of my embroidery?
This usually indicates that the upper thread tension is too tight or the machine isn’t threaded correctly. Check your threading first, then make small tension adjustments and test again.
What is the correct embroidery machine tension setting?
There isn’t one universal setting. The correct tension is the setting that produces balanced stitches for your specific fabric, thread, stabilizer, and embroidery design.
Do I need an embroidery tension gauge?
Most home embroiderers don’t need an embroidery tension gauge. Learning to recognize a balanced stitch using the 3:1 tension ratio is usually all that’s needed. Tension gauges are more commonly used in commercial embroidery environments.
Final Thoughts
Embroidery machine tension isn’t about finding the perfect machine setting – it’s about understanding how balanced stitches are formed.
Once you know what to look for, you’ll spend less time troubleshooting and more time enjoying successful embroidery projects. Test before you stitch, make one adjustment at a time, and let the stitches guide your decisions.
In embroidery, small changes can make a big difference. The more you practice evaluating your embroidery machine tension, the more confident you’ll become, and that confidence will show in every design you create.
Ready to build your embroidery skills? Explore our free embroidery beginner course to learn more about thread, stabilizers, needles, and the techniques that help you achieve professional-quality results.